
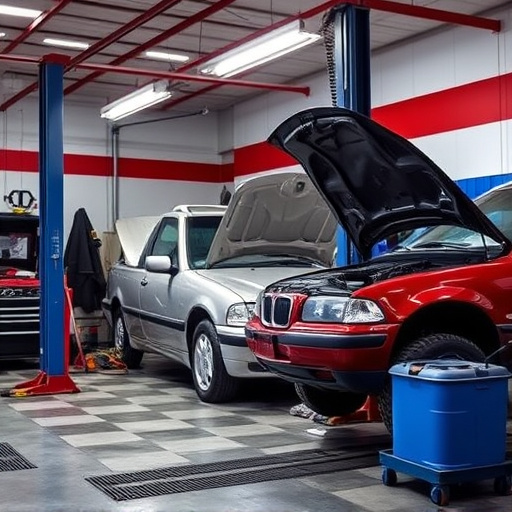


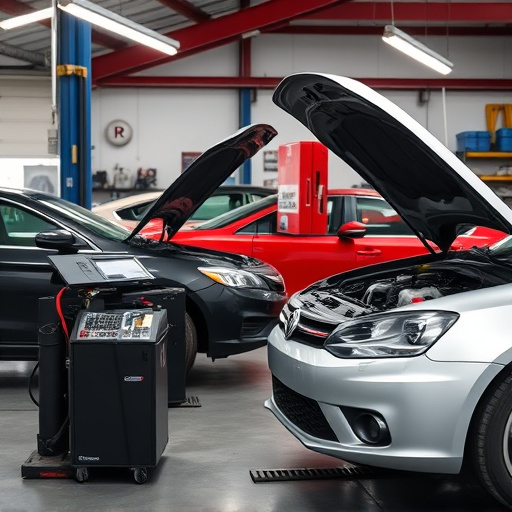
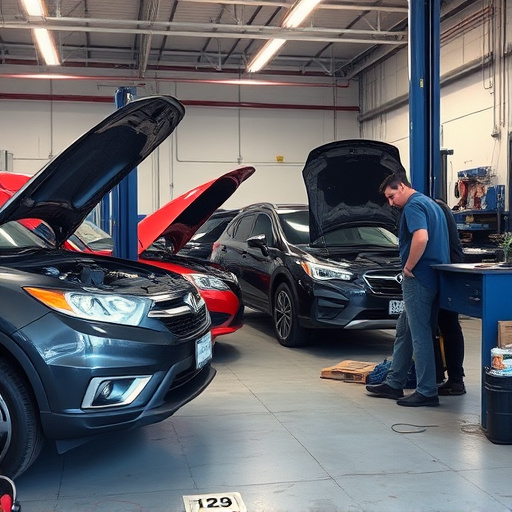
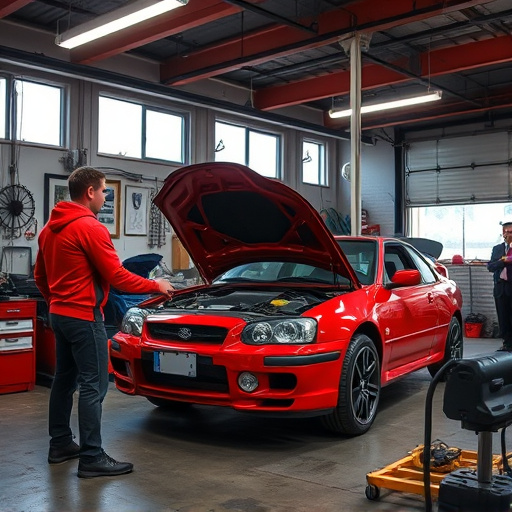
Anti-flutter foam, vital for vehicle passenger safety and comfort, degrades over time. Recognize damage signs before car paint services. Skilled technicians assess and replace foam using precision tools and high-quality materials like closed-cell polyurethane foams and weather-resistant adhesives to ensure structural integrity and prevent future issues. Proper workspace preparation is key for efficient, effective anti-flutter foam replacement.
When it comes to ensuring structural integrity and preventing unwanted vibrations, understanding how to perform an effective anti-flutter foam replacement is crucial. This comprehensive guide delves into the essential tools and materials required for a successful project. From identifying damage to selecting durable alternatives, we outline key steps to ensure longevity. Learn how to navigate this process with ease, eliminating flutter-related issues once and for all.
- Understanding Anti-Flutter Foam Damage
- Essential Tools for Effective Replacement
- Choosing the Right Materials for Longevity
Understanding Anti-Flutter Foam Damage
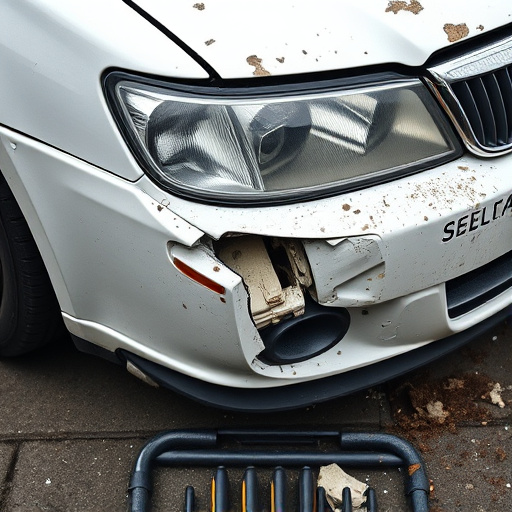
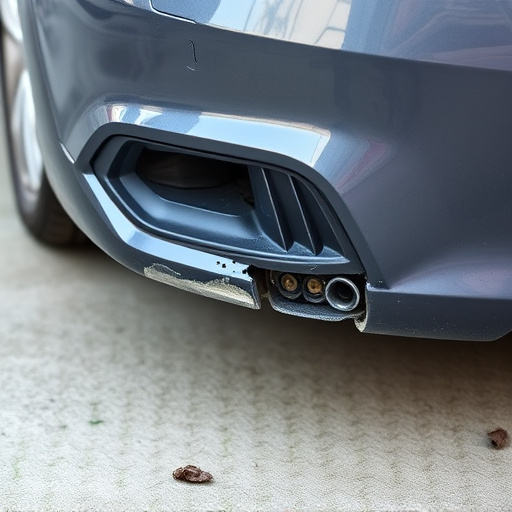
Anti-Flutter Foam, often found in vehicle interiors, serves a vital role in enhancing passenger comfort and safety by reducing noise and vibrations. However, over time, this foam can sustain damage due to various factors, including regular use, environmental exposure, and accidents. Recognizing the signs of anti-flutter foam damage is crucial for initiating an effective anti-flutter foam replacement process. Common indicators include noticeable wear and tear, loss of elasticity, and visible deformities caused by impact or collision damage repair.
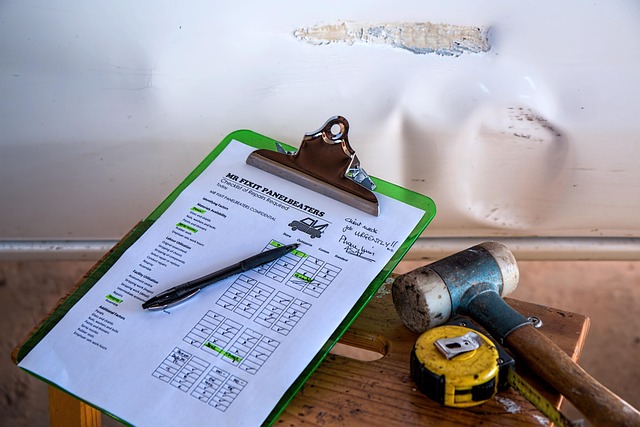
Proper identification of damaged areas is essential before undertaking any car paint services or dent removal procedures. Skilled technicians will assess the extent of the harm, taking into account factors like structural integrity and overall aesthetic appeal. This meticulous evaluation ensures that the replacement process addresses all issues, restoring the foam to its optimal condition and preventing further complications.
Essential Tools for Effective Replacement
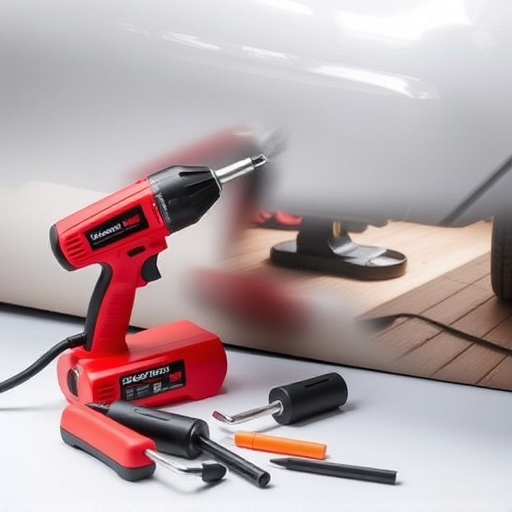
When undertaking an anti-flutter foam replacement, having the right tools is paramount for a successful and efficient job. This includes a good set of scissors or utility knives designed for cutting foam with precision, ensuring clean edges and minimal waste. A staple gun or adhesive applicator is another essential tool to secure the new foam in place, making it crucial for maintaining structural integrity during autobody repairs or collision repair processes.
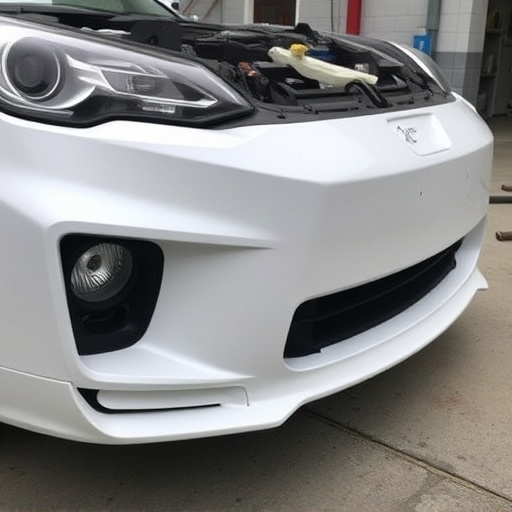
Additionally, a smooth surface primer and compatible adhesive are critical components for preparing the vehicle bodywork and ensuring long-lasting bonds. A clean, dry environment is also necessary to prevent contamination that could compromise the effectiveness of your anti-flutter foam replacement, enhancing the overall quality of your work in vehicle bodywork repairs.
Choosing the Right Materials for Longevity
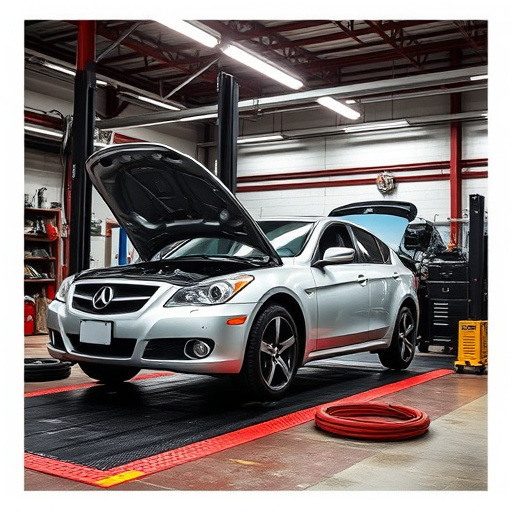
When undertaking an anti-flutter foam replacement, selecting the appropriate materials is paramount for ensuring durability and longevity in automotive repair. The key lies in understanding the specific requirements of your vehicle’s structure and choosing foams with enhanced resistance to environmental factors like moisture and UV exposure. High-quality, closed-cell polyurethane foams are often recommended due to their superior load-bearing capabilities and insulation properties, making them ideal for auto body repairs involving complex shapes and tight spaces.
Additionally, consider the adhesive used for bonding the foam to prevent flutter or movement over time. A strong, weather-resistant adhesive specifically designed for automotive applications can significantly extend the life of your replacement. This is particularly crucial in an auto collision center where vehicles may be exposed to varying climatic conditions during repairs. By investing in the right materials from the outset, you can ensure that your anti-flutter foam replacement provides long-lasting structural integrity and contributes to the overall quality of auto body repairs.
When replacing anti-flutter foam, having the right tools and materials is key to ensuring a durable and effective solution. By understanding the damage, selecting the appropriate tools, and choosing high-quality materials, you can successfully navigate the anti-flutter foam replacement process, extending the life of your structure and preventing future issues. Remember, proper preparation and material selection are essential for a successful anti-flutter foam replacement project.