


Before repairing or replacing plastic car panels, auto enthusiasts should assess damage using specialized tools, gather necessary materials like welding equipment and high-quality plastics, prepare a clean, well-ventilated workspace, protect surrounding surfaces, and follow a step-by-step guide to ensure precise, safe, and effective restoration for peak aesthetic condition and vehicle value.
“Looking to tackle that banged up car door or dented truck fender? Understanding the plastic panel repair replacement process is key. This comprehensive guide breaks down the steps involved in both assessing damage and measuring for replacement panels, as well as outlining essential preparation and tools. By following our step-by-step approach, you’ll be equipped to efficiently restore your vehicle’s sleek look, saving time and money.”
- Assessing Damage and Measuring for Replacement Panels
- Preparation and Tools Required for the Job
- Step-by-Step Guide to Efficient Panel Repair/Replacement
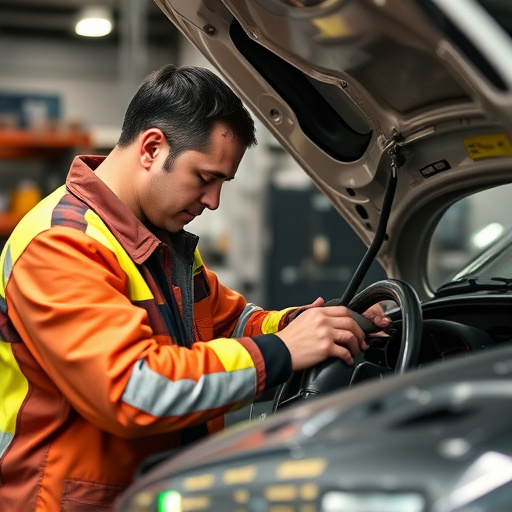
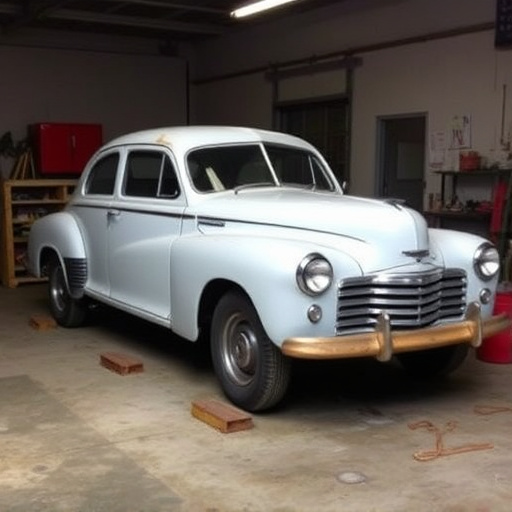
Assessing Damage and Measuring for Replacement Panels

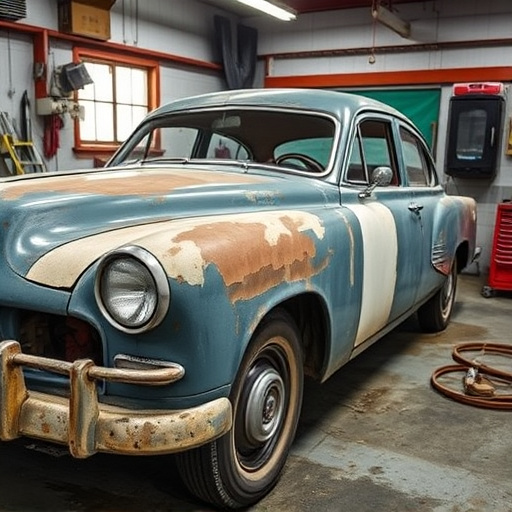
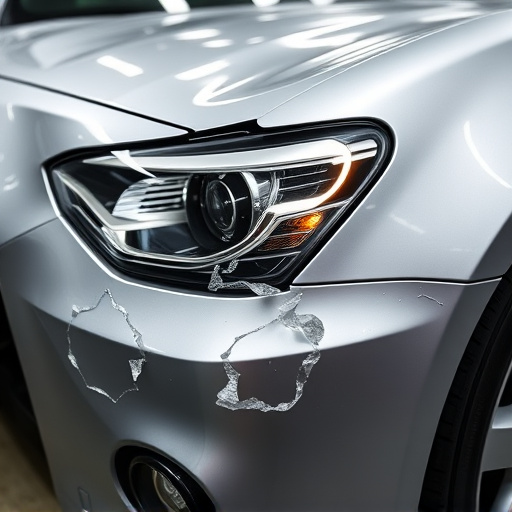
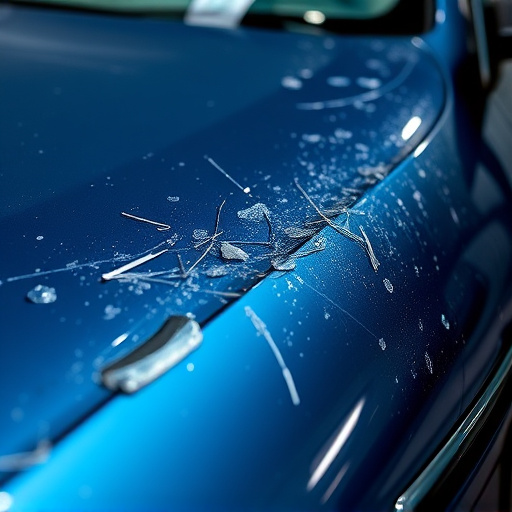
The first step in any plastic panel repair or replacement process is a thorough assessment of the damage. This involves closely examining the affected area to determine the extent of the issue, whether it’s a simple dent, a crack, or more complex deformation. Experienced technicians will use specialized tools to measure and take precise dimensions, ensuring accurate matching with the replacement panels. Measuring for replacement panels is crucial in the car body repair process as it guarantees that new parts will fit seamlessly into the automotive collision repair site. This meticulous attention to detail sets the stage for a successful and durable fix.
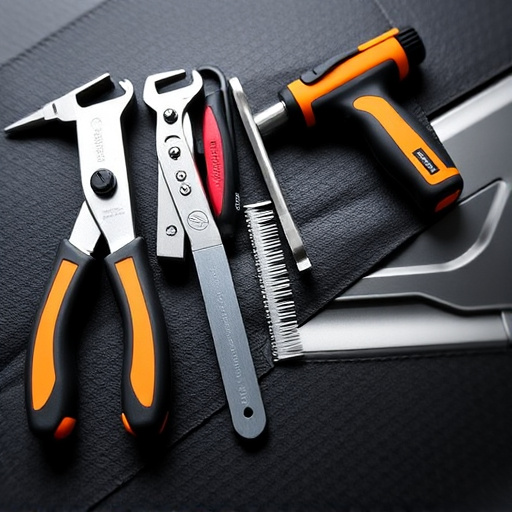
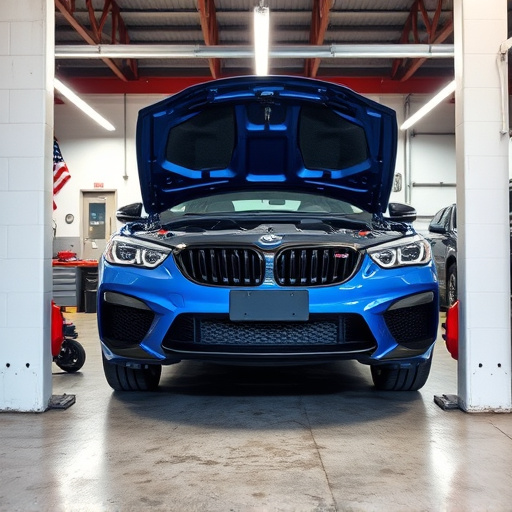
Preparation and Tools Required for the Job
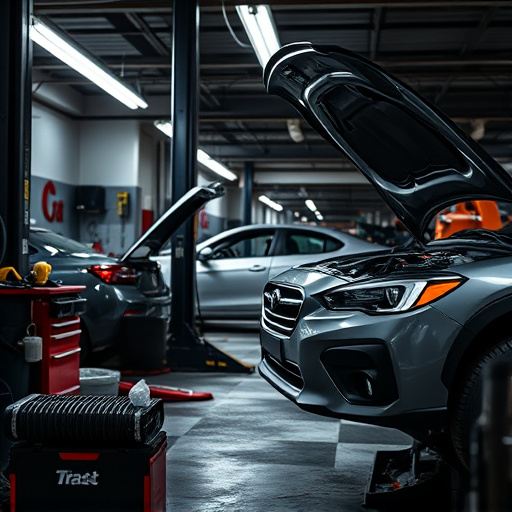
Before starting any plastic panel repair replacement, whether for a classic car restoration or more routine tire services, gather all necessary tools and materials. This includes specialized plastic welding equipment, such as heat guns, plasma cutters, and UV curing lamps, along with high-quality plastics and adhesives designed for vehicle body shop applications. Ensure your workspace is well-lit and ventilated to facilitate precise work and avoid inhaling harmful fumes.
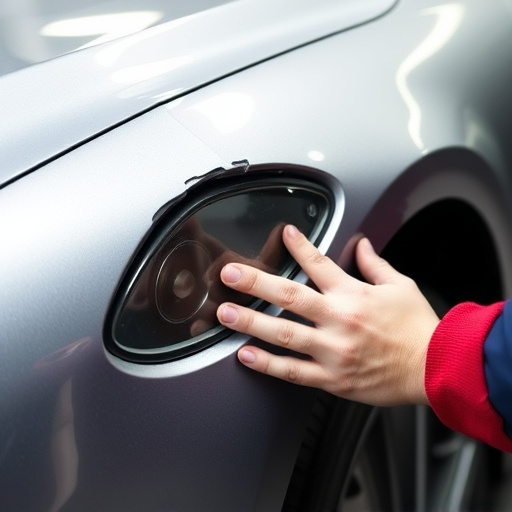
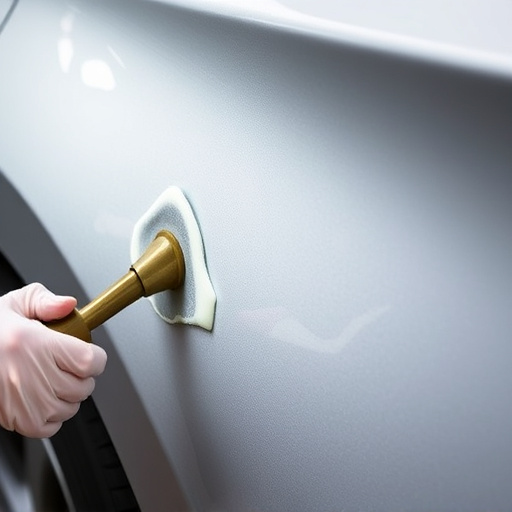
Proper preparation involves cleaning the damaged area thoroughly to remove dirt, grease, or existing repair residue. Use a suitable degreaser and ensure the surface is dry before proceeding. Protect adjacent surfaces with tape or coverings to prevent accidental damage during the repair process. With all preparations in place, you’re ready to safely and effectively replace the plastic panel, restoring your vehicle to its former—or even enhanced—glory.
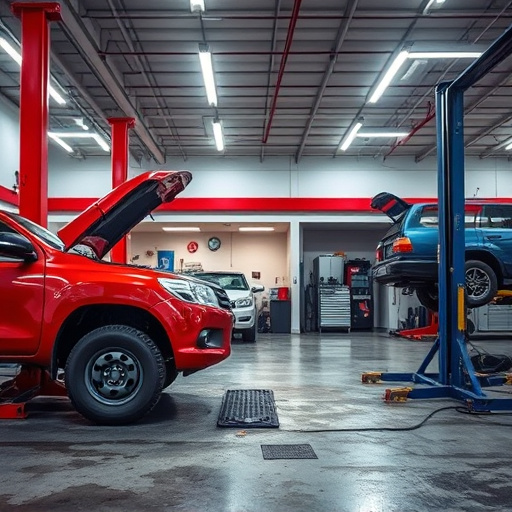
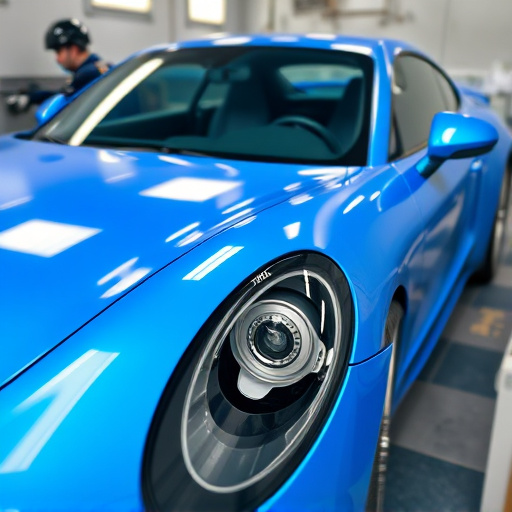
Step-by-Step Guide to Efficient Panel Repair/Replacement

The plastic panel repair and replacement process is a meticulous task that requires precision and expertise. Here’s a step-by-step guide to ensure an efficient and effective outcome, catering specifically to auto maintenance enthusiasts interested in keeping their car’s bodywork services at peak condition, like a gleaming Mercedes Benz repair.
First, inspect the damaged panel thoroughly, identifying the extent of the issue. This could range from minor nicks and cracks to more significant deformities. Next, gather the necessary tools and materials, including replacement panels, adhesives, fillers, sandpaper, and protective gear. Safety is paramount during this process. Then, carefully remove the damaged panel, taking note of any underlying components that might be affected. Clean the area thoroughly to ensure optimal adhesion for the new panel. After preparing the surface, fit the replacement panel precisely, making adjustments as needed. Secure it with appropriate fasteners or adhesive, following manufacturer recommendations. Once set, smoothen the edges and surfaces using sandpaper for a seamless finish. Finally, apply a coat of paint or clear sealant to match the car’s original finish, completing the transformation. Regular maintenance, including plastic panel repair, is key to preserving your vehicle’s aesthetic appeal and value.
When carrying out a plastic panel repair or replacement, proper preparation and a systematic approach are key. By assessing the damage, gathering the necessary tools, and following a step-by-step process, you can efficiently restore your vehicle’s exterior to its original condition. This DIY guide equips you with the knowledge to tackle plastic panel repairs head-on, ensuring a seamless and cost-effective solution for common automotive issues.