

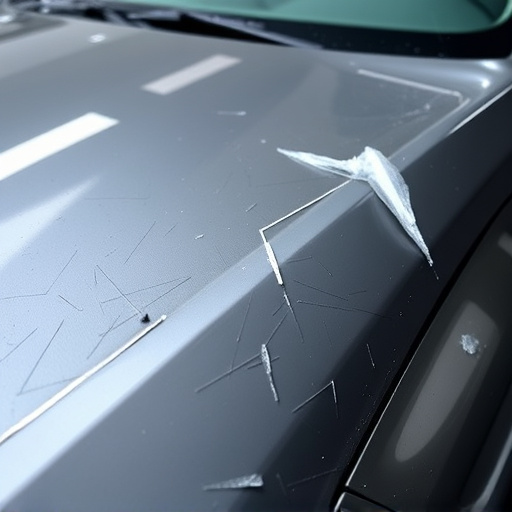
Before repairing or replacing your vehicle's vinyl wrap, assess damage (cracks, tears, delaminations), clean and prepare the surface, address pre-existing issues like dents, apply primer, use precise tools for even application of replacement vinyl, minimizing bubbles and wrinkles for optimal aesthetics.
“Ensuring your vehicle’s aesthetic appeal and protection starts with a meticulous vinyl wrap repair replacement process. This guide navigates you through the key steps, from assessing damage to applying new layers, ensuring a seamless and durable result.
First, inspect for cracks, tears, or faded areas requiring attention. Then, gather high-quality vinyl wrap materials and tools, including adhesive, primer, and cutting utensils. Next, prepare the surface by cleaning and decontaminating it thoroughly. Finally, apply the new vinyl wrap layer by layer, matching the existing finish for a professional repair.”
- Assess Damage and Gather Materials
- Clean and Prepare the Vehicle Surface
- Apply New Vinyl Wrap Layer by Layer
Assess Damage and Gather Materials

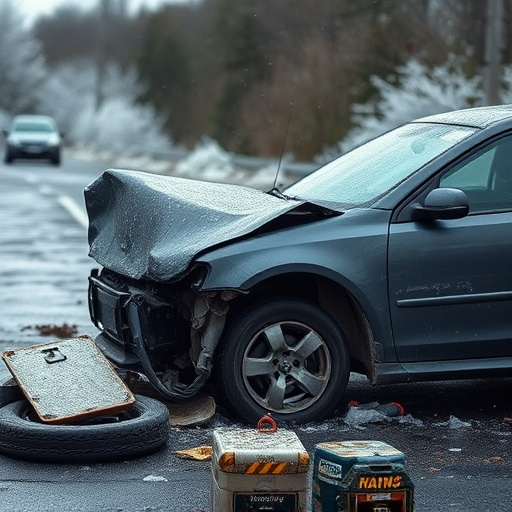
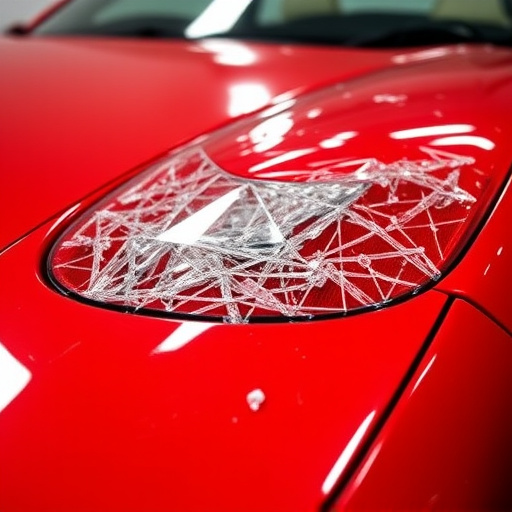
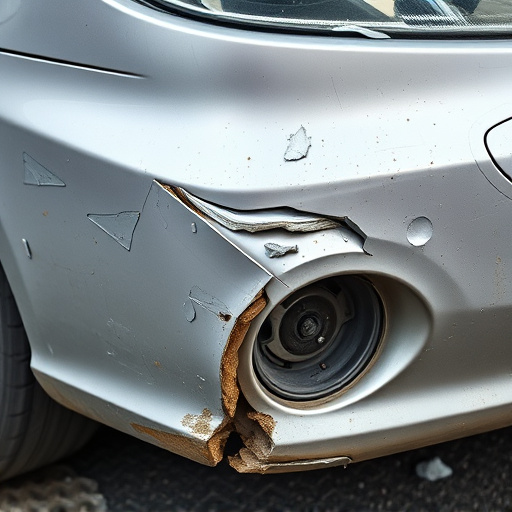
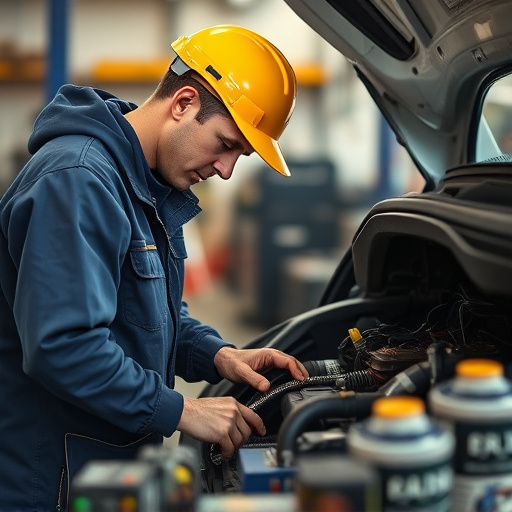
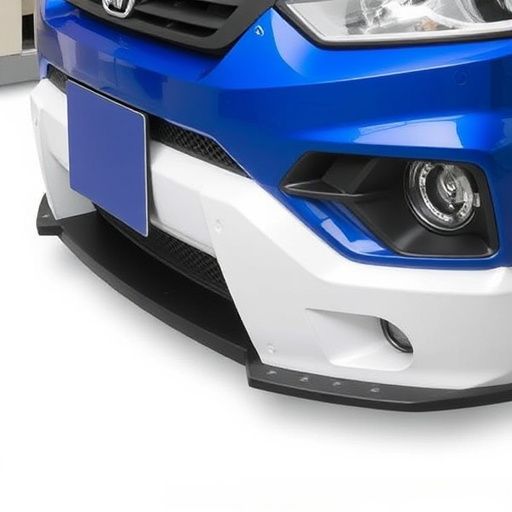
Before diving into the repair process, it’s crucial to assess the damage and gather the necessary materials for a successful vinyl wrap repair replacement. Start by examining your vehicle thoroughly, focusing on the affected area. Take note of any cracks, tears, or delaminations in the vinyl wrap. Check for underlying damage to the car bodywork services, such as dents, scratches, or paint issues, as these may require separate attention using car dent removal techniques.
Once you have a clear understanding of the extent of the damage, create a list of materials needed. This typically includes specialized tools for vehicle collision repair, like applicators, scrapers, and rollers designed for vinyl wraps. Don’t forget the replacement vinyl material itself, ensuring it matches your vehicle’s original color and finish. Proper preparation is key to achieving a seamless and durable result in your vinyl wrap repair replacement endeavor.
Clean and Prepare the Vehicle Surface
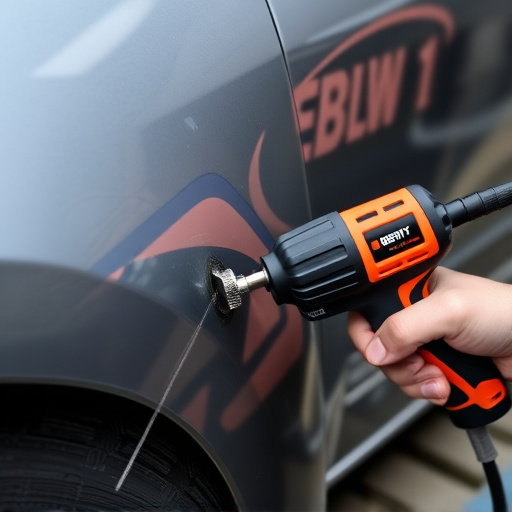
Before initiating any vinyl wrap repair or replacement, ensuring your vehicle’s surface is clean and properly prepared is paramount. Begin by washing the car thoroughly to remove dirt, dust, and grime that can contaminate the adhesive and compromise the new wrap’s bond. Use a dedicated automotive shampoo and microfiber towels for a scratch-free clean.
Once washed, thoroughly dry the vehicle to prevent water spots that could affect adhesion. Inspect the surface for any existing damage like scratches, dents, or delaminated areas. If necessary, address these issues through minor repairs or by smoothing out the imperfections with appropriate compounds and polishes. A smooth, contaminant-free surface is crucial for achieving a professional vinyl wrap repair or replacement outcome, ensuring optimal adhesion and longevity of the new material.
Apply New Vinyl Wrap Layer by Layer

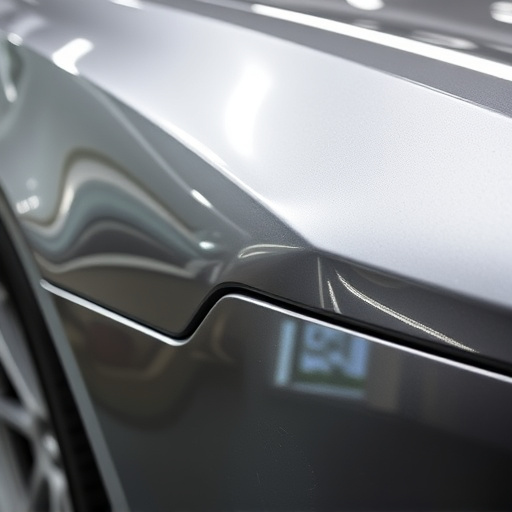
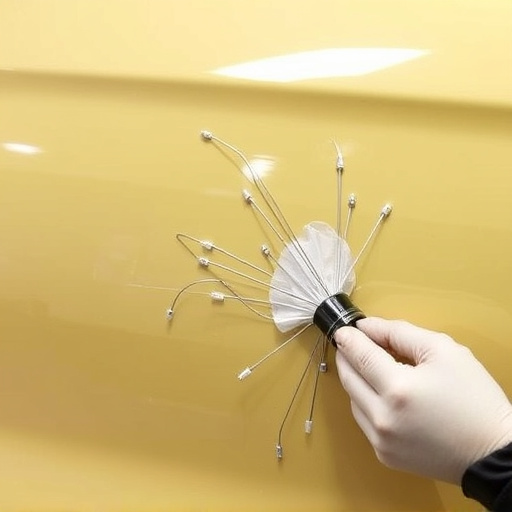
When undertaking a vinyl wrap repair replacement, it’s crucial to apply the new layer meticulously, one layer at a time. Start by preparing the surface thoroughly, ensuring it is clean and free from any debris or existing adhesive residue. This step is critical for achieving a seamless finish.
Begin with a thin coat of primer, allowing it to dry completely. Then, apply the vinyl wrap in small sections, using a sharp knife or roller to ensure even distribution. Work methodically, overlapping each layer slightly to create a continuous and robust surface. The gradual application process not only aids in achieving precision but also minimizes the risk of bubbles or wrinkles, enhancing the overall aesthetics of your vehicle repair or auto maintenance project.
When preparing your vehicle for a vinyl wrap repair or replacement, following these steps ensures a smooth process. Firstly, assess the damage, gather high-quality materials suitable for vinyl wraps, and ensure the surface is clean and free of contaminants. Then, apply each layer of the new wrap meticulously, allowing it to cure properly. This method guarantees a durable, professional result, restoring your vehicle’s aesthetic appeal with efficient vinyl wrap repair replacement techniques.