Tesla PPF (paint protection film) repair involves a meticulous process to preserve vehicle finish. Damage assessment determines action plan from touch-ups to full replacements. Skilled technicians use specialized tools for clean cuts, fitting new PPF precisely for enhanced aesthetics and longer lifespan. This method maintains original fit, gloss, and protects paintwork, preferred for Tesla models.
Tesla owners often wonder about the best way to maintain their vehicles’ sleek, protective exterior. This article delves into the intricate world of Tesla PPF (paint protection film) repair, focusing on the clean cut replacement technique. Understanding this process is key to preserving your Tesla’s value. We’ll outline the benefits of this approach and provide a step-by-step guide, ensuring you’re equipped with the knowledge to tackle these repairs effectively.
- Understanding Tesla PPF Repair Process
- Benefits of Clean Cut Replacement Technique
- Step-by-Step Guide to Effective PPF Repairs
Understanding Tesla PPF Repair Process

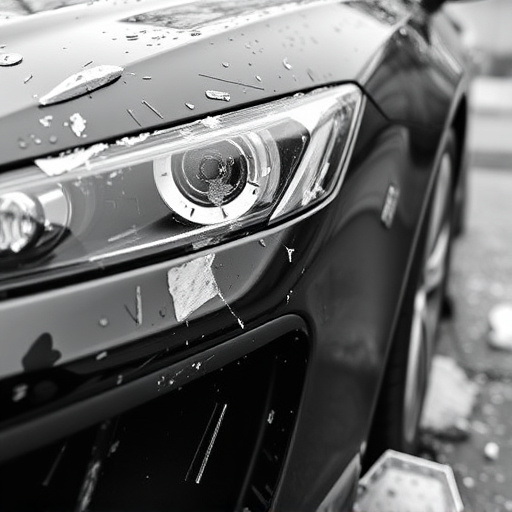
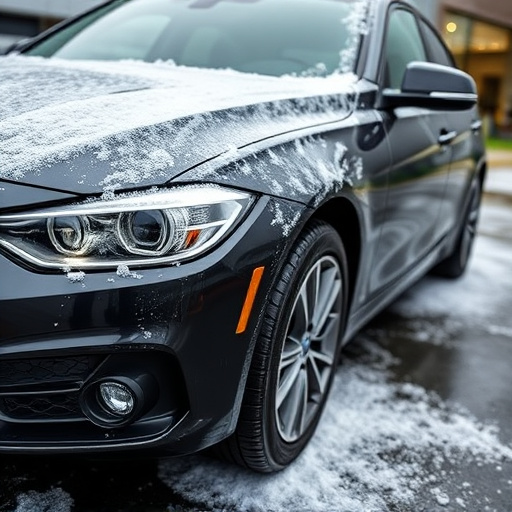
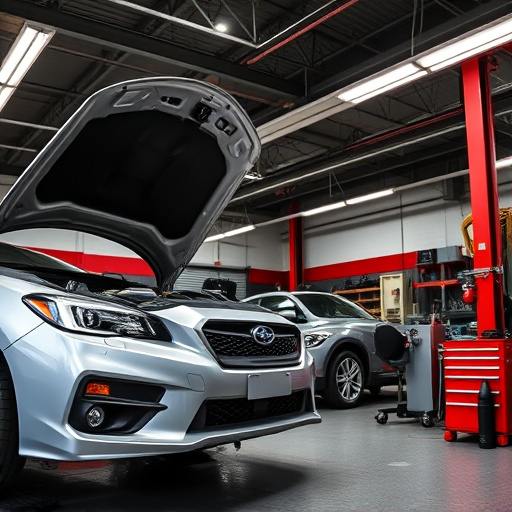
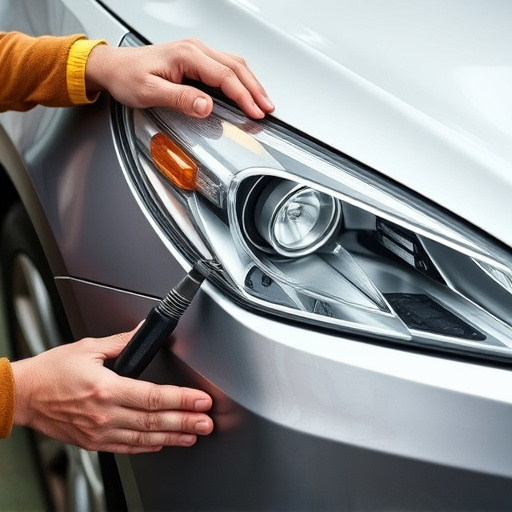
Understanding Tesla PPF (paint protection film) repair involves grasping a meticulous process designed to safeguard your vehicle’s finish while addressing damage. The first step is assessing the extent of the damage, which can range from small chips and cracks to larger repairs requiring clean cut replacements. This critical evaluation determines the appropriate course of action, whether it’s a simple touch-up or a full replacement.
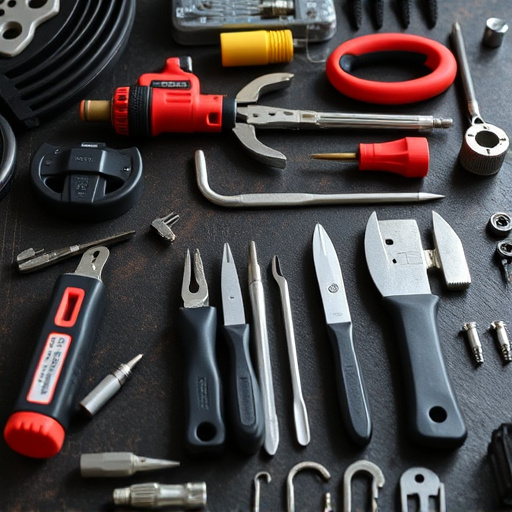
For clean cut replacements, highly skilled technicians employ specialized tools to precisely remove the existing PPF, carefully inspect the underlying paint, and prepare the surface for new film application. The new Tesla PPF is then expertly fitted, ensuring seamless integration with your vehicle’s design. This process not only restores the aesthetic appeal of your car but also extends the lifespan of its paint job, making it a valuable component of regular auto body services and automotive body work maintenance.
Benefits of Clean Cut Replacement Technique
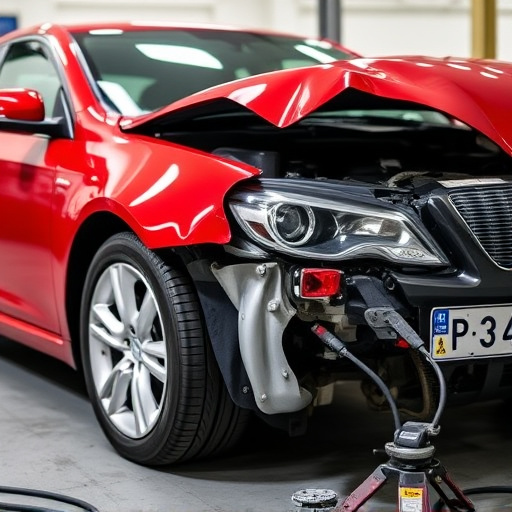
The clean cut replacement technique for Tesla PPF (paint protection film) repair offers several advantages over traditional repair methods. This approach ensures minimal disruption to the vehicle’s original finish, preserving the car’s aesthetic value and overall appearance. By replacing damaged or cracked sections with precisely cut films, the process maintains the seamless fit and glossy finish that characterized the original PPF application.
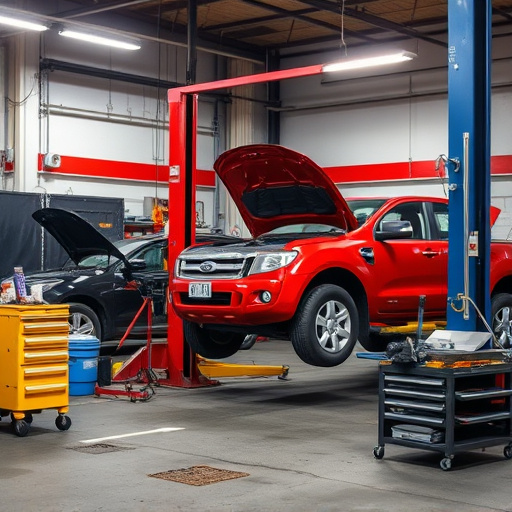
This method is particularly beneficial for those seeking top-notch vehicle collision repair without compromising on aesthetics. It’s a preferred choice in car repair shops handling Tesla models, as it facilitates efficient restoration of the vehicle’s protective barrier while maintaining its stylish appeal. This technique not only repairs damage but also extends the lifespan of the PPF, enhancing the overall durability and protection of the vehicle’s paintwork.
Step-by-Step Guide to Effective PPF Repairs

Repairing a Tesla PPF (paint protection film) involves a meticulous process to ensure the original look and durability of your luxury vehicle. Here’s a step-by-step guide to help you effectively tackle these repairs:
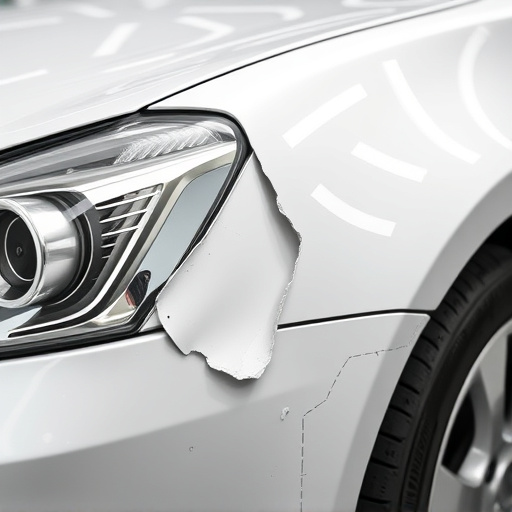
1. Assess the Damage: Begin by carefully inspecting the damaged area. Clean the surface thoroughly, removing any debris or contaminants that may hinder the repair process. For minor chips or cracks, this initial preparation is crucial for achieving a seamless finish.
2. Cut and Prepare Replacement Film: Obtain high-quality Tesla PPF replacement parts from trusted auto repair shops or dealerships. Measure the damaged area precisely and cut the film to fit perfectly. Ensure the film aligns with your vehicle’s contours for a clean, professional look. This precision is key in maintaining the overall aesthetics of your luxury vehicle during repairs.
3. Clean and Deactivate Surfaces: Before applying the new film, thoroughly clean both the damaged area and the replacement piece. Use specialized cleaners recommended for PPF to remove any residues or oils that could compromise adhesion. Deactivating the surfaces with a suitable primer ensures the film adheres strongly, providing long-lasting protection.
4. Apply and Smoothen: Position the replacement film carefully over the prepared surface. Starting from the center, apply pressure evenly while smoothing out air bubbles and wrinkles. Ensure no entrapped air pockets remain to maintain the film’s clarity and protectant properties. Proper application is half the battle won in luxury vehicle repair.
5. Trim and Final Touches: Once the film is securely in place, trim any excess material neatly using sharp tools. Check for any bulges or misalignments and make adjustments as needed. A final pass with a soft cloth ensures no residue is left behind, giving your Tesla PPF repair a polished finish that matches the vehicle’s original protection.
When it comes to repairing Tesla’s Paint Protection Film (PPF), adopting the clean cut replacement technique offers significant advantages. This method ensures precise, neat cuts, maintaining the original aesthetic of your vehicle. By following a structured step-by-step guide, you can achieve effective PPF repairs, preserving the sleek and protected exterior of your Tesla. Remember, proper maintenance and timely repairs are key to keeping your car’s surface as shielded and beautiful as the day it left the factory.