


Tesla taillight assembly repairs address defects causing misalignment, flickering lights, vibration, and loose tailights, crucial for safety and vehicle value. Repairs begin with meticulous demounting, inspecting for connections, lenses, hardware issues, wear, corrosion, previous repairs, and proper alignment. After replacement, skilled technicians realign and reinstall taillights to original specs, ensuring seamless integration, optimal visibility, and aesthetic appeal.
Tesla owners often face challenges with their vehicle’s taillight assembly, including issues with panel fit and seam alignment. This comprehensive guide delves into the process of repairing these common problems. We’ll walk you through understanding the root causes, demounting and inspecting the assembly, and step-by-step instructions for realigning and reinstaling components for a flawless fit. Master these techniques to ensure your Tesla’s taillights function optimally and enhance overall vehicle aesthetics.
- Understanding Tesla Taillight Assembly Issues
- Demounting and Inspecting the Assembly
- Realigning and Reinstaling for Optimal Fit
Understanding Tesla Taillight Assembly Issues
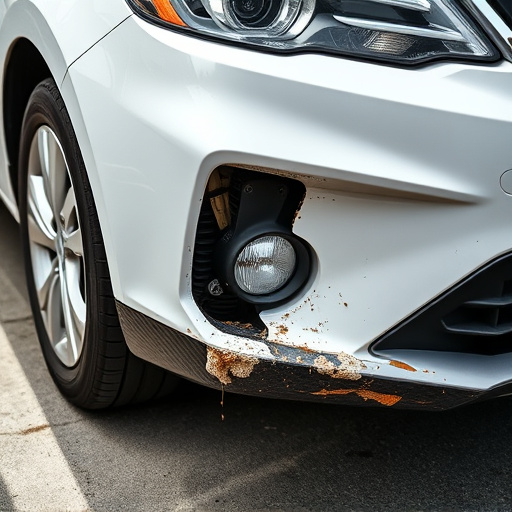
Tesla taillight assembly issues can manifest as misaligned or improperly fitted components, often leading to a less-than-satisfactory appearance and potential safety hazards. These problems typically arise from various factors, such as manufacturing defects, damage during installation, or wear and tear over time. One common issue is the misalignment of the taillight with the vehicle’s fender, resulting in visible gaps or overlap between the light assembly and body panel. This not only compromises the aesthetic appeal but also raises concerns about structural integrity, especially if left unaddressed.
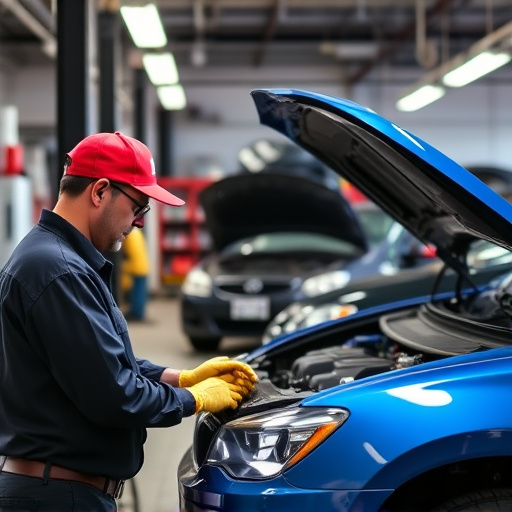
When a Tesla owner notices flickering lights, excessive vibration, or loose tailights, it may indicate underlying issues with the assembly repair. A visit to a reputable collision repair center equipped with specialized tools and experienced technicians is recommended. Skilled auto repair near me professionals can accurately diagnose problems, whether they involve faulty wiring, damaged housings, or misaligned lenses. Prompt addressing of these concerns ensures optimal visibility for other drivers and contributes to maintaining the vehicle’s overall value and safety features.
Demounting and Inspecting the Assembly
When undertaking a Tesla taillight assembly repair, the initial steps involve carefully demounting and inspecting the damaged component. This process requires precision to ensure an accurate assessment of the issue, whether it’s a loose connection, cracked lens, or misaligned mounting hardware.
During inspection, pay close attention to any signs of wear, corrosion, or previous repairs. Look for proper alignment with the vehicle’s bodywork, especially around the panel fit and seam. It’s not uncommon for car scratch repair or minor damages to affect these areas, so a thorough check is essential. Comparing the demounted assembly to the manufacturer’s specifications can help identify any misalignments, ensuring a seamless restoration that matches the vehicle’s original finish—much like auto glass repair, precision is key in achieving a flawless result.
Realigning and Reinstaling for Optimal Fit
After completing the Tesla taillight assembly replacement, the next step is to ensure proper realignment and reinstalation for optimal fit. This involves carefully adjusting the components to match the vehicle’s original specifications, ensuring seamless integration with the fender and surrounding areas. A crucial aspect is aligning the taillights precisely, as even minor misalignments can affect the overall aesthetic appeal and functionality.
Proper alignment ensures that the taillights function correctly, emitting the intended light pattern for enhanced visibility without any obstructions or shadows. This meticulous process requires a skilled hand, especially after a fender bender or other auto body repairs, where components may have been slightly distorted during the initial collision repair shop visit. Reinstating the taillight assembly to its original alignment completes the restoration, guaranteeing both aesthetic perfection and safe driving conditions.
Repairing a Tesla taillight assembly involves addressing common issues with panel fit and seam alignment. By demounting, inspecting, and realigning the components, you can ensure optimal functionality and aesthetics. This process is crucial for maintaining the vehicle’s safety features and preserving its sleek design. With proper care and attention to detail, you’ll have a game-changer in enhancing your Tesla’s overall appearance, all while avoiding costly repairs down the line. Remember, when it comes to Tesla taillight assembly repair, navigating these steps can be a symphony of precision and satisfaction.