


Tesla charging ports require regular maintenance to prevent issues like loose connections and damage due to weather. Gather necessary tools and high-quality replacement parts for DIY repair. Follow a step-by-step process for safe port removal, inspection, repair/replacement, reassembly, and testing using a compatible charger.
“Uncover the essentials of Tesla charging port repair with our comprehensive guide. Learn to identify common issues plaguing these crucial components, from loose connections to physical damage. Equip yourself with the necessary tools and materials for a successful fix. Follow our straightforward, step-by-step instructions to restore your Tesla’s charging capability. Master these basics and tackle future repairs with confidence, ensuring seamless electric vehicle charging experiences.”
- Identifying Common Tesla Charging Port Issues
- Tools and Materials for Repair
- Step-by-Step Guide to Fixing the Port
Identifying Common Tesla Charging Port Issues

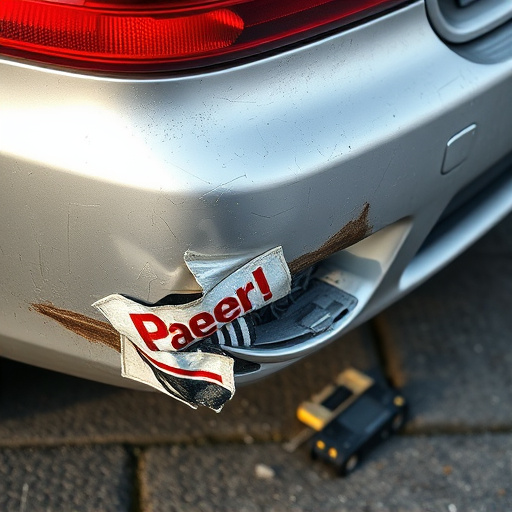
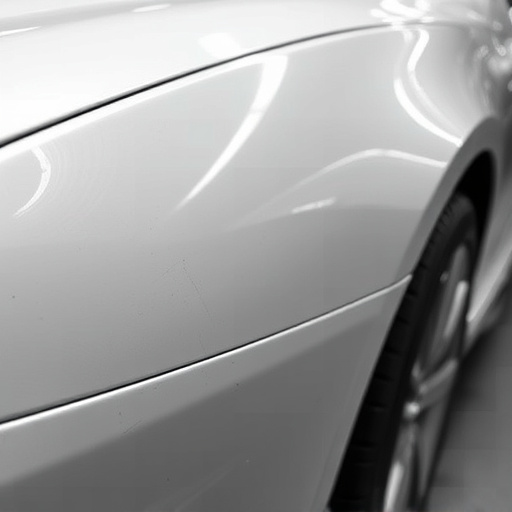
Tesla charging ports are integral to the electric vehicle (EV) experience, and ensuring their optimal condition is crucial for seamless charging sessions. Common issues that owners often encounter include loose connections, port damage, or even complete disconnection from the car’s electrical system. These problems may arise due to frequent use, exposure to harsh weather conditions, or accidental damage during parking or while charging at public stations.
One of the most noticeable signs of trouble is when a charging cable struggles to make a secure connection or experiences intermittent disconnections. This could be attributed to worn-out ports or damaged connectors. Additionally, visual inspections should reveal no signs of dents, cracks, or other physical impairments, as these can compromise the structural integrity and electrical performance of the charging port. Regular maintenance, such as keeping the port clear of debris and moisture, can prevent many of these issues from occurring, especially in regions with extreme weather conditions, much like those encountered when comparing mercedes benz repair to auto collision center services for hail damage repair.
Tools and Materials for Repair

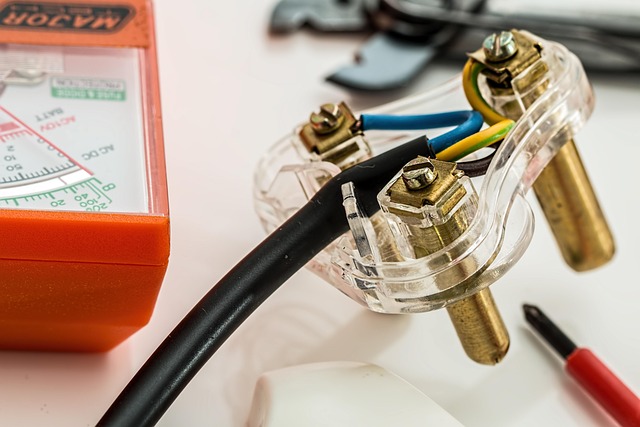
When it comes to repairing a Tesla charging port, the right tools and materials are essential for a successful and safe outcome. For this task, you’ll need a variety of specialized equipment designed for precision work. Start with basic hand tools like wire strippers, pliers, and screwdrivers in various sizes. These will help you disassemble and reassemble components carefully. Additionally, a digital multimeter is invaluable for testing electrical connections and ensuring they’re restored to proper function.
Beyond hand tools, consider investing in high-quality replacement parts specifically designed for Tesla charging ports. This might include connector housing, cables, or adaptors, depending on the extent of the damage. While some auto repair services offer replacement parts, doing your own repairs can often be more cost-effective, especially since Tesla models have unique charging requirements. Remember, proper preparation and having the right materials will make any Tesla charging port repair process smoother and more efficient, ensuring your vehicle is back to its electric best in no time.
Step-by-Step Guide to Fixing the Port
Fixing a damaged Tesla charging port involves careful steps to ensure proper connection and longevity of your electric vehicle’s charging system. Here’s a straightforward guide for Tesla charging port repair:
1. Safety First: Begin by ensuring the car is unplugged from any power source. Safety glasses and work gloves are essential as you’ll be handling delicate components. The battery pack should be chilled before starting repairs to minimize thermal stress.
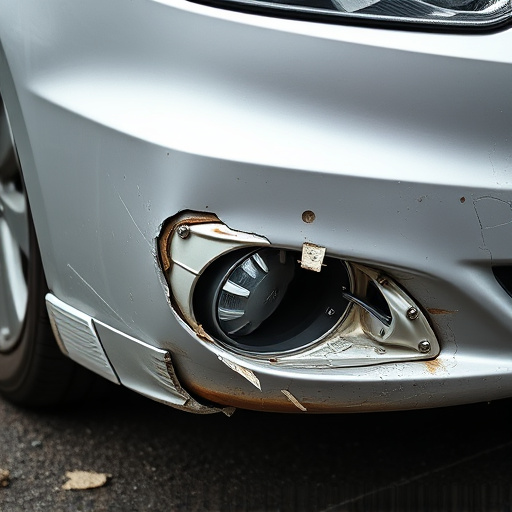
2. Inspect the Damage: Examine the charging port for cracks, breaks, or loose connections. Common issues include dents, scratches, or debris buildup that can disrupt charging. Use a flashlight for better visibility if necessary.
3. Remove the Port Safely: Detach the charging cable from the vehicle and then carefully take out the damaged port using appropriate tools. This involves unscrewing securing bolts and removing any retaining clips. Remember, these components are precisely designed, so handle them with care to avoid further damage or misalignment.
4. Repair or Replace: Depending on the extent of damage, you might need to repair it by cleaning corrosion, replacing damaged parts, or using specialized adhesive for certain types of cracks. For severe cases, a complete port replacement is recommended.
5. Reassemble: Once repairs are done or the new port is installed, precisely reassemble all components, ensuring proper connections and alignment. Double-check every bolt and clip to secure the charging port firmly in place.
6. Test the Port: After finishing the repair, plug in a compatible charger to test the functionality. Verify that the charging light illuminates and the vehicle accepts power as expected.
Tesla charging port repair is a crucial skill for any owner facing common issues. By understanding the basic steps outlined in this article, from identifying problems to the necessary tools and a step-by-step guide, you can efficiently address and resolve charging port concerns. Remember, prompt action on minor issues prevents bigger, more costly repairs down the line, ensuring your Tesla remains in optimal condition for years to come.