

After a collision, specialized tools and expertise are needed to diagnose and repair Tesla MCU issues affecting audio and camera functions. Reputable auto repair shops assess hardware damage, software corruption, and wiring harness tears, replacing components as required and calibrating reassembled units for optimal performance. Proper handling ensures your Tesla's MCU operates safely and effectively after collision repairs.
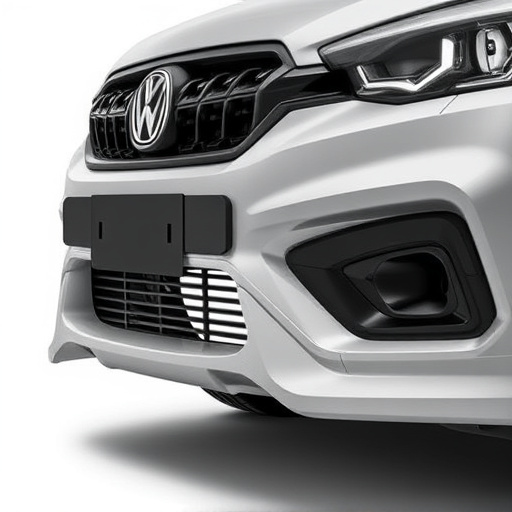
After a collision, Tesla vehicles may experience audio and camera display issues due to potential damage to their central processing unit (MCU). Understanding the Tesla MCU—a powerful computer that controls various functions, including infotainment and driver assistance systems—is crucial for effective repairs. This article delves into the assessment of post-collision damage, specifically focusing on audio and camera malfunctions, followed by a step-by-step guide to repairing or replacing the Tesla MCU to ensure optimal vehicle performance after an accident.
- Understanding Tesla MCU: The Brain Behind the Display
- Post-Collision Damage Assessment for Audio and Camera
- Repair Process: Step-by-Step Guide to Revival
Understanding Tesla MCU: The Brain Behind the Display
The Tesla MCU (Microcontroller Unit) is essentially the “brain” behind the vehicle’s display and control systems. It coordinates the functions of various electronic modules, ensuring seamless integration between the car’s audio, camera, navigation, and other entertainment features. In the event of a collision, however, this intricate system can be disrupted, leading to issues like faulty audio output or camera malfunction.
Understanding the Tesla MCU is crucial when addressing repairs after a collision. Unlike traditional auto maintenance where parts are simply replaced, MCU repair involves specialized diagnostic tools and expertise to pinpoint the exact cause of the problem. Trusted auto repair shops equipped with advanced diagnostics can effectively handle MCU-related issues, ensuring your Tesla returns to its optimal state post-collision, complete with flawless audio display and camera functionality.
Post-Collision Damage Assessment for Audio and Camera

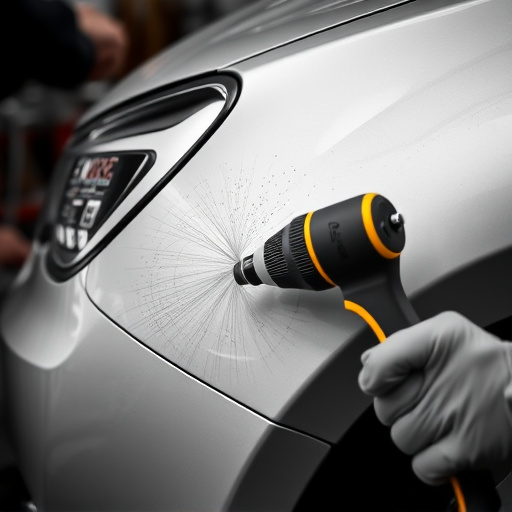
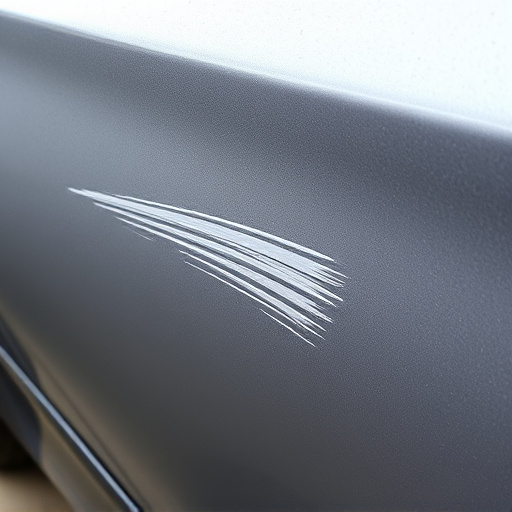
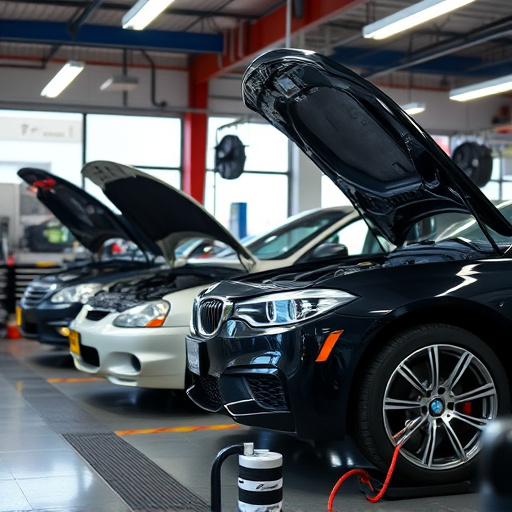
After a collision, a thorough assessment is crucial for identifying any damage to a Tesla’s Multi-Computer Unit (MCU). The MCU is a complex system that controls various functions, including audio and camera displays, making its repair a specialized task. Skilled technicians in a reputable vehicle body shop or car repair shop will use advanced diagnostic tools to scan the MCU for errors and defects. They’ll inspect the hardware for visible signs of damage, such as cracks or loose connections, while also checking the wiring harness for any tears or disconnections.
During this process, they might discover issues like faulty sensors, malfunctioning displays, or even software corruption that requires a Tesla MCU repair. The goal is to restore the system’s functionality and ensure it operates seamlessly again, addressing audio and camera display problems post-collision effectively. Proper repairs are essential for safety and peace of mind, ensuring your Tesla returns to its pre-accident condition in terms of car bodywork and performance.
Repair Process: Step-by-Step Guide to Revival

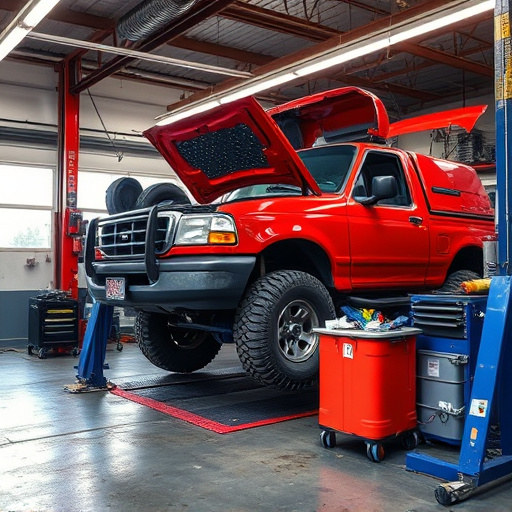
After a collision, Tesla’s Multi-Computer Unit (MCU) can suffer damage, leading to issues with audio and camera displays—a common concern for Tesla owners. The MCU is a complex system that controls various functions of the vehicle, so repairing it requires specialized knowledge and tools.
Here’s a simplified step-by-step guide to help bring your Tesla MCU back to life after a collision:
1. Safety First: Begin by ensuring the vehicle is safe to work on. Unplug the battery to avoid any electrical hazards.
2. Diagnose the Problem: Use specialized software tools to connect to the OBD-II port and identify specific errors related to audio and camera malfunctions. This step is crucial to pinpointing the issue accurately.
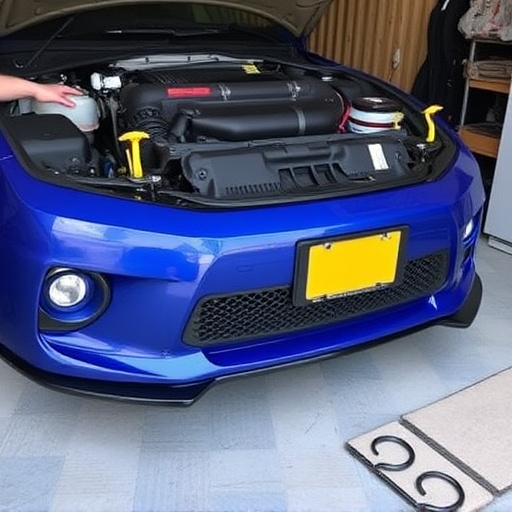
3. Inspect Physical Damage: Examine the MCU for visible damage, such as cracks or corrosion. Compare it with a known good unit if available.
4. Replace Faulty Components: Depending on the diagnosis, replace faulty components like sensors, capacitors, or resistors. A professional auto glass repair service might be required for specific parts.
5. Reassemble and Calibrate: Once all components are replaced, carefully reassemble the MCU, ensuring proper connections. Follow manufacturer guidelines for calibration to avoid any post-repair glitches.
6. Test Functionality: After calibrating, conduct thorough tests of audio and camera displays. Verify that all functions work seamlessly before considering the repair complete.
7. Final Checks at an Automotive Body Shop: For added peace of mind, take your Tesla to a reputable automotive body shop for a final inspection.
After a collision, Tesla’s advanced Multi-Computer Unit (MCU) can experience issues with audio and camera displays. Understanding the MCU as the car’s central nervous system is key to addressing these problems effectively. Through meticulous post-collision damage assessment and a structured repair process, it’s possible to revive the MCU and restore seamless functionality for safety and enhanced driving experience. For optimal results, follow a step-by-step guide tailored to Tesla MCU repair after collision, ensuring your vehicle returns to its original state.