


The Mercedes Illuminated Star repair requires skill and safety precautions. It involves disconnecting the battery, wearing protective gear, and meticulously following removal and reinstallation steps. Cleanliness enhances aesthetics and future maintenance. Parking on a level surface, using a jack and stands, inspecting for damage, and securing the star with clean mounting holes are crucial steps.
Learn how to safely remove and reinstall a Mercedes-Benz illuminated star, a distinctive emblem enhancing your vehicle’s style. This guide covers everything from understanding the component’s function to ensuring proper safety precautions during disassembly and reinstallation. We provide detailed step-by-step instructions for successful Mercedes illuminated star repair, enabling you to restore your car’s original allure with confidence.
- Understanding the Mercedes Illuminated Star
- Safety Precautions for Removal and Reinstallation
- Step-by-Step Guide to Repairs
Understanding the Mercedes Illuminated Star
The Mercedes Illuminated Star is a distinctive emblem that adorns many Mercedes-Benz vehicles, serving both as a stylish accent and a symbol of the brand’s heritage. This iconic star is not merely for aesthetics; it’s an integral part of the vehicle’s identity. Over time, however, it may require repair or reinstallation due to damage, wear, or simply normal aging.
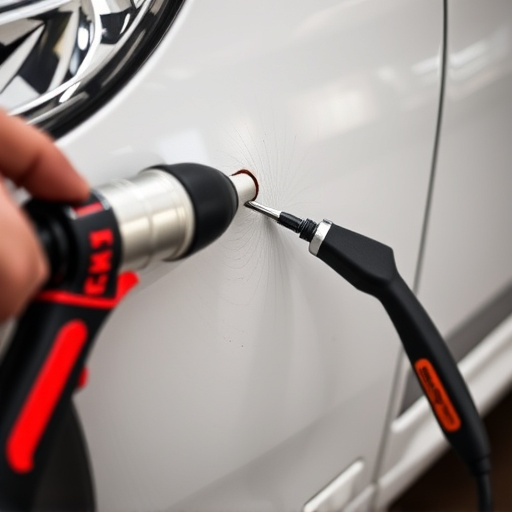
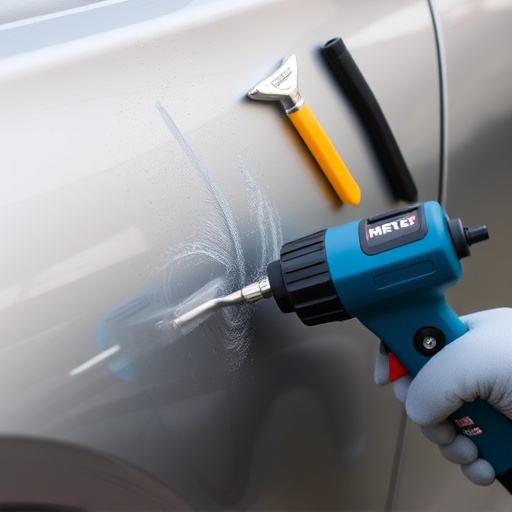
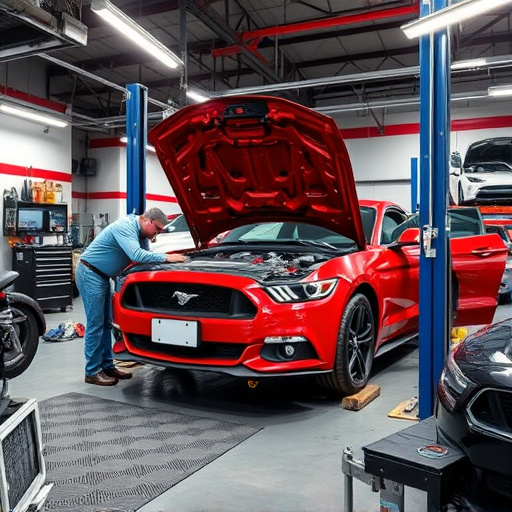
Understanding the construction of the illuminated star is key to its successful repair. Unlike traditional stickers or painted designs, this emblem often features intricate LED lighting systems integrated into a thin, flexible base. This allows for both its distinctive glow and its ability to conform to the vehicle’s curved surfaces. A skilled mechanic or DIY enthusiast might opt for a paintless dent repair technique, carefully removing and replacing damaged components while preserving the original finish. Alternatively, visiting a collision center for professional assistance could be the best course of action, ensuring precise restoration without compromising the star’s functionality or the vehicle’s overall integrity.
Safety Precautions for Removal and Reinstallation
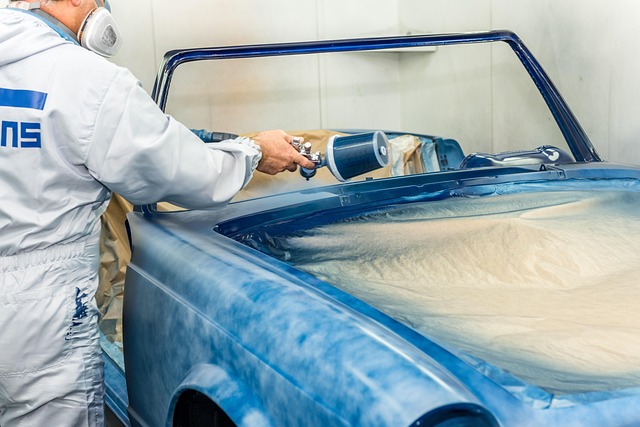
When tackling a Mercedes illuminated star repair, prioritizing safety is paramount. Before beginning any removal process, ensure your vehicle’s battery is disconnected to avert short circuits and potential shocks. Wearing protective gear, including gloves and safety glasses, shields you from debris and sharp edges during disassembly. A well-lit workspace further enhances precision and prevents mistakes that could lead to injuries or damage to the vehicle.
For reinstallation, follow the reverse steps meticulously. Ensure all components are in their proper places and securely fastened. Regular cleaning of the illuminated star assembly and surrounding areas not only improves aesthetics but also facilitates easier access during future maintenance. Remember, meticulous attention to detail throughout the repair process, whether it’s auto body repairs or car dent repair, ensures a flawless restoration akin to the car’s original condition.
Step-by-Step Guide to Repairs
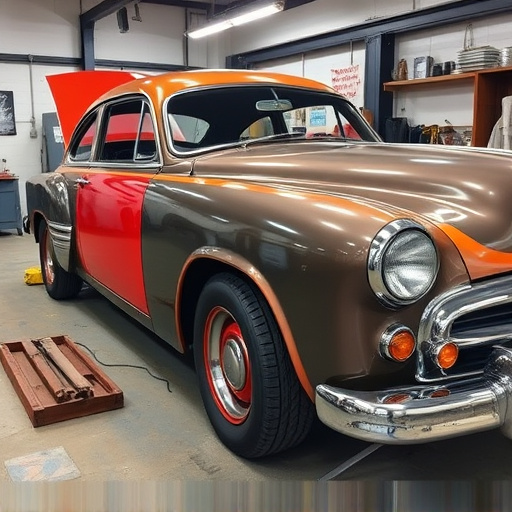
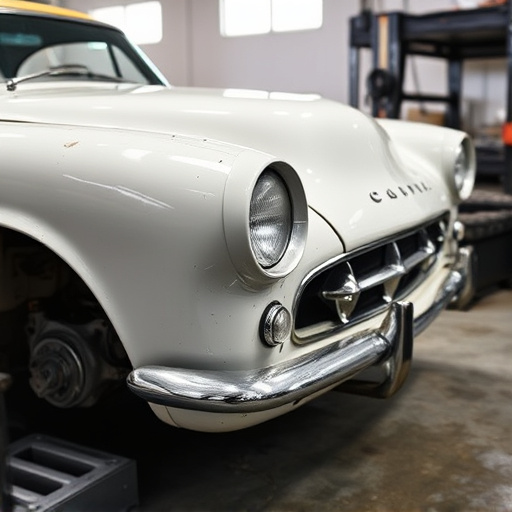
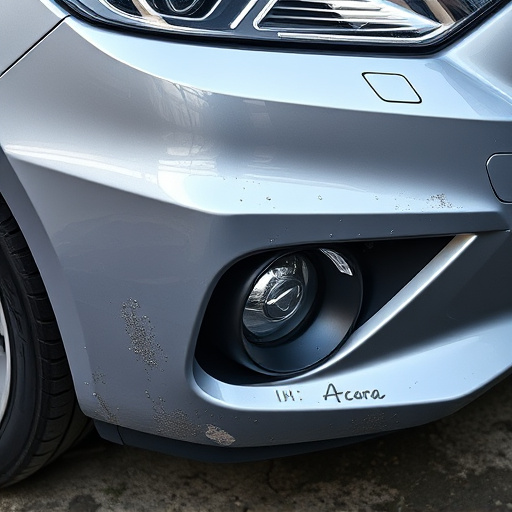
To safely remove and reinstall a Mercedes illuminated star, begin by ensuring your vehicle is parked on a level surface with parking brakes engaged for stability during the process. Put on safety goggles to protect your eyes from any debris or components that might fall off. Using a jack and jack stands, carefully lift the affected area of the car to gain access to the illuminated star. Before proceeding, inspect the surrounding panel for signs of damage, such as dents or cracks, which may indicate larger auto body repairs are needed.
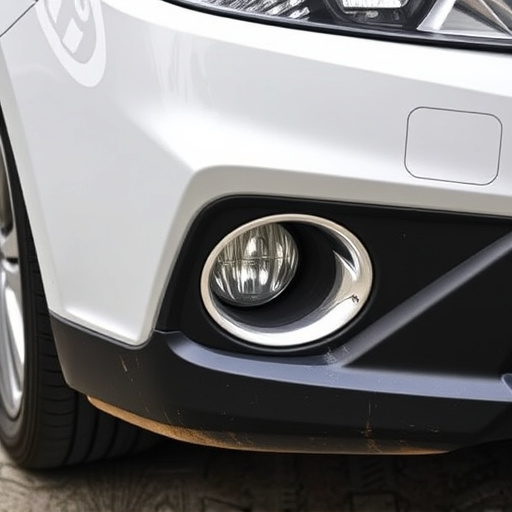
Once the vehicle is securely lifted, locate the bolts holding the illuminated star in place and loosen them with a suitable torque wrench. Gently pull out the damaged star to assess its condition. If it’s severely cracked or broken, consider replacing it entirely to avoid compromising the integrity of your car’s exterior. After examining the area, clean any dirt or debris from the mounting holes. Reinstall a new or repaired illuminated star by tightening the bolts securely but without excessive force to prevent stripping or further damage during vehicle collision repair. Lower the vehicle and verify that the star is aligned correctly before parking it on the ground.
The safe removal and reinstallation of the Mercedes illuminated star is a crucial aspect of vehicle maintenance. By understanding the process, adhering to safety precautions, and following a structured guide, car owners can effectively address this component’s repair without compromising their safety or the car’s integrity. Remember that proper care for the Mercedes illuminated star not only enhances its appearance but also contributes to the overall durability of your vehicle. For any issues pertaining to Mercedes illuminated star repair, these steps serve as a reliable framework to ensure a successful outcome.