
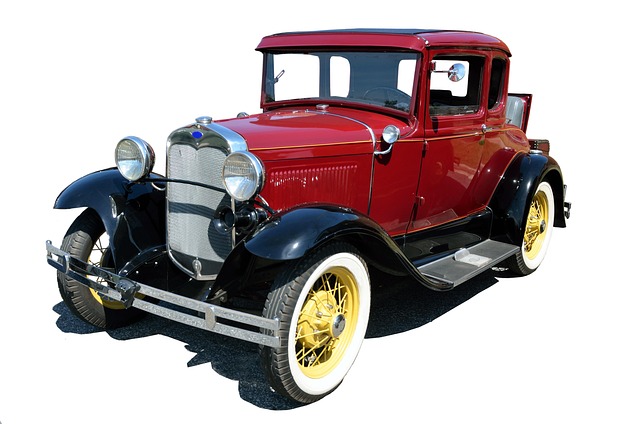

Base coat clear coat repair is crucial in auto painting for maintaining pristine vehicle finishes, protecting against environmental damage, and enhancing aesthetics. Common exterior issues like chips, cracks, and scratches require prompt repair to prevent further deterioration caused by UV radiation, dirt, and corrosion. The meticulous process involves thorough washing, sanding, priming with automotive primer, applying a matching base coat, and finishing with a durable clear coat to restore showroom condition and protect the vehicle's value.
“Revive your vehicle’s glossy exterior with a deep dive into the world of base coat clear coat repair. This powerful technique restores a showroom shine, addressing damage caused by scratches, swirls, or environmental factors. Understanding the protective duo—the base coat and clear coat—is key to successful repair. Identify when your vehicle needs this treatment through signs of damage. We’ll guide you through a step-by-step process to ensure your car gleams like new, providing a lasting, protective finish.”
- Understanding Base Coat and Clear Coat: The Protective Duo
- When Repair is Necessary: Signs and Causes of Damage
- Step-by-Step Guide: Restoring Showroom Shine Through Repair
Understanding Base Coat and Clear Coat: The Protective Duo
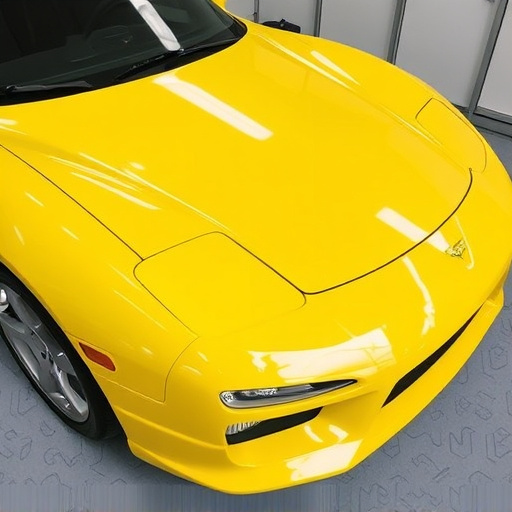
In the world of auto painting and vehicle bodywork, understanding the role of base coat and clear coat is crucial for achieving and maintaining a showroom shine. Base coat, often referred to as primer, serves as a protective barrier between the car’s metal surface and the final color layer. It helps seal in imperfections, ensuring an even application of paint. On top of this base lies the clear coat, a durable, glossy finish that not only adds aesthetic appeal but also acts as a shield against environmental factors like UV rays, dirt, and minor scratches.
Together, base coat and clear coat form a dynamic duo in car bodywork services. A well-executed base coat clear coat repair can restore damaged vehicles to their former glory, enhancing the vehicle’s overall aesthetics and protection. This process involves expertly applying new clear coat over existing layers to fill in chips, cracks, or faded areas, thereby reverting the car to its showroom condition.
When Repair is Necessary: Signs and Causes of Damage
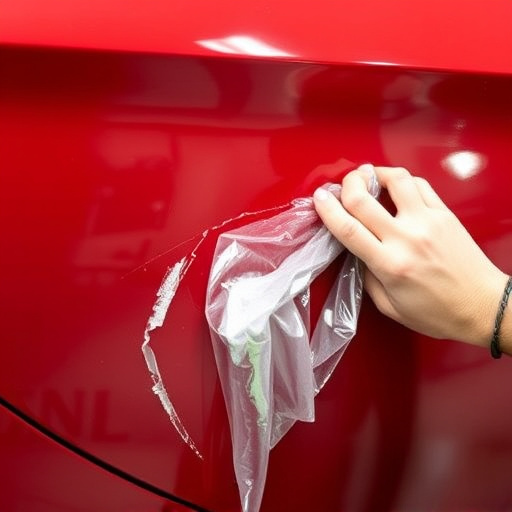
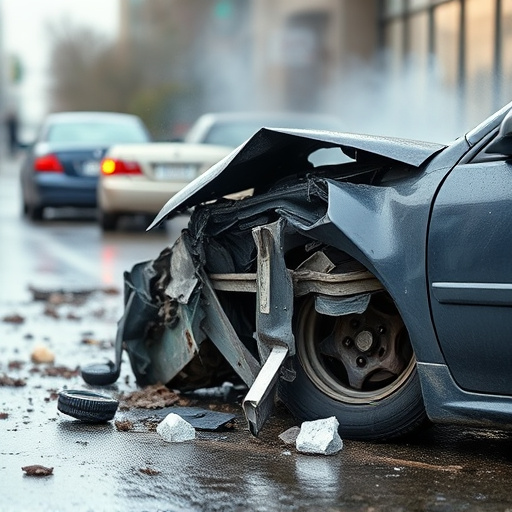
The exterior finish of a vehicle takes quite a beating from everyday use and environmental factors. Over time, this can lead to visible signs of damage, such as chips, cracks, and scratches on both the base coat and clear coat layers. These issues not only detract from the vehicle’s aesthetics but also compromise its protective barrier against elements like UV radiation, dirt, and corrosion. When left unaddressed, even minor imperfections can escalate, requiring prompt attention to prevent further damage.
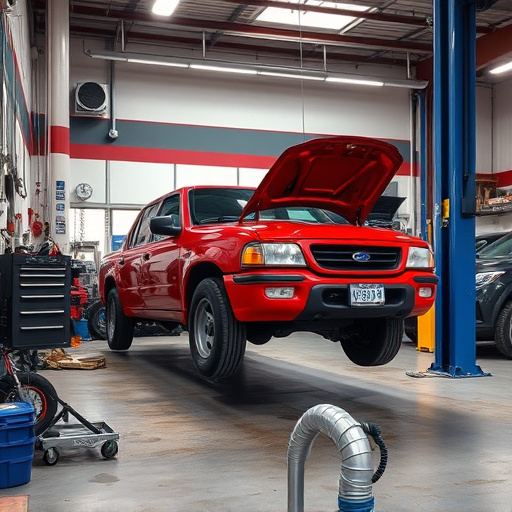
Several factors contribute to the necessity of base coat clear coat repair. Common causes include minor collisions, stone chips, tree sap, bird droppings, and exposure to harsh weather conditions. A collision with another vehicle or a curb can cause significant damage, while environmental elements like salt, acid rain, and UV rays accelerate the aging process of the paintwork. Regular washing and waxing help maintain the finish, but professional intervention is often required to restore the showroom shine that protects the car’s value and appearance. Collision repair shops provide essential collision repair services, utilizing specialized equipment and expertise to accurately assess and fix these issues, ensuring the vehicle’s exterior looks as good as new.
Step-by-Step Guide: Restoring Showroom Shine Through Repair
Restoring showroom shine through base coat clear coat repair involves a meticulous process that can transform a faded or damaged vehicle into its former glory. Here’s a step-by-step guide to help you achieve this:
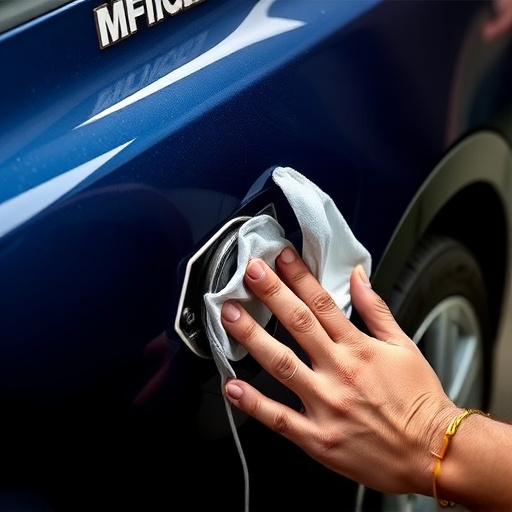
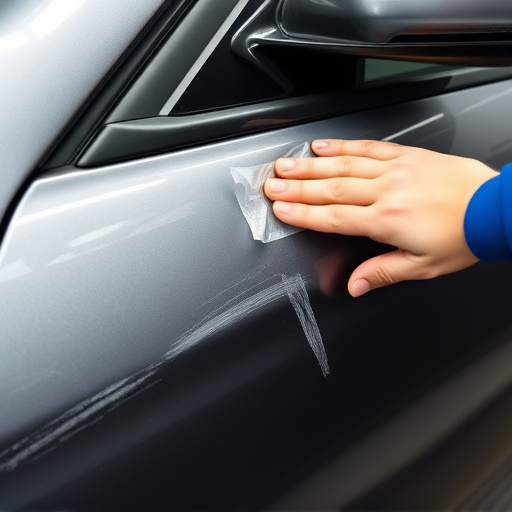
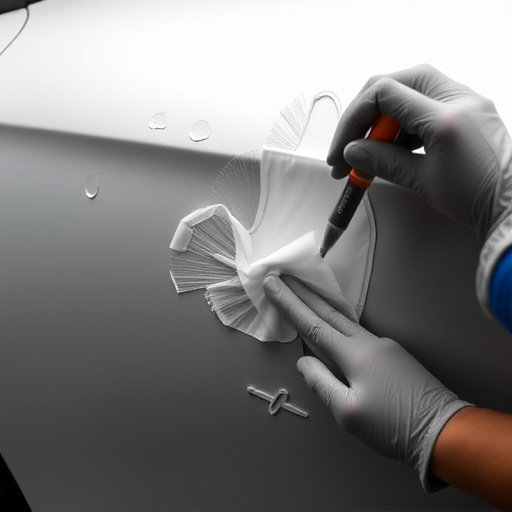
1. Prepare the Surface: Start by thoroughly washing and drying your vehicle to remove any dirt, dust, or debris. This ensures that the repair process begins with a clean canvas. For auto maintenance enthusiasts, this is also a good time to inspect the paint for any chips, cracks, or significant imperfections.
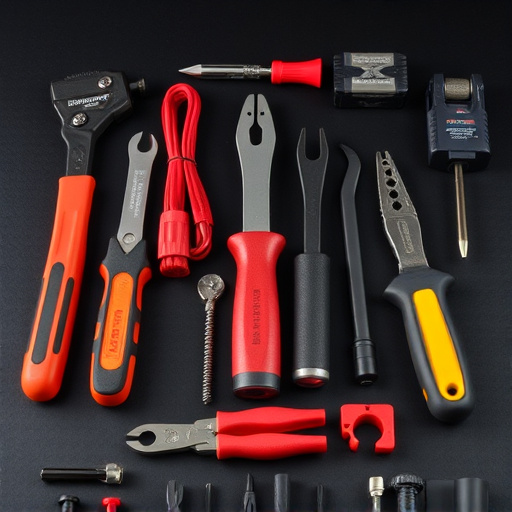
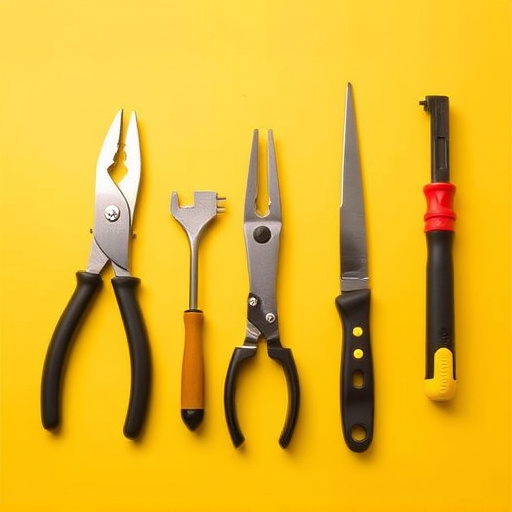
2. Sand and Prime: Using fine-grit sandpaper, gently sand the damaged area to ensure the base coat clear coat repair adheres properly. After sanding, wipe away dust with a damp cloth. Apply an automotive body work primer designed for repairing vehicles. This step is crucial as it provides a smooth surface and ensures better adhesion for the subsequent layers.
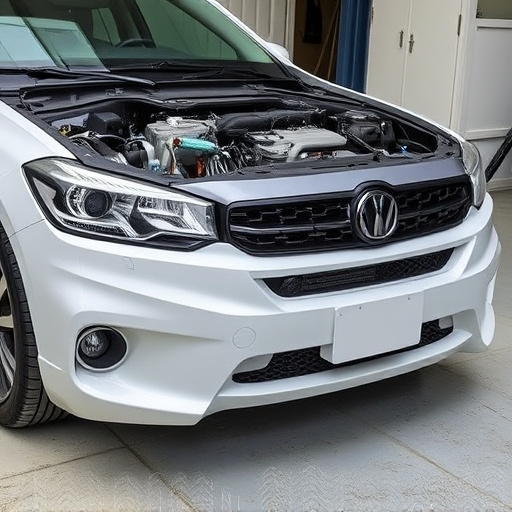
3. Apply the Base Coat: Choose a base coat that matches your vehicle’s paint colour. Using a small brush or roller, apply an even layer of base coat over the damaged area. Ensure complete coverage to match the surrounding paint perfectly. Allow it to dry as per the manufacturer’s instructions.
4. Add the Clear Coat: Once the base coat is dry, apply a clear coat that offers superior durability and protection. This final layer not only restores the showroom shine but also shields the vehicle from UV damage and other environmental factors. Allow this top coat to cure fully for optimal results.
Base coat clear coat repair is a game-changer for restoring your vehicle’s showroom shine. By understanding the protective duo of base and clear coats, identifying signs of damage, and following a step-by-step guide, you can effectively navigate the repair process. This not only enhances the aesthetics of your car but also safeguards its finish against future damage, ensuring it looks as good as new for years to come. Implement these strategies for optimal results, leaving your vehicle gleaming and protected.