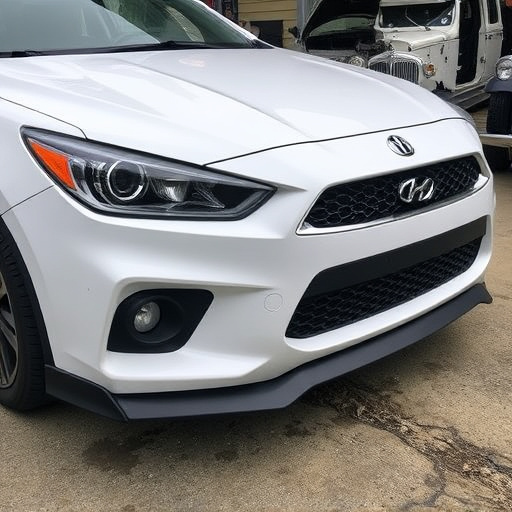
Before repairing and matching Tesla pearl white paint, thoroughly clean and inspect the damaged area, removing contaminants. Gently buff with fine-grit sandpaper (2000-3000) to fill minor imperfections, then wipe away dust. Prime the surface with high-quality car primer, especially for rust or previous repair work. For deeper scratches or dents, consider professional auto body repairs before proceeding. Sand damaged areas lightly, maintaining contours, and prime with automotive pearl white primer for optimal adhesion.
“Mastering the art of matching Pearl White paint on your Tesla is a must for any DIY enthusiast or professional restorer. This comprehensive guide takes you through the entire process, from preparing the surface to achieving a flawless finish. We’ll show you how to inspect and clean damaged areas, mix and apply the perfect shade of Tesla pearl white paint, and finish with expert tips for long-lasting protection. Whether you’re repairing nicks or repainting your entire vehicle, these steps ensure your Tesla shines with professional-level precision.”
- Preparing the Surface for Paint Matching
- – Inspecting and cleaning the damaged area
- – Sanding and priming for optimal adhesion
Preparing the Surface for Paint Matching

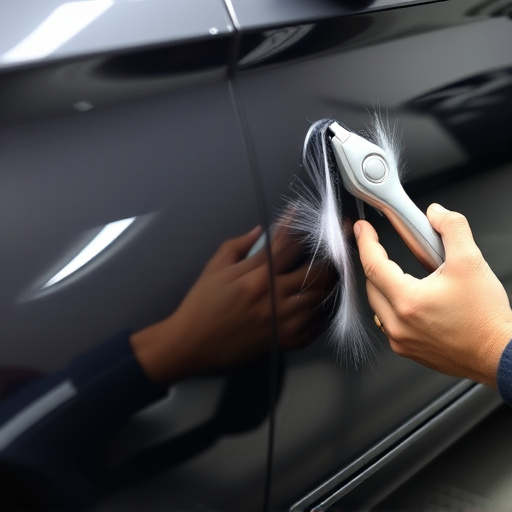
Before attempting to match the Tesla pearl white paint, preparing the surface is crucial for achieving a professional finish. Start by thoroughly inspecting the damaged area and surrounding surfaces to ensure they are clean and free from any contaminants like dirt, grease, or old residue. A quick wash and wipe-down with a microfiber cloth can help remove any visible impurities. Once the area is clean, use fine-grit sandpaper (around 2000-3000 grit) to gently buff the surface, creating a smooth base for painting. This process helps to fill in minor imperfections and ensures an even application of paint.
After sanding, it’s essential to remove any remaining dust particles using a clean, dry cloth. Prime the surface with a high-quality primer designed specifically for car paint services, especially if there is any rust or previous repair work. Priming acts as a bridge between the old and new paint, providing a fresh canvas for your Tesla pearl white paint repair. This step significantly improves adhesion and ensures long-lasting results from the vehicle body shop.
– Inspecting and cleaning the damaged area
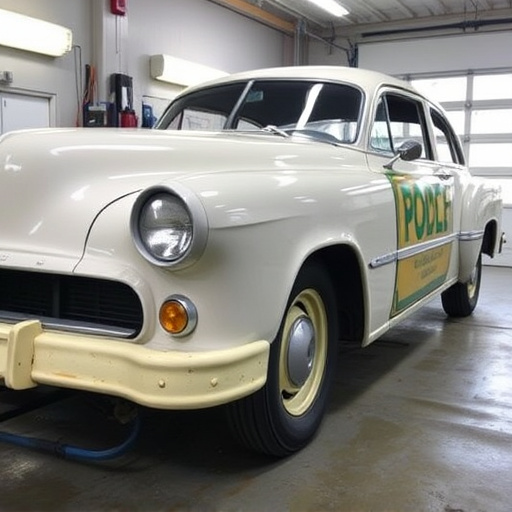
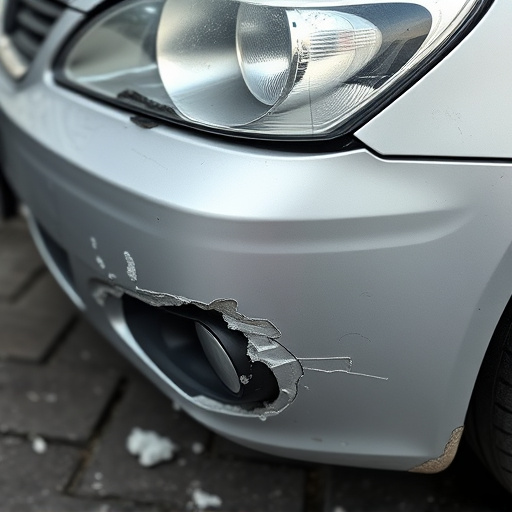
Before attempting to match the Tesla’s pearl white paint, it’s crucial to thoroughly inspect and prepare the damaged area. Begin by assessing the extent of the damage—is it a small chip, a dent, or a more significant scratch? For minor imperfections, cleaning is often the first step. Use a soft cloth and a mild soap solution to gently clean the affected surface, removing any dirt, grease, or contaminants that could interfere with paint matching.
For deeper scratches or dents, consider professional auto body repairs, especially if they affect the car’s structural integrity. Collision repair services offer specialized tools and expertise to fix these issues, ensuring a smooth base for painting. Once the area is clean and repaired, you’re ready to move on to the next step of the paint-matching process, aiming for a flawless finish that replicates the original Tesla pearl white.
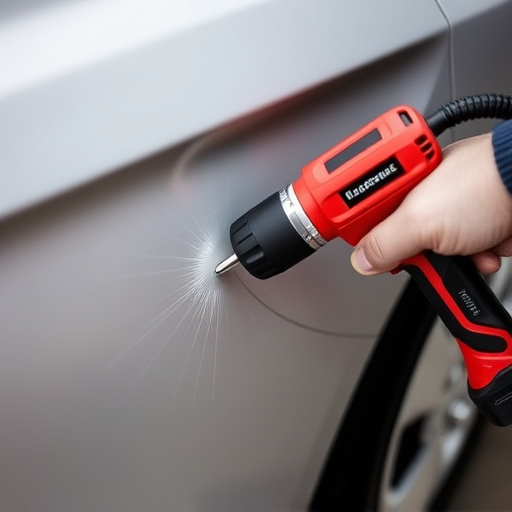
– Sanding and priming for optimal adhesion
For a seamless match with Tesla pearl white paint, proper preparation is key. Start by lightly sanding the damaged area to create a smooth surface and remove any imperfections or debris that could hinder adhesion. Using fine-grit sandpaper, be gentle around the edges and contours of the car to maintain its original shape. Once the surface is smooth, it’s crucial to prime the area. Applying an appropriate primer acts as a bridge between the paint and the metal, ensuring optimal adhesion. Choose a high-quality automotive primer designed for pearl white finishes; this will help create a strong bond that withstands the specific hues and undertones of Tesla’s signature pearl white paint.
Remember, meticulous sanding and priming are essential steps in achieving a professional repair for your Tesla pearl white paint, ensuring long-lasting results that match the car’s original finish perfectly. This preparation is vital to counteracting issues like poor adhesion or an uneven final coat, which can be particularly noticeable on a car’s glossy white exterior.
To achieve expert-level matching of Tesla’s Pearl White paint, meticulous preparation is key. By thoroughly inspecting and cleaning the damaged area, followed by precise sanding and priming, you lay the foundation for a flawless repair. Remember that achieving an exact match requires patience and attention to detail, but with the right techniques, you can restore your Tesla’s aesthetic to its original, vibrant glory, ensuring it stands out on the road just like new.