


Tesla door handle repair is a detailed process focused on maintaining vehicle aesthetics and structural integrity. It involves inspection, disassembly, replacement of damaged parts, realigning metal components, and quality control checks. The right tools, compatible materials, and safety precautions are crucial for successful repairs, ensuring both functionality and Tesla's high aesthetic standards are met.
Thinking your Tesla’s door handles need some TLC? You’re not alone. Even the most careful drivers can face wear and tear over time. This comprehensive guide dives into the proper Tesla door handle repair process, ensuring your vehicle retains its sleek design and reliable functionality. From understanding the repair process to gathering the necessary tools and a step-by-step approach, this article equips you with the knowledge to tackle the job effectively.
- Understanding Tesla Door Handle Repair Process
- Tools and Materials Required for the Job
- Step-by-Step Guide to Effective Tesla Door Handle Repair
Understanding Tesla Door Handle Repair Process

Understanding Tesla Door Handle Repair Process
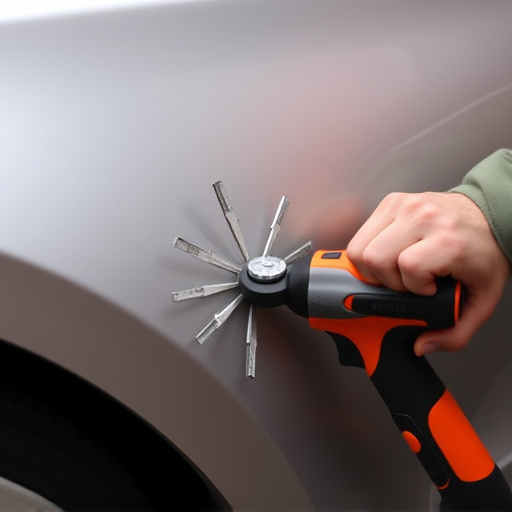
Tesla door handle repair involves a meticulous process designed to maintain the vehicle’s aesthetic and structural integrity. It begins with a thorough inspection to identify the exact issue, whether it’s a broken or loose handle, worn-out components, or damage to the surrounding panel. For more complex issues like frame straightening, where the door may have been bent in an accident, experienced technicians at a reputable vehicle body shop play a crucial role. They use specialized tools and techniques to realign the metal, ensuring the door opens and closes smoothly without compromising the vehicle’s overall safety.
Once the door is correctly aligned, the repair team moves on to replacing any damaged or faulty parts. This could include not just the visible handle but also internal mechanisms and connectors that ensure proper function. For tasks requiring precision, such as auto glass replacement, technicians employ advanced techniques to ensure seamless integration with the existing frame. Throughout the process, quality control checks are conducted to guarantee that the repair meets Tesla’s high standards for both functionality and aesthetics.
Tools and Materials Required for the Job

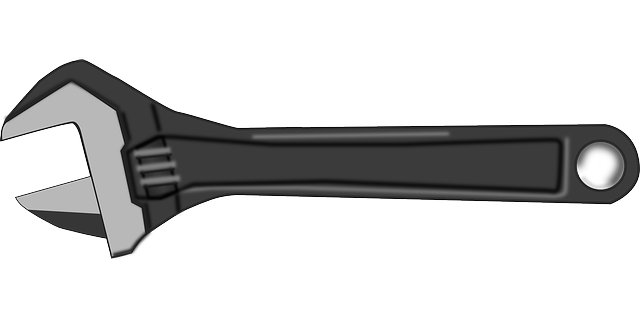
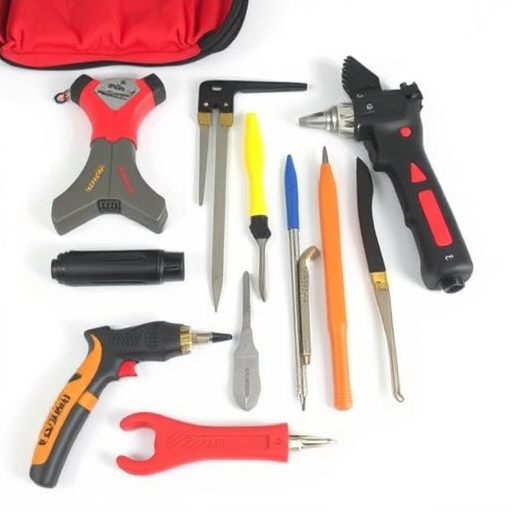
To properly undertake a Tesla door handle repair, certain tools and materials are essential. For most repairs, you will need a set of basic automotive tools including a wrench set, pliers, screwdrivers (both flathead and Phillips), and a utility knife. These tools allow for safe removal of the old door handle while ensuring minimal damage to other components of the car door.
Additionally, specific materials tailored to Tesla vehicles are required. This includes replacement door handles, seals, and gaskets that are compatible with your Tesla model. Some auto repair shops also stock adhesive and sealants designed for automotive use, which can help ensure a durable fix. For minor issues like scuffs or scratches, specialized car scratch repair kits can be used to restore the door handle’s aesthetic appeal, making it an invaluable addition to any DIY kit or regular maintenance at a reputable car body shop.
Step-by-Step Guide to Effective Tesla Door Handle Repair

Repairing a Tesla door handle requires precision and attention to detail, especially when aiming for a factory-like finish. Here’s a step-by-step guide to help you through the process:
1. Safety First: Before starting any repair work, ensure your vehicle is safely secured and all necessary safety precautions are in place. This includes wearing protective gear, such as gloves and eye protection. With Tesla models, the unique design of the door handles also calls for a specific tool set to avoid damaging nearby components during disassembly.
2. Disassemble with Care: Carefully remove the damaged door handle by detaching any visible connections and screws. The process might vary slightly depending on your Tesla model year and trim level, so refer to your vehicle’s service manual for precise instructions. This step often involves carefully prying off the old handle while ensuring nearby wiring and sensors remain intact.
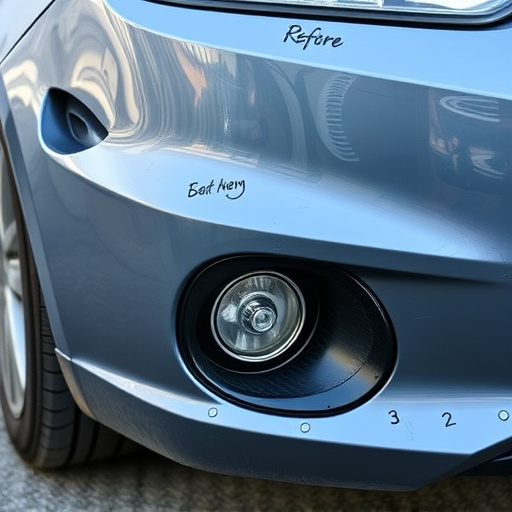
3. Inspect and Prepare: Once the old handle is removed, thoroughly inspect the door panel and surrounding area for any signs of damage or wear. Clean the surface with automotive-grade cleaner to ensure proper adhesion when reinstalling new components. This meticulous approach is key to achieving a seamless vehicle restoration.
4. Replace and Reassemble: Procure a genuine Tesla replacement door handle, ensuring it’s compatible with your specific model. Carefully install the new handle, aligning it precisely for a flush fit. Reattach any removed wiring or sensors correctly. Use high-quality adhesives and sealing compounds to secure the handle in place, maintaining Tesla’s renowned quality standards.
5. Final Touches: After reassembling, test all functions of the door handle thoroughly. Double-check for any leaks or misalignments. When satisfied with the repair, take your vehicle to a trusted auto collision center or collision repair shop for a final inspection and touch-up if needed, ensuring your Tesla’s exterior looks as good as new.
Tesla door handle repair is a process that requires precision and the right tools. By understanding the steps involved, from identifying the issue to replacing the faulty component, owners can effectively address this common problem. With the proper knowledge and materials, such as specialized sockets, torx drivers, and replacement handles, you can restore your Tesla’s security and aesthetics in no time. For a seamless experience, follow these guidelines for successful Tesla door handle repair.