


Tesla door handles require regular maintenance due to wear, environmental factors, and potential manufacturing defects, such as loose or stiff handling, opening/closing difficulties, and corrosion, especially in humid regions exacerbated by road salt. Proactive auto maintenance is crucial to prevent minor issues from escalating into safety hazards. Before repairing, gather professional-grade tools for precision and efficiency, ensuring minimal damage to other components. Although it may seem daunting, a structured approach makes Tesla door handle repair achievable. Prioritize safety, disassemble the faulty handle, inspect for damage, replace worn-out parts, reassemble, and test each component before closing the door. For significant damage, consult professional auto body repair services.
Looking to fix your Tesla’s stubborn or damaged door handles? You’re not alone. Many Tesla owners face similar issues. This comprehensive guide, crafted by professionals, offers valuable insights into diagnosing and repairing common Tesla door handle problems. We’ll walk you through the process step-by-step, ensuring you have the right tools and knowledge for a successful repair. Get ready to reclaim smooth, responsive door functionality for your electric vehicle.
- Understanding Common Tesla Door Handle Issues
- Gathering the Right Tools for Repair
- Step-by-Step Guide to Fixing Your Tesla's Door Handles
Understanding Common Tesla Door Handle Issues

Tesla door handles, like any other mechanical component, are subject to wear and tear over time. Common issues include loose or stiff handling, difficulty in opening or closing, and even complete failure, leading to the need for a Tesla door handle repair. These problems can be attributed to various factors such as environmental exposure, frequent use, or manufacturing defects.
One of the primary causes of trouble is corrosion, especially in regions with high humidity levels. The salt used in de-icing roads during winters can accelerate rusting, compromising the integrity of the door handles. Another common problem is the misalignment of the handle mechanism, often due to impact or accidental damage, resulting in a frustrating user experience. Regular auto maintenance and timely repairs are crucial in addressing these issues before they escalate, ensuring both safety and convenience for Tesla owners.
Gathering the Right Tools for Repair

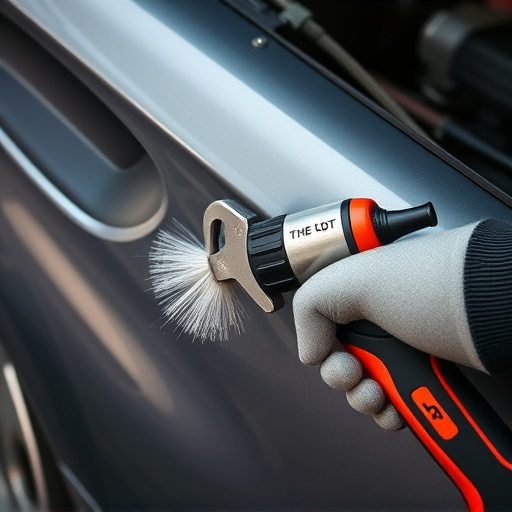
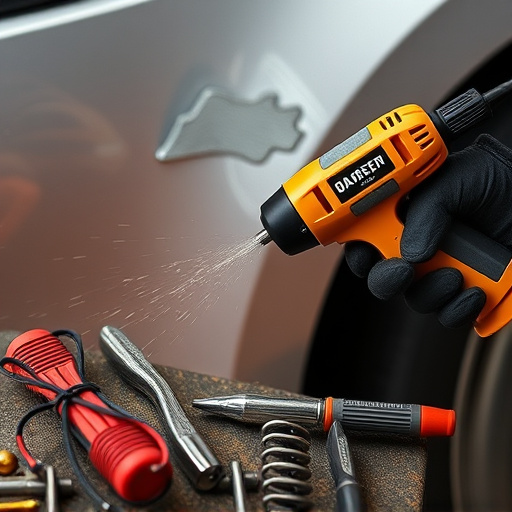
Before attempting any Tesla door handle repair, it’s crucial to gather the right tools for the job. This involves more than just a basic set of screwdrivers; professionals recommend having a variety of tools on hand, including hex keys, torque wrenches, and even specialized picks for safely removing damaged handles without causing further collision damage or fender repair issues.
Having the correct tools ensures precision and efficiency during the repair process. It also minimizes the risk of damaging other components in your vehicle, such as those involved in car scratch repair. Remember that a Tesla door handle is not merely a cosmetic piece; it’s integral to your vehicle’s safety systems. Therefore, it requires professional-grade tools for accurate installation and alignment, preventing future problems that might necessitate costly collision damage repair.
Step-by-Step Guide to Fixing Your Tesla's Door Handles

Fixing your Tesla’s door handles can seem daunting, but with a systematic approach, it becomes a manageable task. Here’s a step-by-step guide that professionals recommend for Tesla door handle repair:
1. Safety First: Ensure the vehicle is parked on a level surface and apply the parking brake. Remove any personal items from the car interior to prevent them from interfering with the repair process. Safety is paramount, especially when dealing with electrical components.
2. Disassemble the Handle: Identify the specific door handle component that needs fixing. Tesla models often feature smart features like automatic unlocking, so locate the relevant sensors and wiring. Carefully remove the broken handle using a suitable tool kit, taking note of how each part connects. For instance, if it’s a power lock issue, you might need to check the actuator or motor. This step is crucial in understanding the underlying problem.
3. Inspect and Replace: Examine all components for wear, damage, or misalignment. Check for loose connections and ensure nothing is blocking the handle’s movement. If any part is beyond repair or shows signs of severe damage, it’s best to replace it. This is especially true for electrical parts like switches or sensors. Remember, a well-functioning door handle isn’t just about aesthetics; it’s also about safety.
4. Reassemble and Test: Once replacements are installed, carefully reassemble the handle, ensuring all components are properly aligned. Before closing the door, test each handle to confirm their functionality, including locking and unlocking mechanisms if applicable. This step might require a helper to ensure everything is working correctly.
5. Auto Body Repair Considerations (if necessary): If the damage extends beyond the handle itself, such as dented panels or scratches, consider seeking professional car bodywork services. Auto body repair experts can restore your Tesla’s exterior to its original condition, ensuring not just functional repairs but also aesthetic appeal.
When it comes to Tesla door handle repair, armed with the right knowledge and tools, many common issues can be resolved efficiently. By understanding typical problems and following a structured guide, owners can save time and money while keeping their vehicles in top condition. Remember, prompt action on minor issues can prevent them from becoming bigger, more costly headaches down the line. So, whether you’re tackling a stubborn handle or replacing worn-out parts, these professional tips ensure your Tesla’s door handles function seamlessly for years to come, enhancing safety and convenience along the way.