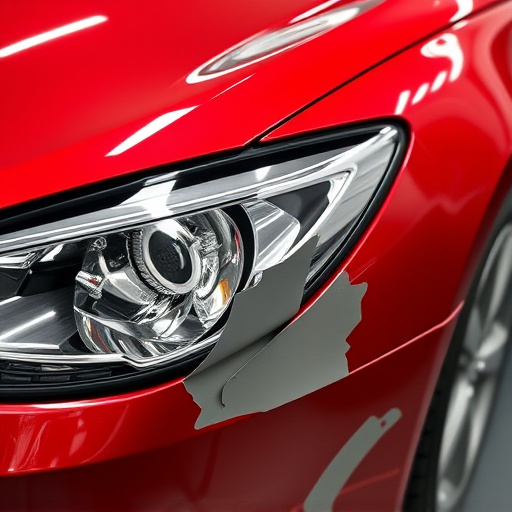
The Tesla Model 3 front fascia is susceptible to damage from collisions, weather, and debris, requiring prompt repair to maintain safety and aesthetics. Effective repair involves accurate clip installation, frame straightening, and bumper restoration using specialized techniques. Skilled technicians ensure precise alignment for a seamless finish. For minor issues, paintless repairs are possible, but replacing damaged fascia clips offers a more durable solution, enhancing both the vehicle's appearance and structural integrity.
“Looking to repair your Tesla Model 3’s front fascia? This comprehensive guide delves into the essential process, focusing on the crucial role of proper clip installation. The front fascia, a key component in your vehicle’s aesthetics and functionality, can encounter common issues. Understanding its significance and learning the right clip installation techniques are game-changers for a successful repair. Explore these steps to ensure a seamless restoration for your Model 3.”
- Understanding the Tesla Model 3 Front Fascia: Its Role and Common Issues
- The Importance of Proper Clip Installation for a Successful Repair
- Step-by-Step Guide: Replacing Your Tesla Model 3 Front Fascia Clips
Understanding the Tesla Model 3 Front Fascia: Its Role and Common Issues
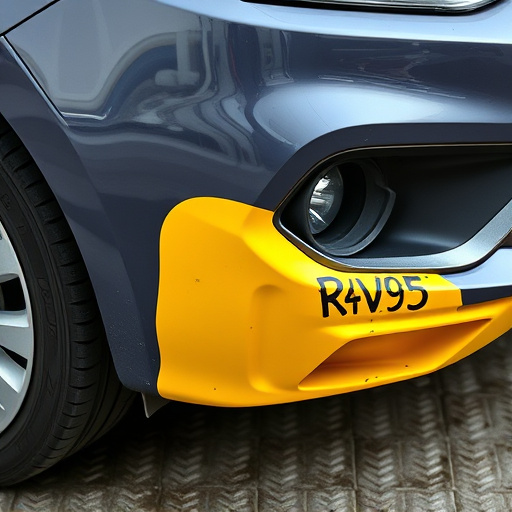
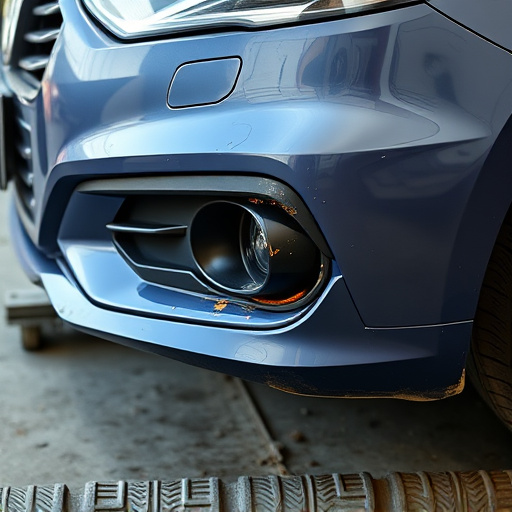
The Tesla Model 3 front fascia is a crucial component that not only enhances the vehicle’s aesthetic appeal but also plays a vital role in its overall structural integrity. This exterior panel serves as the front guard, protecting the car’s sensitive components from impact and debris. A well-maintained front fascia is essential for preserving the Model 3’s sleek and modern design, which is why Tesla Model 3 front fascia repair should be given due attention when issues arise.
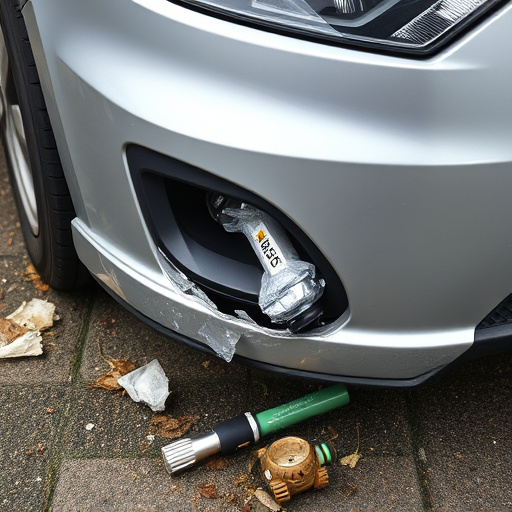
Common problems with the front fascia include damage caused by minor collisions, hail storms, or road debris, resulting in dents, scratches, or even broken parts. Over time, extreme weather conditions can also lead to corrosion and paint deterioration. Proper clip installation is a critical step in any Tesla Model 3 front fascia repair process, ensuring that all components fit seamlessly while addressing these issues effectively. This involves using specialized tools and techniques for frame straightening and bumper repair when necessary, ultimately restoring the vehicle’s original condition and safety features.
The Importance of Proper Clip Installation for a Successful Repair

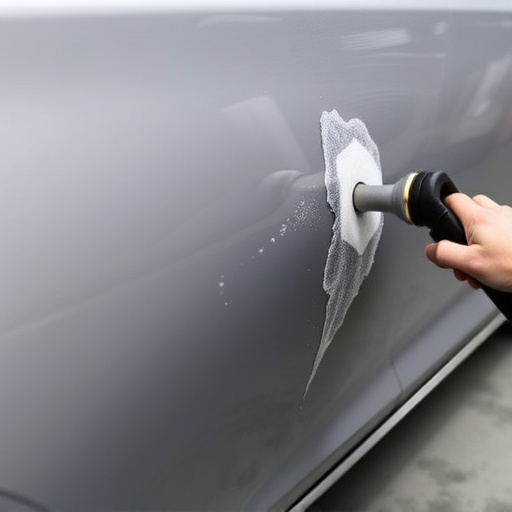
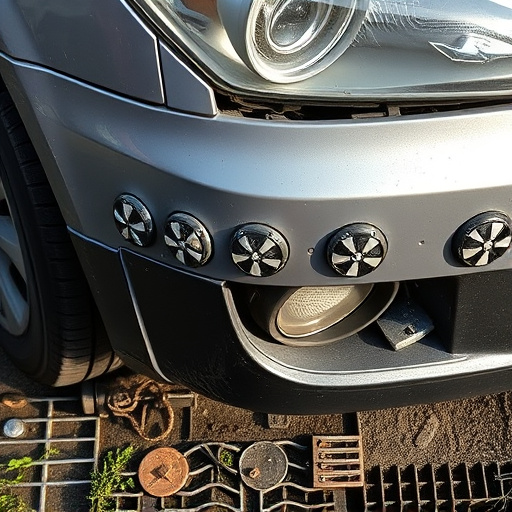
Proper clip installation is a critical step in a Tesla Model 3 front fascia repair process. These clips are integral to securing the fascia components and ensuring a seamless fit. When installed correctly, they prevent any gaps or misalignments that could compromise the aesthetic appeal and structural integrity of the vehicle’s frontal design. A skilled technician understands the importance of aligning these clips precisely with the frame straightening techniques applied during the repair process.
Incorrect clip installation can lead to challenges in achieving accurate auto body repairs. It may result in visible gaps or uneven surfaces, impacting the overall quality of the collision repair. Therefore, it is vital to have a thorough understanding of the vehicle’s design and the specific clips used in the Tesla Model 3 front fascia. This meticulous approach guarantees that the repaired fascia blends seamlessly with the rest of the vehicle, maintaining its original look and ensuring customer satisfaction.
Step-by-Step Guide: Replacing Your Tesla Model 3 Front Fascia Clips
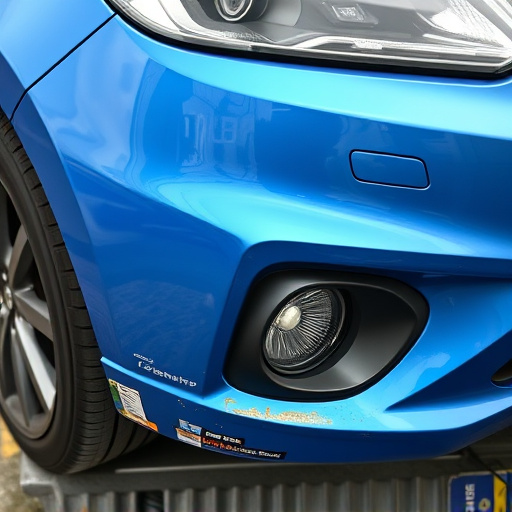
Replacing your Tesla Model 3’s front fascia clips is a straightforward process that can be accomplished with the right tools and guidance. Here’s a step-by-step guide to help you through the repair, ensuring a secure and seamless fit for your vehicle. Begin by gathering all necessary parts, including new front fascia clips designed specifically for the Tesla Model 3. Next, locate the damaged or worn-out clips along the front edge of the vehicle’s fascia. Using a suitable tool, carefully remove the old clips without causing further damage. Once the old clips are out, clean the area to ensure no debris remains. Align the new clips with the existing holes and securely fasten them in place using the provided hardware or a compatible tool. Ensure each clip is firmly attached, allowing for proper structural integrity during driving. With these simple steps, you’ll have successfully replaced your Tesla Model 3’s front fascia clips, enhancing its aesthetic appeal and addressing any functional issues related to automotive collision repair.
Remember, prompt action on visible damages like broken or missing clips is crucial, as they contribute to the overall look and safety of your vehicle. While paintless dent repair techniques can address some issues, for structural components like fascias, replacement often offers a more durable solution.
Tesla Model 3 front fascia repair is a crucial task that, when done right, can significantly enhance the vehicle’s aesthetics and performance. By understanding the vital role of the front fascia and ensuring proper clip installation, owners can effectively address common issues. Following a step-by-step guide ensures a successful replacement process, restoring your Tesla’s sleek and modern appearance.