

Mastering base coat clear coat repair is key to achieving a perfect automotive finish. Use fine-grit sandpaper, automotive cleaner, quality paint, and protective gear for optimal results. Prepare your workspace, mask off surrounding areas, sand thoroughly, apply base coat and clear coat, then protect with wax or sealant.
“Unsure where to start with your car’s base coat clear coat repair? This comprehensive guide is designed for complete beginners. Learn the fundamentals of understanding base and clear coats, gather the essential tools and materials needed, and follow our easy-to-follow step-by-step instructions. By the end, you’ll be equipped to restore your vehicle’s paint job like a pro. Mastering base coat clear coat repair has never been simpler.”
- Understanding Base Coat and Clear Coat
- Tools and Materials Required for Repair
- Step-by-Step Guide to Base Coat Clear Coat Repair
Understanding Base Coat and Clear Coat
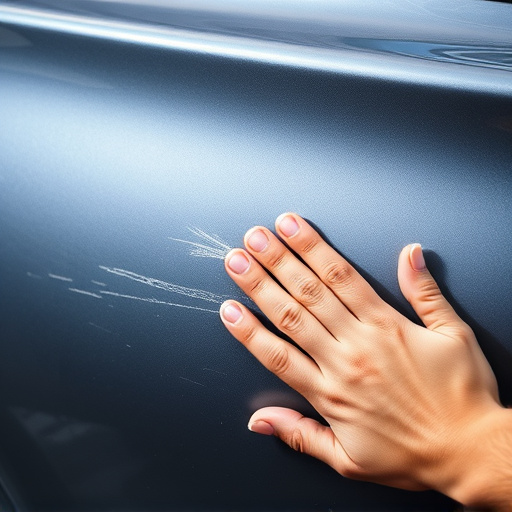
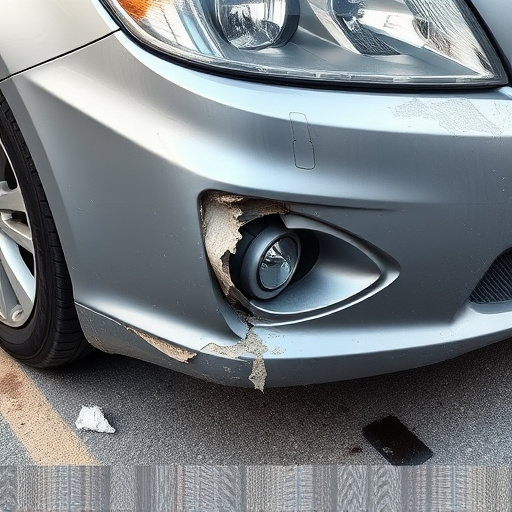
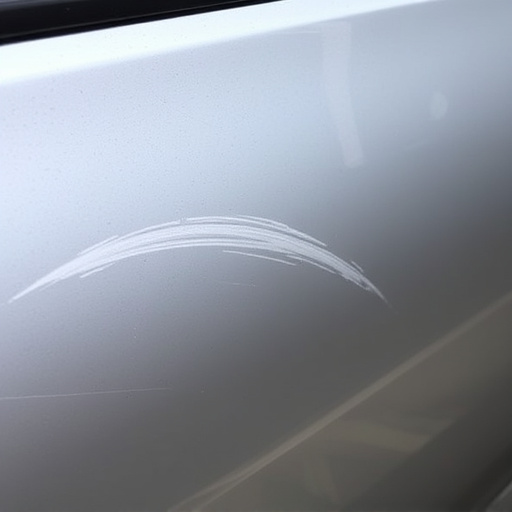
In the world of automotive repair and vehicle bodywork, understanding the roles of base coat and clear coat is crucial for achieving a flawless restoration or repaint. Base coat, often referred to as primer, serves as the initial layer applied to the vehicle’s surface. It prepares the metal by providing a smooth, even surface and adheres to the underlying material tightly. This critical step forms the foundation for subsequent coats, ensuring better coverage and durability.
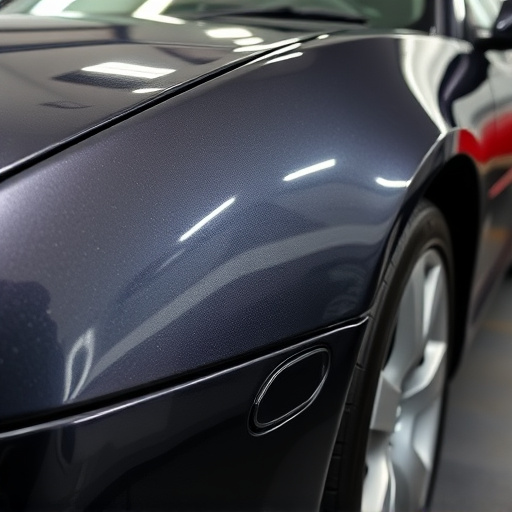
Clear coat, on the other hand, is the topmost layer designed to protect the base coat and impart a glossy finish. It enhances the aesthetics of the vehicle by adding depth, sheen, and a protective barrier against environmental factors such as UV rays, oxidation, and chemical damage. When undertaking base coat clear coat repair, it’s essential to address both layers holistically, ensuring each is in optimal condition before applying the other for long-lasting results in these vehicle repair services.
Tools and Materials Required for Repair
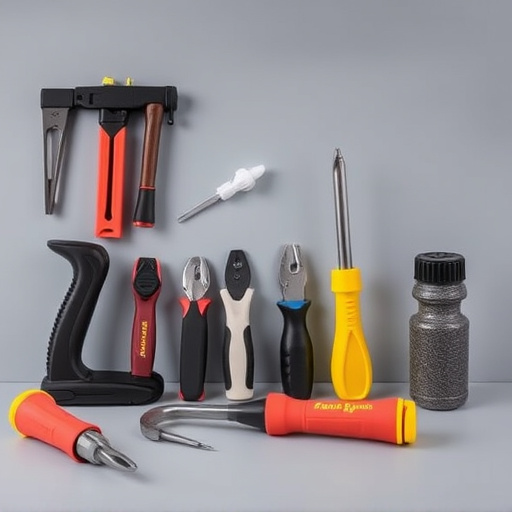
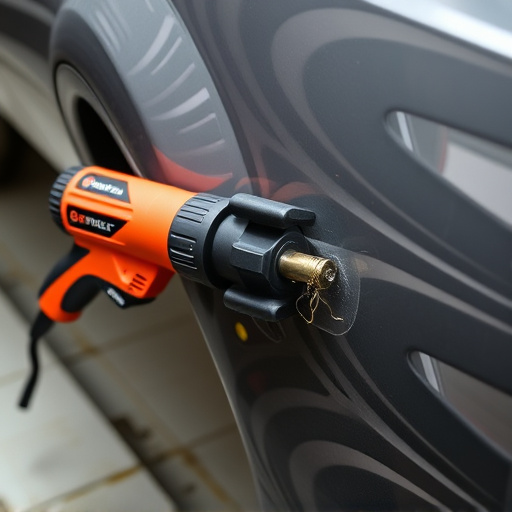
Before tackling any base coat clear coat repair, ensure you have the right tools and materials at hand. This includes a set of fine-grit sandpaper (ranging from 400 to 2000 grit), a de-greaser or cleaner specifically designed for automotive use, a putty knife or scraper for applying filler, and a clear coat touch-up paint that matches your vehicle’s color precisely. Additionally, a mask, safety goggles, and gloves are essential for protecting yourself from chemicals and debris during the repair process. For an efficient collision repair, many professionals also recommend having a heat gun or hair dryer to speed up the drying time of the filler and paint.
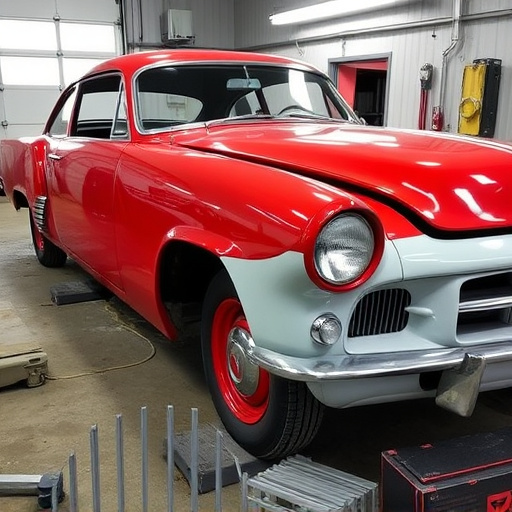
For a successful base coat clear coat repair in an auto body shop or even at home, having the right materials is just as crucial as proper techniques. Remember, using low-quality products or tools can lead to premature peeling or chipping of the clear coat, defeating the purpose of the repair. Thus, invest in reliable equipment and always opt for automotive-grade supplies to ensure longevity and a professional finish, much like what you’d expect from a reputable collision repair shop.
Step-by-Step Guide to Base Coat Clear Coat Repair
Repairing your car’s base coat and clear coat is a crucial skill for any auto enthusiast or professional mechanic. It involves a meticulous process that requires precision and the right tools to achieve a flawless finish. Here’s a simple step-by-step guide:
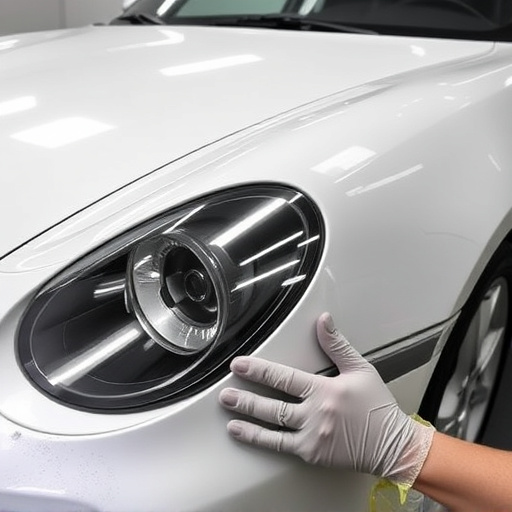
1. Safety First: Begin by ensuring your workspace is well-ventilated and wear protective gear, including gloves and safety glasses. This prevents direct contact with harmful chemicals and ensures a safe environment for the repair process.
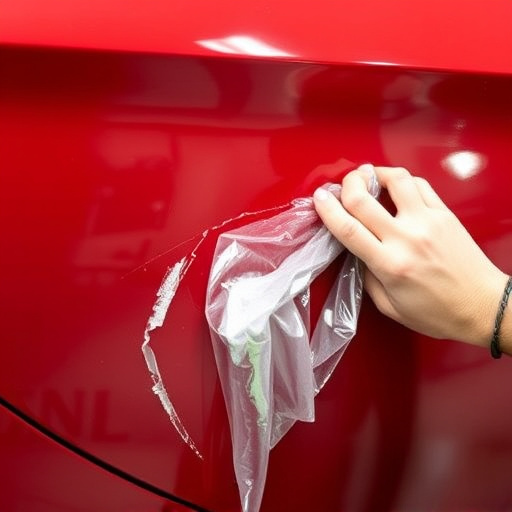
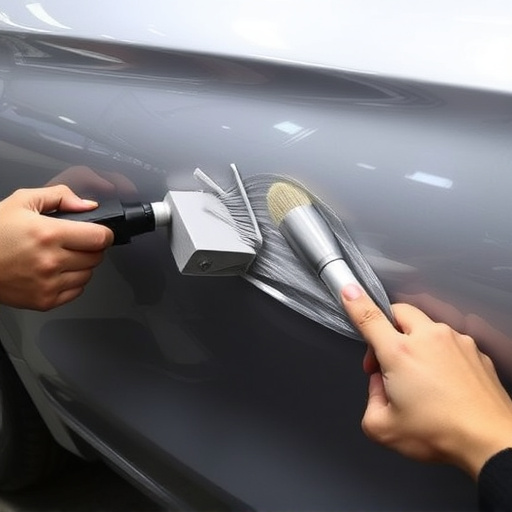
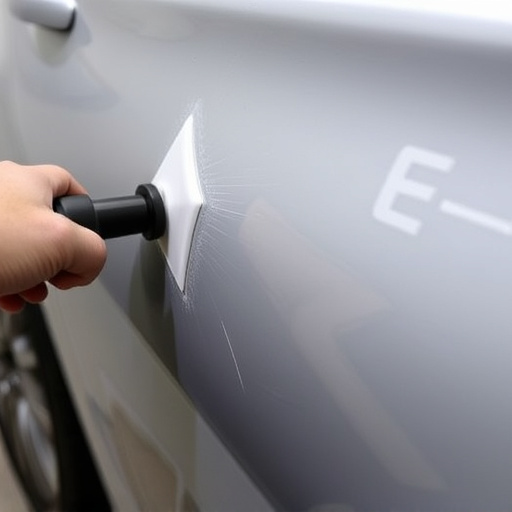
2. Prepare the Area: Mask off surrounding areas to avoid damaging other parts of the vehicle. Use tape and plastic sheeting to create a clean zone. Then, thoroughly sand the damaged area to ensure roughen the surface, allowing better adhesion for the repair compound.
3. Base Coat Repair: Apply a thin layer of base coat repair compound using a putty knife or scraper. This will match the original color of your car’s paint. Let it dry according to the product instructions and then gently sand again to ensure a smooth surface.
4. Clear Coat Application: Once the base coat is completely dry, apply a clear coat over it. Clear coats protect the base coat and give your repair a glossy, durable finish. Follow the manufacturer’s guidelines for application and drying time.
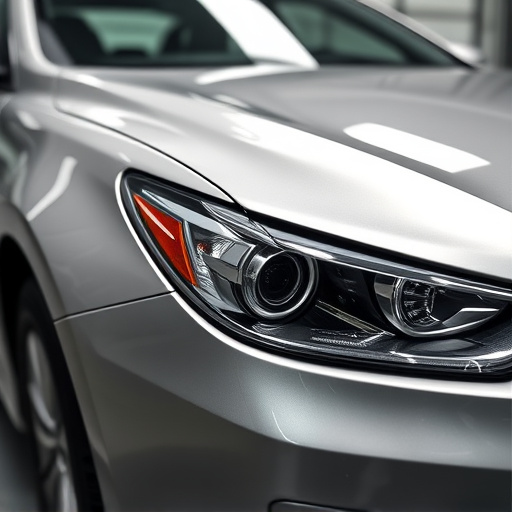
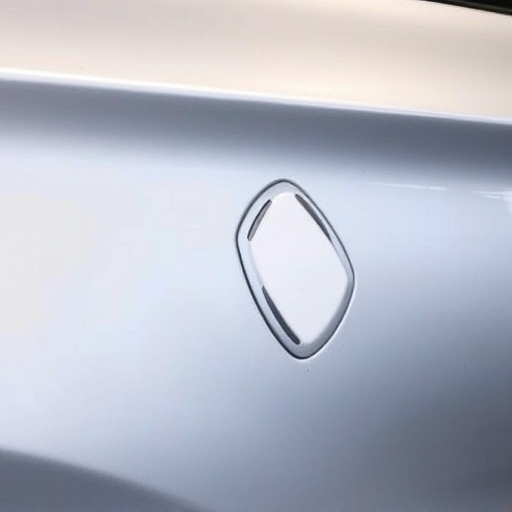
5. Final Touches: After the clear coat has fully dried, inspect your work. Lightly sand any imperfections and ensure the surface is smooth. Finally, apply a car wax or sealant to protect the repair and enhance its longevity. Regular maintenance will help keep the repair looking fresh, just like new autobody repairs.
Whether you’re a car enthusiast or simply want to learn a valuable skill, mastering base coat clear coat repair is an empowering endeavor. By understanding the basics of these protective layers and armed with the right tools, you can now confidently tackle minor dents and scratches. With this beginner’s guide, you’ve taken the first step towards keeping your vehicle looking its best and saving money on professional repairs. Remember, practice makes perfect, so don’t be afraid to experiment and refine your technique. Happy repairing!