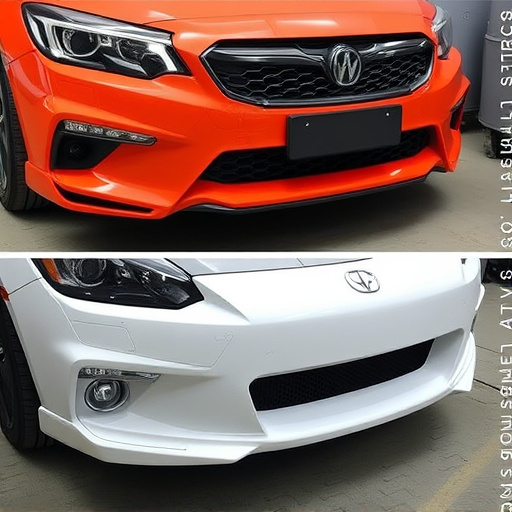


Tesla Autopilot requires periodic recalibration using OEM diagnostic software for optimal performance and safety. This process aligns the vehicle's computer systems with current environmental conditions, road layouts, and obstacle detection, preventing issues like inaccurate lane keeping or misjudged distances. Regular recalibration is crucial after repairs or services, ensuring Autopilot systems function accurately and securely across diverse driving conditions in vehicles like modern Mercedes Benz models.
Tesla’s Autopilot system requires periodic recalibration for optimal performance. This process ensures the advanced driver-assistance system (ADAS) remains accurate and responsive, enhancing safety on the road. This article delves into the intricacies of Tesla Autopilot recalibration using Original Equipment Manufacturer (OEM) diagnostic software. We’ll explore the fundamental concepts, the role of OEM tools in the process, and provide a comprehensive step-by-step guide to help owners efficiently realign their vehicles’ autonomous capabilities.
- Understanding Tesla Autopilot Recalibration: The Basics
- The Role of OEM Diagnostic Software in Recalibration Process
- Step-by-Step Guide to Tesla Autopilot Recalibration Using OEM Software
Understanding Tesla Autopilot Recalibration: The Basics
Tesla Autopilot is an advanced driver-assistance system (ADAS) that requires periodic recalibration for optimal performance. This process ensures the sensors and cameras work in harmony, providing accurate data to enable safe driving capabilities. Recalibration involves realigning the vehicle’s computer systems to match current environmental conditions, road layouts, and obstacle detection. It’s akin to fine-tuning a car’s ‘vision’ and perception to adapt to evolving road environments, preventing potential accidents due to outdated sensor calibration.
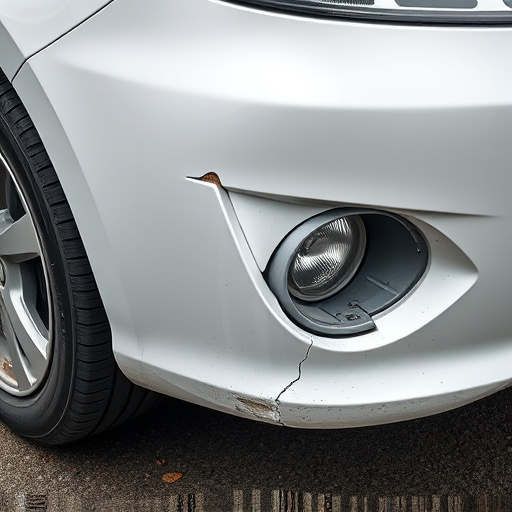
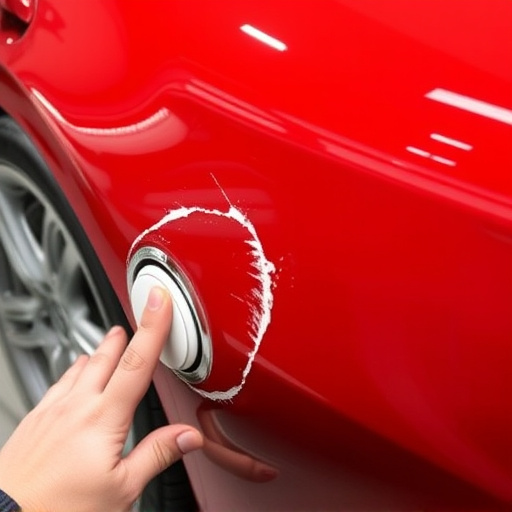
Understanding Tesla Autopilot recalibration is crucial for owners as it directly impacts the vehicle’s safety features. Regular recalibration helps prevent issues like inaccurate lane keeping, misjudged obstacle distances, or incorrect speed adjustments. In cases of severe weather conditions, accidents, or significant car damage repair, a recalibration becomes essential to restore the system’s effectiveness. Even after minor auto frame repairs or restoration work, it’s recommended to have the Autopilot recalibrated to ensure its ongoing reliability and safety in various driving scenarios.
The Role of OEM Diagnostic Software in Recalibration Process

The process of Tesla Autopilot recalibration is a sophisticated procedure that relies heavily on OEM (Original Equipment Manufacturer) diagnostic software. This software serves as the backbone, providing the precise tools and data required to fine-tune and optimize the Autopilot system. When it comes to recalibrating, a collision repair shop or a specialized automotive facility equipped with the right diagnostic tools is essential. They can access the vehicle’s computer systems and perform a series of tests to ensure the Autopilot functions accurately and safely.
The software facilitates a comprehensive evaluation of various sensors, cameras, and radars that form the core of Tesla Autopilot. By analyzing data from these components, the system identifies any deviations or anomalies, allowing for adjustments to improve performance. This is particularly crucial in maintaining the integrity of advanced driver-assistance systems (ADAS), such as those found in modern Mercedes Benz repairs, ensuring they operate seamlessly and in harmony with vehicle dynamics and road conditions.
Step-by-Step Guide to Tesla Autopilot Recalibration Using OEM Software

Recalibrating Tesla Autopilot using OEM diagnostic software is a precise process that requires careful adherence to ensure optimal performance and safety. Here’s a step-by-step guide for the process:
1. Accessing the Software: Begin by accessing your vehicle’s Original Equipment Manufacturer (OEM) diagnostic software, typically available through authorized service centers or online portals provided by Tesla. Ensure you have the necessary permissions and connections to run the software securely.
2. Preparation: Before initiating the recalibration, ensure your Tesla is parked in a safe, open area away from traffic. Activate the parking brake, engage Park mode, and verify that all passengers and external objects are clear of the vehicle. This step ensures safety during the process.
3. Initiating Recalibration: Launch the Autopilot recalibration tool within the OEM software. The exact steps may vary based on your software version, but typically involve selecting the ‘Autopilot Calibration’ option from the menu. Follow the on-screen instructions, which will guide you through the process of collecting data and adjusting sensor calibrations.
4. Data Collection: During recalibration, the software will prompt you to drive the vehicle at specific speeds and in different driving conditions. This data collection phase is crucial for Autopilot’s accuracy. Drive as instructed, maintaining a safe distance from other vehicles and adhering to traffic rules.
5. Sensor Adjustment: The software will analyze the collected data and make necessary adjustments to your Tesla’s sensors. This may include calibrating cameras, LiDAR units, and radar systems. Once complete, the Autopilot system will be recalibrated for improved performance.
Regular Autopilot recalibration is essential for maintaining optimal functionality, especially after collision repair center visits or car bodywork services that might affect sensor integrity. Even auto glass repair can sometimes impact calibration, requiring a simple yet precise recalibration process like this to ensure your Tesla’s advanced driver-assistance systems function at their best.
Tesla Autopilot recalibration using OEM diagnostic software is a crucial process for maintaining optimal vehicle performance and safety. By leveraging this specialized tool, owners can ensure their Autopilot system remains accurate and reliable. This step-by-step guide provides a comprehensive overview of the procedure, allowing users to confidently navigate the recalibration process. Understanding these steps is essential for anyone aiming to enhance their Tesla’s autonomous driving capabilities.