
Before repairing a fiberglass panel, thoroughly inspect and assess damage (cracks, chips, holes, rust), take accurate measurements, and gather essential supplies like body fill compound/putty, sander, primer, paint, and potentially a mold. For automotive repairs, consider specialized products. Proper identification of issues is key to selecting the best repair techniques; kits vary based on damage extent and desired outcome, emphasizing preparation steps for successful DIY fiberglass panel repair.
Looking to tackle DIY fiberglass panel repair? This guide is your go-to resource for transforming damaged surfaces into sleek, professional finishes. From assessing cracks, holes, and delaminations to selecting the right tools and techniques, we’ve broken down the process step-by-step. Learn best practices for preventive maintenance to extend the lifespan of your panels and avoid future repairs. Get ready to master fiberglass panel repair with these expert tips.
- Assessing Damage and Gathering Supplies
- – Identifying types of fiberglass panel damage
- – Understanding different repair kits and supplies needed
Assessing Damage and Gathering Supplies

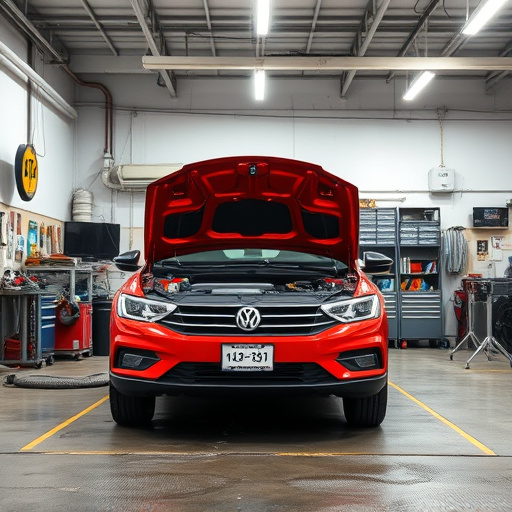
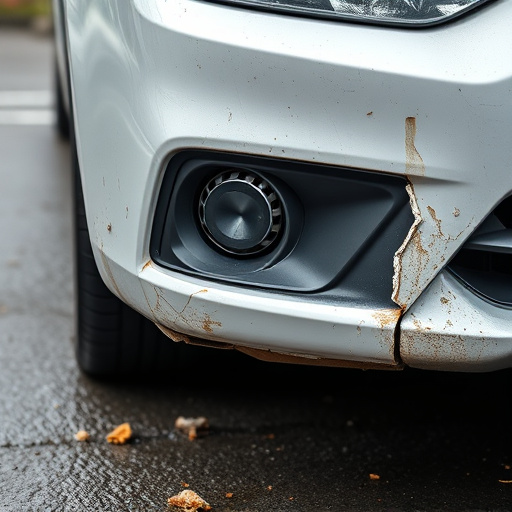
Before starting any DIY fiberglass panel repair project, it’s crucial to assess the damage thoroughly. Begin by inspecting the affected area closely; look for cracks, chips, or holes in the fiberglass surface. Note their size and location, as this will guide your repair process. Check for signs of rust or corrosion, especially if the damage is due to water exposure, as these issues can weaken the structure further. Take measurements and make sketches if needed, ensuring you understand the extent of the damage.
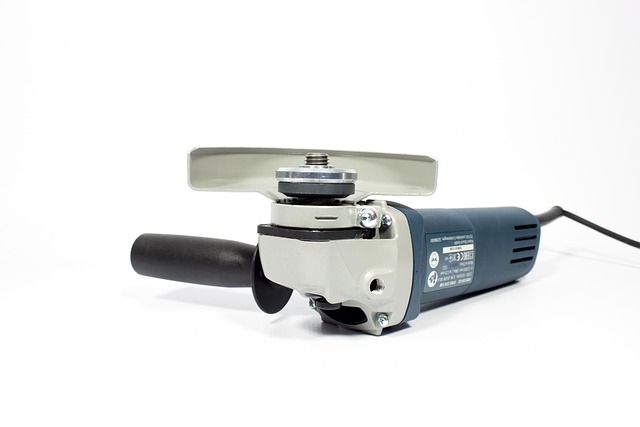
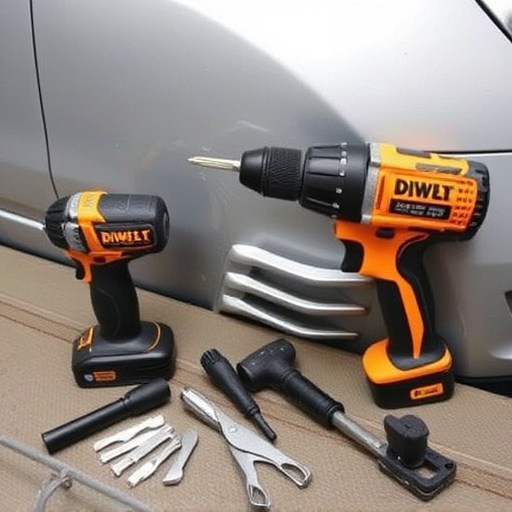
Once you have a clear picture of what needs fixing, gather all necessary supplies. For fiberglass panel repair, you’ll typically require body fill compound or putty, a sander (for smoothing), primer, paint (to match the car’s color), and possibly a mold or template for complex repairs. If you’re repairing a car, consider visiting a collision center to source specialized products designed for vehicle restoration. Remember, having the right supplies is key to achieving a professional-looking finish that blends seamlessly with your car’s restoration.
– Identifying types of fiberglass panel damage
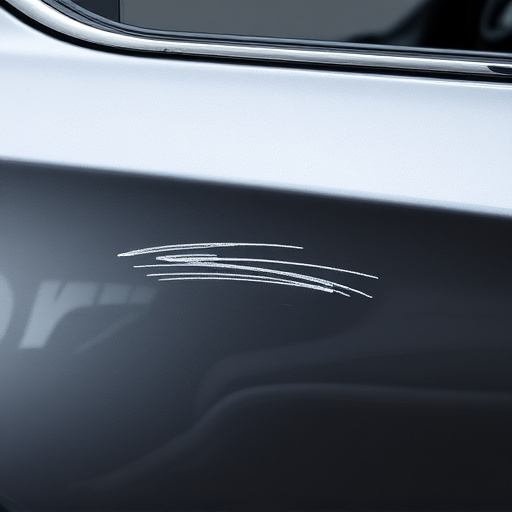
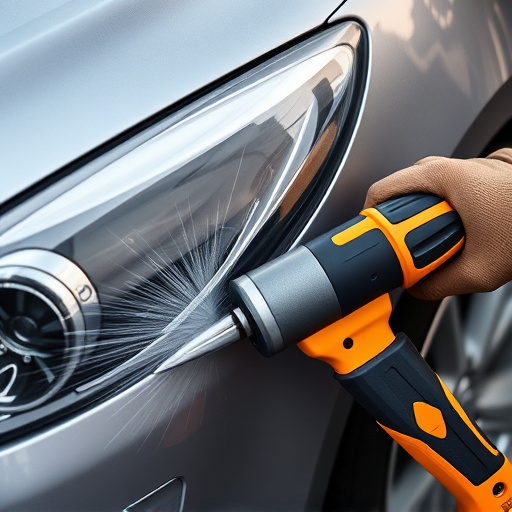
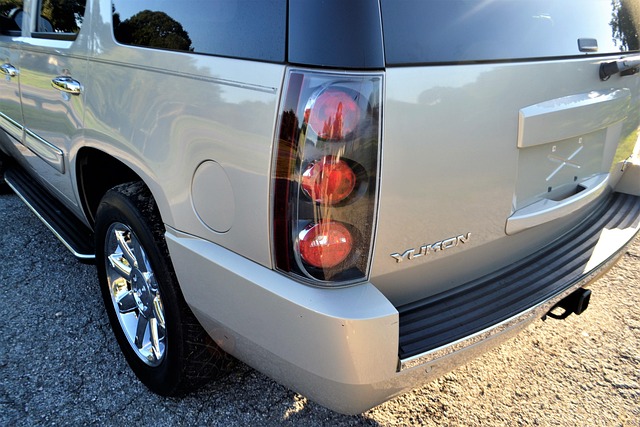
Fiberglass panels, known for their durability, can still suffer from various types of damage over time. Identifying the specific issue is a crucial step in any fiberglass panel repair project. Common problems include cracks and chips, which might appear as thin lines or small breaks in the surface. These are often caused by impact or environmental factors like harsh weather conditions or road debris during transportation or installation. Another type of damage is delaminating, where the fiberglass layers separate, creating a rough, uneven surface. This usually occurs due to stress or improper original fabrication.
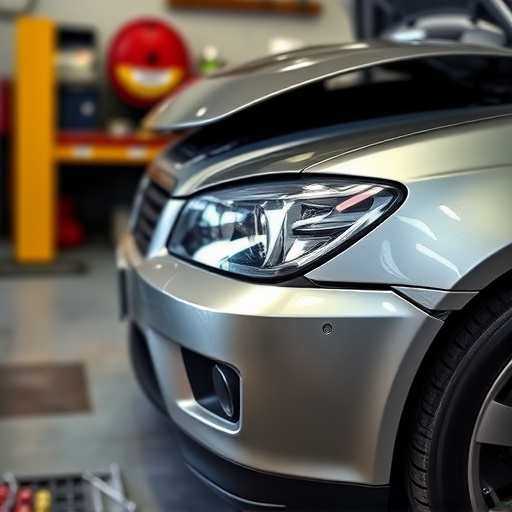
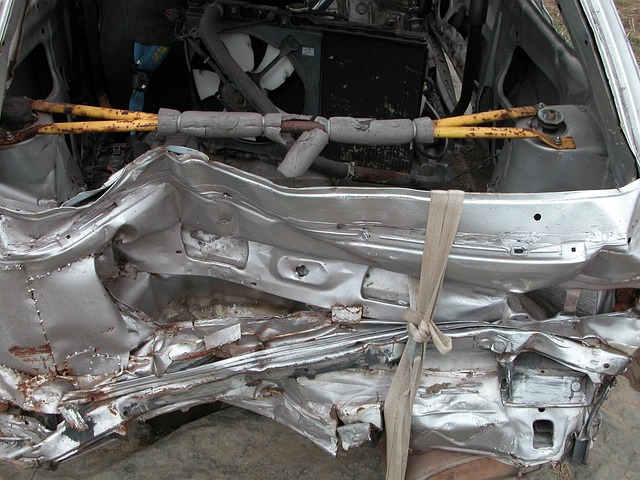
For auto body services and car repair services dealing with fiberglass components, understanding these issues is key. If you’re considering car paint repair for fiberglass panels, remember that proper identification of damage is essential for choosing the right repair method—whether it’s a simple touch-up or a more complex structural fix. Different damages may require distinct approaches, from using specialized adhesives to replacing entire sections.
– Understanding different repair kits and supplies needed
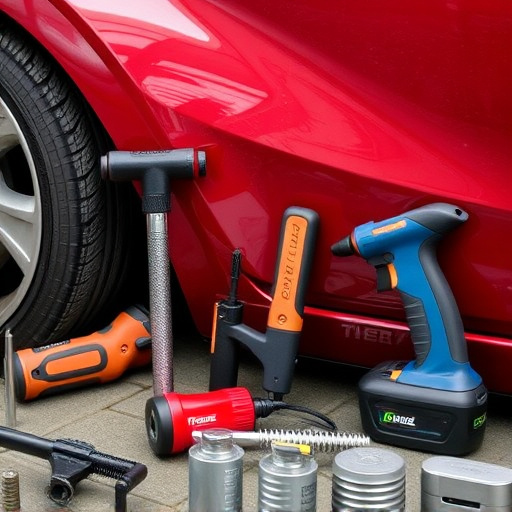
When tackling a DIY fiberglass panel repair project, understanding the different kits and supplies is key. Fiberglass repair kits come in various forms, each designed for specific types of damage on auto body components like fenders, bumpers, and doors. Some kits focus on filling and shaping, while others are tailored for bonding and sealing. For instance, an auto glass repair kit may include a resin, hardener, and various tools for fixing chips or cracks in windshields, while a car body restoration kit offers a broader range of products suitable for more extensive fiberglass panel repairs.
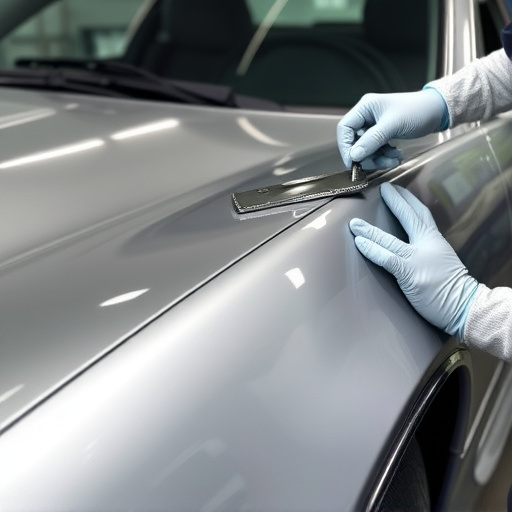
Choosing the right supplies depends on the extent of damage and your desired outcome. For smaller nicks and scratches, a simple repair kit with a fiberglas mat and epoxy putty can suffice. In contrast, larger dents or holes might require specialized tools like air compressors and body filler. Remember, proper preparation is crucial for successful fiberglass panel repair. This involves cleaning the damaged area, masking off nearby surfaces, and ensuring adequate ventilation—essential steps that go beyond just opening a kit and starting to repair.
Repairing a fiberglass panel can be a rewarding DIY project, allowing you to extend the life of your structure and save costs. By understanding the types of damage and gathering the right supplies, such as composite repair kits, you’ll be well-equipped to tackle even complex fiberglass panel repair tasks effectively. With these tips in hand, you’re ready to navigate your next repair project with confidence, ensuring a durable and long-lasting result.