
Understanding tri-coat paint structure is vital for setting accurate repair timelines due to its three layers (base, color, clear coat) designed for enhanced durability and aesthetics. The meticulous repair process includes dent removal, precise color matching, and careful attention to each layer, significantly impacting duration but guaranteeing a long-lasting, high-quality finish. This comprehensive approach, centered around tri-coat paint repair, is key to achieving optimal results in auto collision repairs, requiring detailed scheduling, thorough training, and swift issue resolution.
“Uncovering the secrets to efficient tri-coat paint repair projects is every professional’s goal. This comprehensive guide navigates you through the intricate process, from understanding the unique tri-coat structure to mastering the step-by-step repairs.
We’ll explore how each layer influences repair timelines and offer insights on common challenges. By the end, you’ll be equipped with strategies to manage your project efficiently, ensuring timely and high-quality tri-coat paint repairs.”
- Understanding Tri-Coat Paint Structure and Its Impact on Repair Timelines
- Step-by-Step Process: From Assessment to Final Coating
- Common Challenges and How to Efficiently Manage Your Project Timeline
Understanding Tri-Coat Paint Structure and Its Impact on Repair Timelines
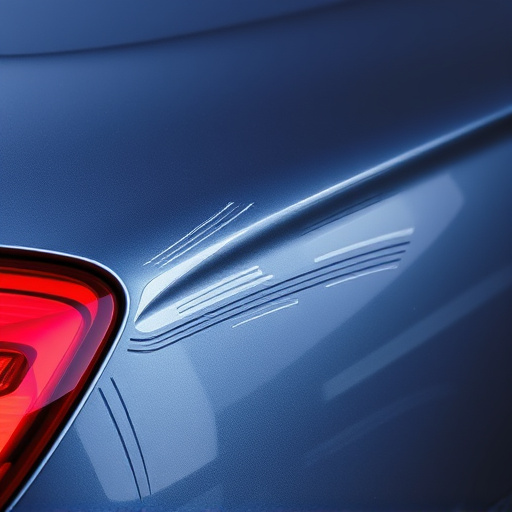
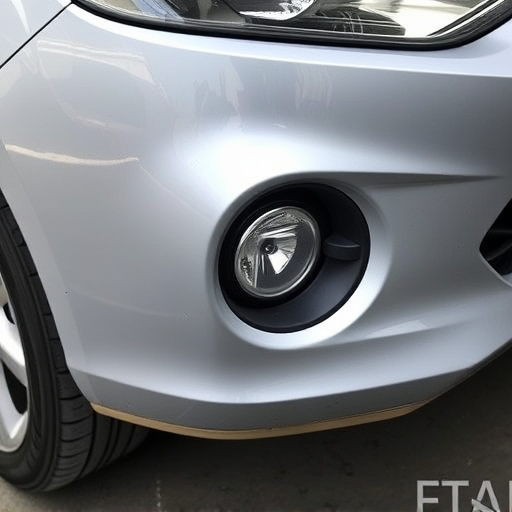
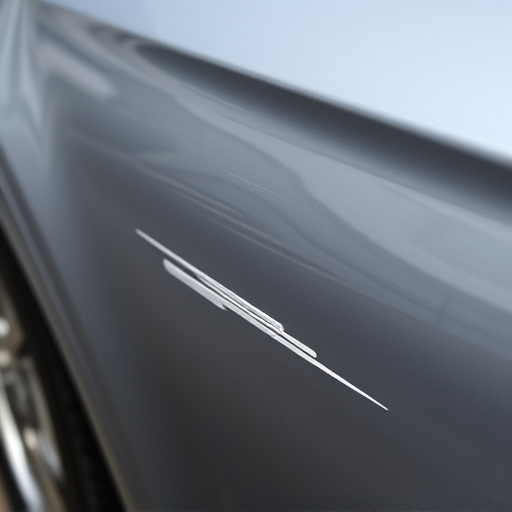
Understanding the structure of tri-coat paint is key to setting realistic expectations for repair timelines. Unlike traditional single-layer paints, tri-coat systems consist of three distinct layers: base coat, color coat, and clear coat. Each layer serves a specific purpose, enhancing durability and aesthetics. This layered design means that damage—be it chips, cracks, or dents—requires careful attention to each coat.
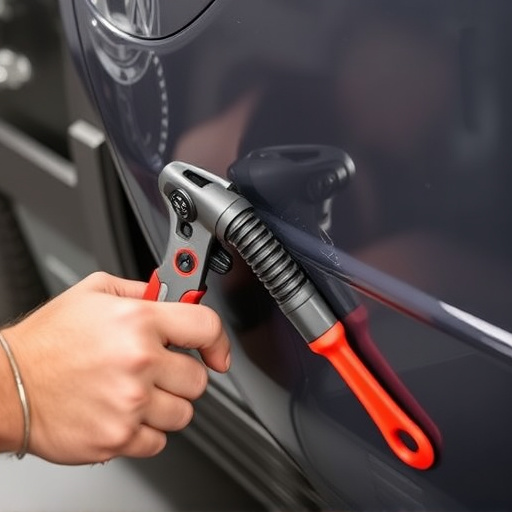
When repairing a tri-coat paint job, technicians must not only remove and replace the damaged outer layers but also ensure the underlying base is intact. The process involves meticulous dent removal and precise color matching to blend seamlessly with the existing paint. This level of detail work directly impacts the repair timeline, as it takes time to thoroughly inspect, prepare, and match the various paint layers accurately. Properly addressing each layer guarantees a long-lasting, high-quality finish that matches the original auto bodywork’s integrity and beauty.
Step-by-Step Process: From Assessment to Final Coating
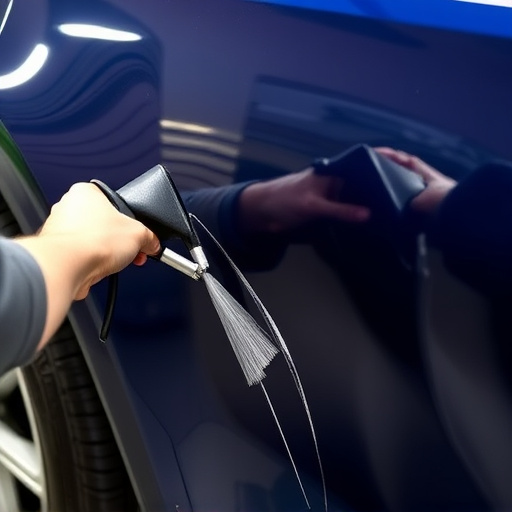
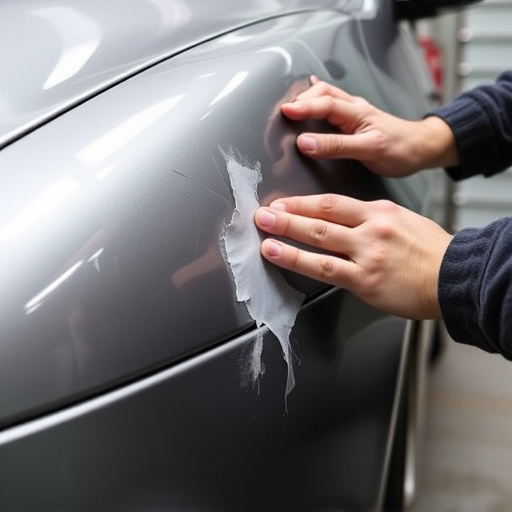
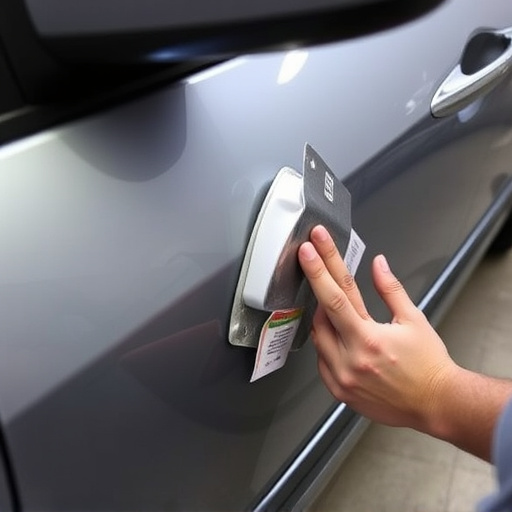
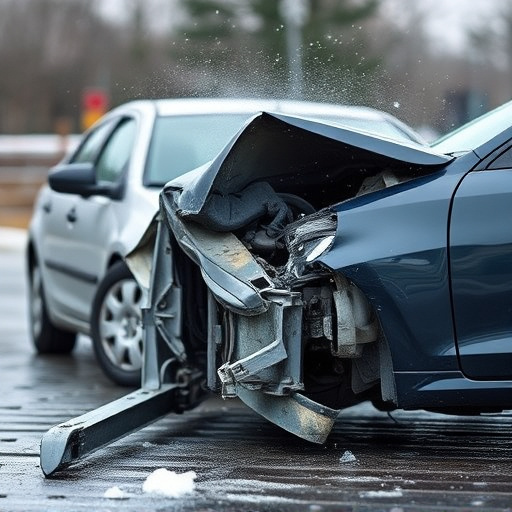
The tri-coat paint repair process involves a meticulous step-by-step approach to ensure optimal results. It begins with a thorough assessment of the damaged area, where professionals carefully inspect and identify the extent of the repairs needed. This initial phase is crucial in setting the timeline and determining the best course of action for vehicle repair services. Once the evaluation is complete, the surface is prepared by removing any loose debris, rust, or old paint, ensuring a clean canvas for the upcoming work.
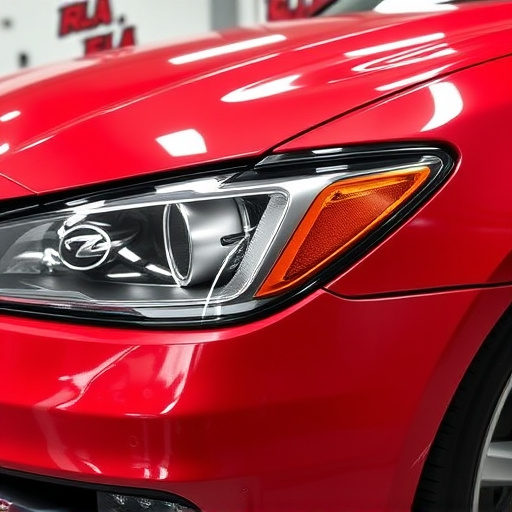
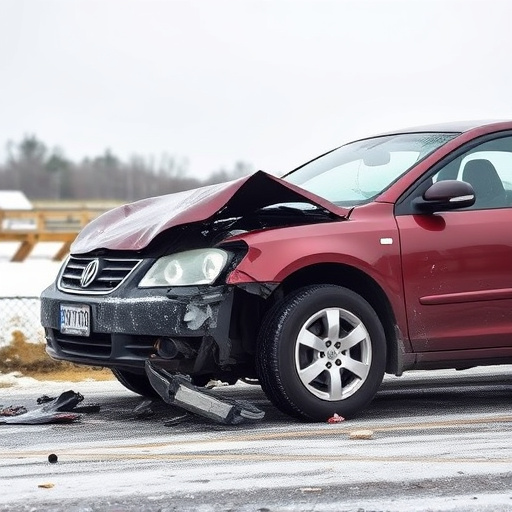
Following preparation, the actual tri-coat paint repair commences. This includes sanding and priming to create a smooth base, followed by the application of two intermediate coats to build up the damaged area. Each coat is carefully evaluated for quality before the final coating is applied. The final touch involves a precise finish, ensuring color match and durability, which marks the completion of this meticulous auto collision repair process, transforming the vehicle into a like-new condition.
Common Challenges and How to Efficiently Manage Your Project Timeline
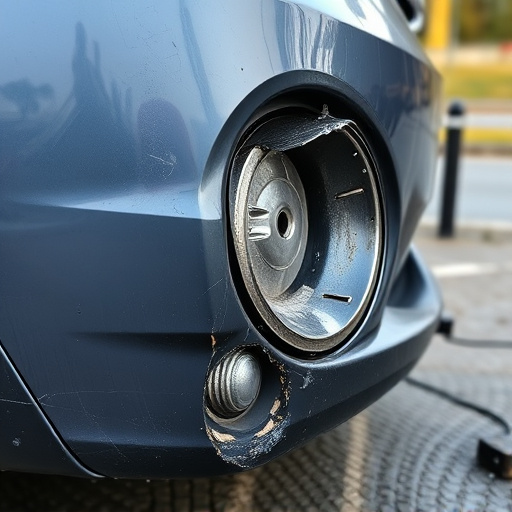
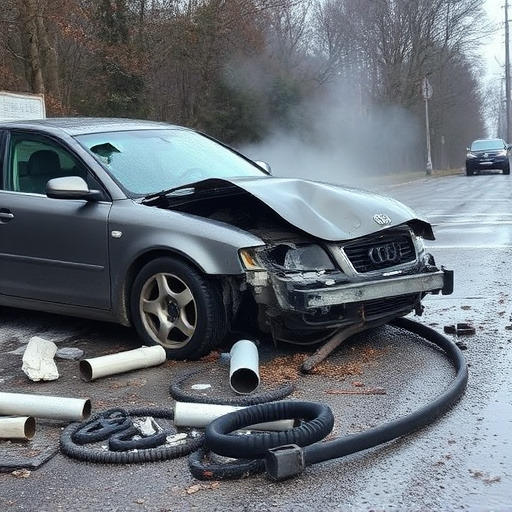
Common challenges often arise in tri-coat paint repair projects due to the intricate nature of the work. First, preparing the surface for painting requires meticulous attention to detail, especially when dealing with complex panel shapes and intricate designs. Any oversights can lead to delays, as reworking damaged areas or correcting preparation mistakes is crucial for achieving a flawless finish.
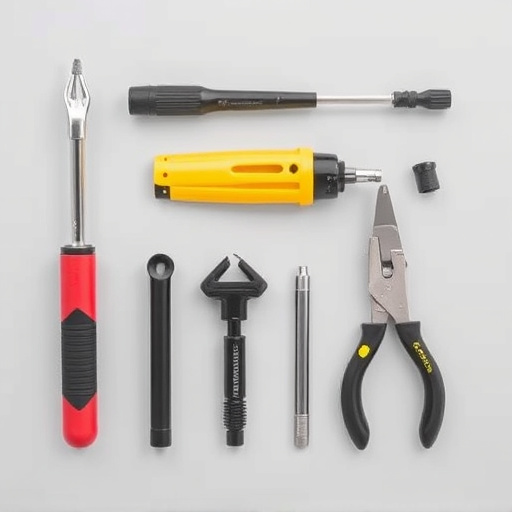
Efficient project timeline management involves proactive planning and addressing these challenges head-on. To stay on track, create a detailed schedule that allocates time for each step of the repair process, including thorough surface preparation, application of primer, base coat, and top coat, along with drying times between coats. Also, factor in potential delays from materials delivery or unforeseen issues, ensuring your team has the necessary training and tools to overcome these obstacles quickly. This proactive approach will help you deliver high-quality collision repair services while adhering to your project timeline, even for complex tri-coat paint repairs. Consider these strategies to streamline your workflow at a reputable collision repair center.
Tri-coat paint repair projects demand a meticulous approach, considering the intricate structure of each layer. By understanding the timeline expectations outlined in this article, from assessment to final coating, you can efficiently manage your project. Being aware of common challenges allows professionals to navigate potential delays and ensure timely completion. Optimizing your tri-coat paint repair timeline enhances customer satisfaction and showcases expert craftsmanship.