


Tesla Body Controller failures due to signal interference or relay malfunctions can be addressed through systematic troubleshooting. Common symptoms include power loss, accessory malfunction, and system shutdowns. After a collision, damage to the body controller may cause structural issues, compromised airbag systems, or faulty sensor readings. Repair involves identifying faulty components, checking connections, using a multimeter for tests, inspecting for corrosion or wear, verifying grounding, and consulting professionals for advanced diagnostics if needed. A systematic approach to Tesla body controller repair includes locating the controller, disconnecting the battery, removing and replacing it, cleaning connections, and reassembling, ensuring improved vehicle performance and safety.
Are you experiencing signal or relay failures in your Tesla? These issues can be frustrating, but understanding the root causes and knowing how to repair them can save you time and money. This comprehensive guide delves into Tesla body controller failures, their common causes and symptoms, and provides a detailed step-by-step process for repairing these essential components. By following these instructions, you’ll be equipped to tackle signal and relay problems head-on.
- Understanding Tesla Body Controller Failures: Common Causes and Symptoms
- Troubleshooting and Diagnostic Steps for Signal and Relay Issues
- Step-by-Step Guide to Repairing Your Tesla Body Controller
Understanding Tesla Body Controller Failures: Common Causes and Symptoms

Tesla Body Controller failures can stem from a variety of common causes. One of the primary issues is signal interference or relay malfunctions, which can occur due to aging components, environmental factors like extreme temperatures, or physical damage. Symptoms of these failures often manifest as strange electrical behaviors, such as intermittent power loss, malfunctioning accessories, or even complete system shutdowns.
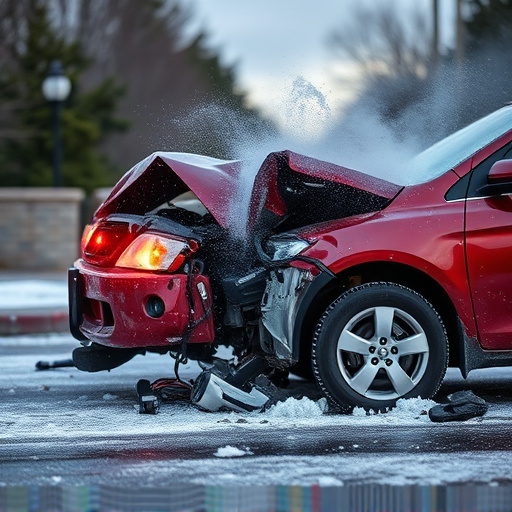
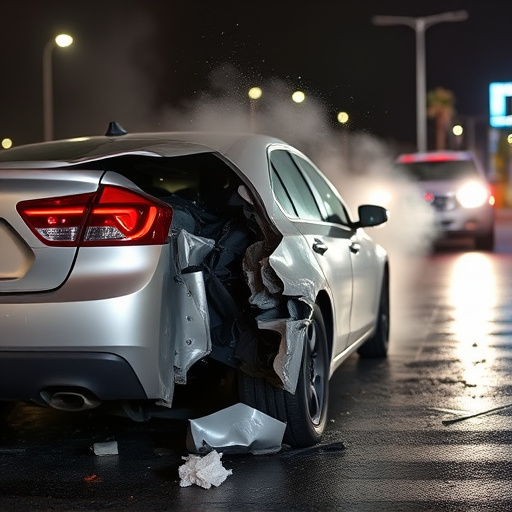
In cases of frame straightening after a car collision repair or vehicle collision repair, the body controller plays a critical role in ensuring structural integrity and safety features. If the Tesla’s body controller experiences damage during such incidents, it can lead to various issues, including misaligned panels, compromised airbag deployment systems, or faulty sensor readings. Prompt recognition of these symptoms is essential for effective Tesla body controller repair.
Troubleshooting and Diagnostic Steps for Signal and Relay Issues
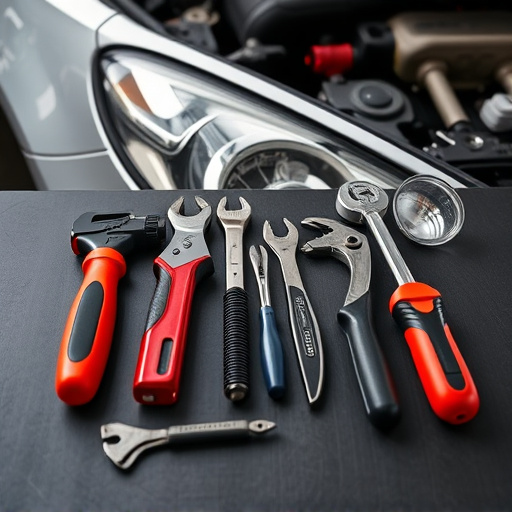
When dealing with Tesla Body Controller Repair for signal or relay failures, understanding the troubleshooting process is key. Start by identifying the specific component associated with the issue. Check for any loose connections or damaged wires within the controller and surrounding areas, as these are common causes of signal interruptions. Use a multimeter to test continuity and voltage across relevant points, pinpointing where the problem lies.
Visual inspection is also crucial; look for signs of corrosion, wear, or damage to both the body controller itself and related relays. Verify proper grounding and ensure that all electrical components are receiving adequate power supply. If issues persist, consider consulting a professional auto frame repair expert who can perform more advanced diagnostics using specialized tools, ultimately leading to effective Tesla body controller repair solutions.
Step-by-Step Guide to Repairing Your Tesla Body Controller
Repairing your Tesla Body Controller for signal or relay failures can be a straightforward process if approached methodically. First, locate the body controller, typically found in the vehicle’s trunk or under the hood, depending on the Tesla model. Once identified, power off the car and disconnect the battery to ensure safety during the repair process.
Next, carefully remove the faulty body controller from its housing. Refer to your owner’s manual for specific disassembly instructions. After removing the old controller, inspect the relay and signal connections for any signs of damage or corrosion. Clean the contacts thoroughly with a wire brush or isopropyl alcohol. Install a replacement controller, ensuring all cables and connectors are securely fastened. Double-check power supply connections and test the controller’s functionality before reassembling the body panel. This step-by-step guide ensures a successful Tesla body controller repair, enhancing your vehicle’s performance and safety.
If your Tesla’s body controller is experiencing signal or relay failures, don’t let it disrupt your driving experience. By understanding the common causes and symptoms, troubleshooting with confidence, and following a detailed step-by-step guide, you can successfully repair your Tesla body controller. Armed with this knowledge, you’ll not only restore your vehicle’s functionality but also gain a deeper appreciation for the intricate technology that powers your electric car. Remember, prompt action on minor issues can prevent more serious problems down the line, ensuring your Tesla remains a reliable and efficient companion on every journey.