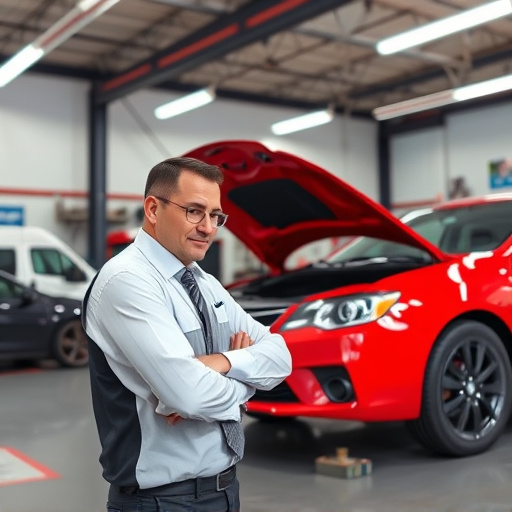


Tesla interior trim damage, caused by UV exposure, heat, moisture, wear & tear, or improper manufacturing, leads to issues like cracks, peeling, and fading in synthetic leather or vinyl. Preventative measures include regular cleaning and UV protection. Repairs require identifying the damage type, using genuine replacement parts from trusted auto repair services, gathering proper tools, preparing the work area, cleaning the surface, applying primer, fitting new trim pieces precisely, curing adhesive, sanding excess material, and painting to match the vehicle's interior color. Selecting authentic OEM replacement parts and specialized tools ensures high-quality restoration, enhances structural integrity, matches texture and color, and ultimately increases Tesla's value and appeal.
“Uncover the secrets to mastering Tesla interior trim repair, particularly focusing on the rear seat and trunk panel areas. This comprehensive guide addresses common damage causes and offers a step-by-step approach for effective restoration. From identifying issues like cracks, peels, and dents to selecting high-quality materials and tools, you’ll learn the essentials for a flawless fix. Elevate your Tesla’s interior with expert tips tailored for DIY enthusiasts aiming to restore their vehicle’s aesthetic appeal.”
- Understanding Tesla Interior Trim Damage: Common Issues and Causes
- The Step-by-Step Guide to Repairing Rear Seat and Trunk Panel Areas
- Choosing the Right Materials and Tools for a Quality Restoration
Understanding Tesla Interior Trim Damage: Common Issues and Causes
Tesla interior trim damage can manifest in various ways, especially in the rear seat and trunk panel areas. Common issues include cracks, peeling, and fading in the synthetic leather or vinyl materials. These problems often arise from exposure to UV rays, heat, and moisture, as well as normal wear and tear over time. Poor installation or handling during initial manufacturing can also contribute to early damage.
The underlying causes are multifaceted: direct sun exposure can cause the material to dry out and crack, while spills and stains can lead to peeling and discoloration. Harsh cleaning products or improper care can further exacerbate these issues. Regular maintenance like regular cleaning and protection with UV-resistant coatings can help prevent such damage, making Tesla interior trim repair necessary only when problems occur. For owner-conducted repairs, understanding the nature of the damage and using genuine replacement parts from a trusted vehicle body shop or auto repair services is key to achieving professional results.
The Step-by-Step Guide to Repairing Rear Seat and Trunk Panel Areas
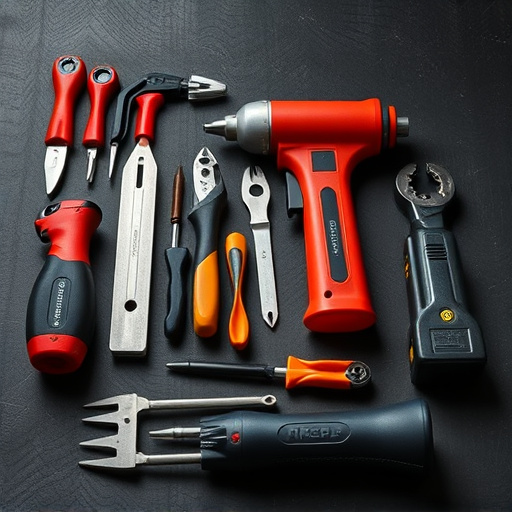
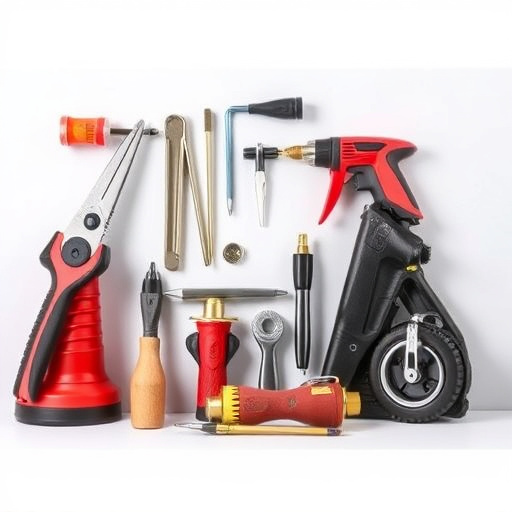
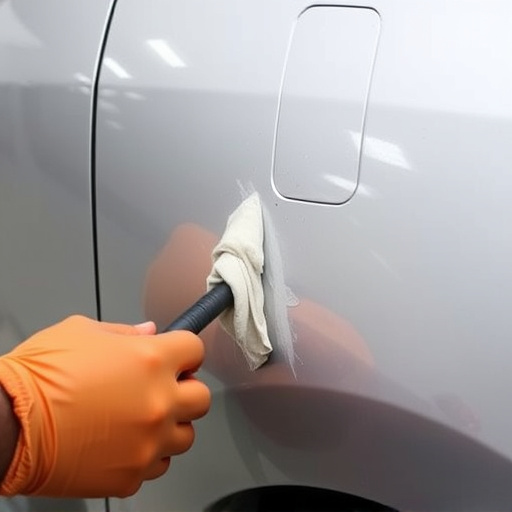
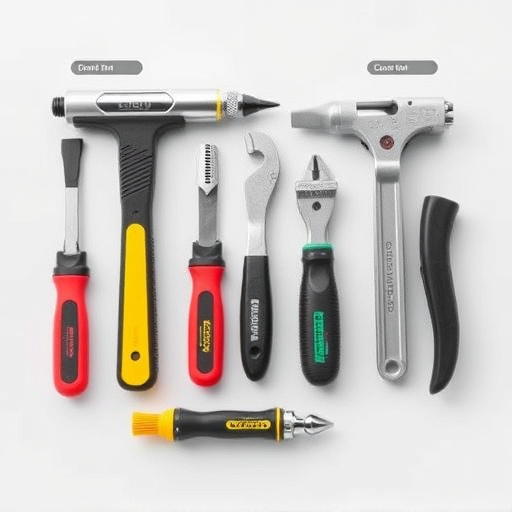
Repairing the rear seat and trunk panel areas of a Tesla involves a step-by-step process designed to restore your vehicle’s interior to its original condition. Start by gathering all necessary tools, including high-quality replacement trim pieces, adhesive, and sandpaper. Ensure proper ventilation in the work area due to the use of strong adhesives. Next, carefully remove any loose debris or existing trim using a suction tool or heat gun, taking care not to damage surrounding surfaces.
Once the area is clean, apply a thin layer of primer to prepare the surface for bonding. Allow it to dry completely. Then, fit the new trim pieces precisely, ensuring they align perfectly with the vehicle’s design. Use clamps to hold the trim in place while the adhesive sets. After the adhesive has cured, gently sand any excess material to achieve a smooth finish. Finally, apply a coat of paint to match your Tesla’s interior color, allowing it to dry thoroughly before reinstalling all components and enjoying a restored look throughout your vehicle’s rear seat and trunk panel areas, much like visiting a reputable car body shop for vehicle dent repair or restoration work.
Choosing the Right Materials and Tools for a Quality Restoration

When embarking on a Tesla interior trim repair, especially for the rear seat and trunk panel areas, selecting the appropriate materials and tools is paramount to achieving a quality restoration. It’s crucial to source authentic replacement parts that precisely match your Tesla’s specifications, ensuring both structural integrity and aesthetic harmony. The market offers a range of options, from generic aftermarket parts to OEM (Original Equipment Manufacturer) replacements, each with its own advantages and considerations.
For a professional-grade repair, consider investing in high-quality materials specifically designed for vehicle body repair. This includes durable plastics, flexible foams, and precision-cut fabrics that mimic the original trim’s texture and color. Additionally, assembling the repair requires specialized tools such as adhesive guns, precision scissors, and specialized glues formulated for automotive applications. These choices not only ensure a seamless fit but also contribute to long-lasting results, akin to the meticulous craftsmanship found in bumper repair services, ultimately enhancing your Tesla’s overall value and appeal.
Tesla interior trim repair, especially in the rear seat and trunk panel areas, is a task that requires both skill and the right tools. By understanding common damage causes and following a structured guide, owners can effectively restore their vehicles’ aesthetics. Choosing high-quality materials ensures a long-lasting fix, enhancing the overall customer experience. Armed with knowledge and the proper resources, Tesla enthusiasts can tackle these repairs confidently, keeping their electric vehicles looking as good as new.