

Hood dent removal is a crucial auto body restoration process that offers functional and aesthetic benefits, enhancing vehicle performance, safety, and structural integrity. Professional technicians use advanced tools like pneumatic pullers and heat guns for accurate dent extraction, minimizing cutting or welding. High-quality equipment investment in body shops improves efficiency and results, setting standards in hood dent removal services. Careful assessment and proper tools (from pliers to professional-grade gear) ensure successful minor to severe dent removal without damaging the hood finish.
In the realm of automotive care, maintaining a pristine vehicle exterior is paramount. Hood dent removal stands out as a crucial skill for both professional detailers and DIY enthusiasts. This article delves into the art and science of effective hood dent removal, offering insights into its benefits and equipping you with essential tools and a step-by-step guide to achieve professional-grade results. From understanding the basics to mastering techniques, discover the secret to a smooth, dent-free hood.
- Understanding Hood Dent Removal: The Basics and Benefits
- Top Tools for Professional-Grade Dent Repair
- Step-by-Step Guide: Using the Right Tools for Optimal Results
Understanding Hood Dent Removal: The Basics and Benefits
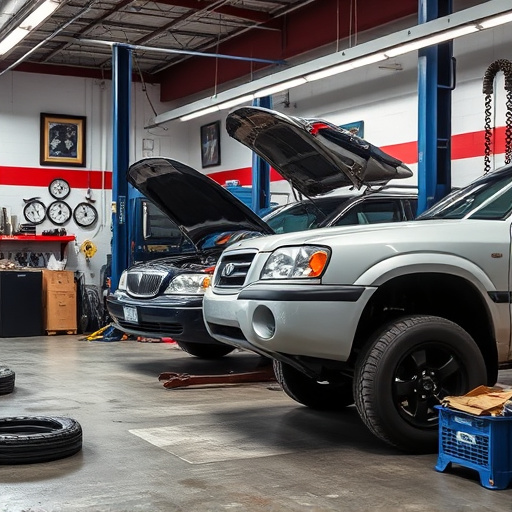
Hood dent removal is a crucial aspect of auto body restoration, offering both functional and aesthetic benefits for car owners. It involves carefully manipulating and realigning the hood’s panel to eliminate dents or deformities, restoring its original shape and smoothness. This process not only enhances the vehicle’s overall look but also ensures optimal performance and safety standards, as even minor dents can disrupt airflow dynamics and compromise structural integrity over time.
Effective hood dent removal requires a combination of specialized tools and skilled technicians. Modern car bodywork services utilize advanced techniques like pneumatic tools, heat guns, and specialized glues to address various dent types, from shallow dings to severe creases. These methods allow for precise adjustments, minimizing the need for excessive cutting or welding. Additionally, professional car paint services often follow hood dent removal to ensure a seamless finish, maintaining the vehicle’s value and aesthetic appeal.
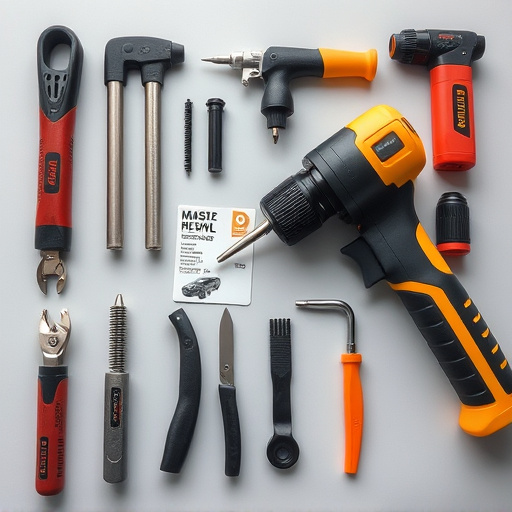
Top Tools for Professional-Grade Dent Repair

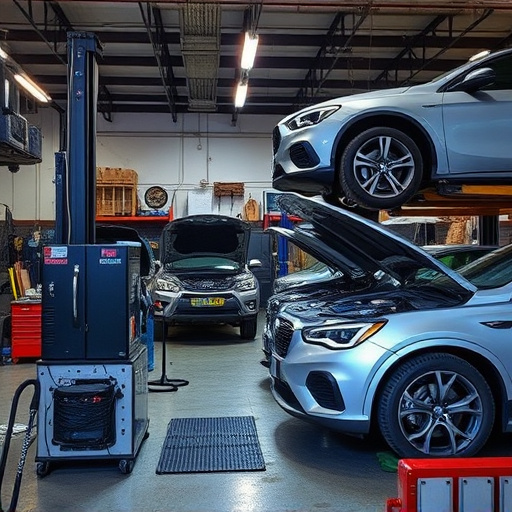
When it comes to professional-grade hood dent removal, the right tools make all the difference. For body shops and collision repair centers, investing in high-quality equipment can significantly streamline the process and ensure superior results. One of the top choices is a pneumatic dent puller, which uses compressed air to gently remove dents, leaving minimal damage or marks. These tools are versatile, suitable for various vehicle types and dent sizes.
Additionally, a thermal dent remover, which employs heat to relax the metal and allow for easy removal of dents, is another game-changer in the auto collision repair industry. This method is particularly effective for deeper dents that might be more challenging to pull out with standard tools. Incorporating these advanced tools into body shop services can elevate the quality of hood dent removal, providing customers with faster turnaround times and flawless finishes.
Step-by-Step Guide: Using the Right Tools for Optimal Results

Removing hood dents effectively requires a systematic approach and the right tools to achieve optimal results. Here’s a step-by-step guide tailored for hood dent removal:
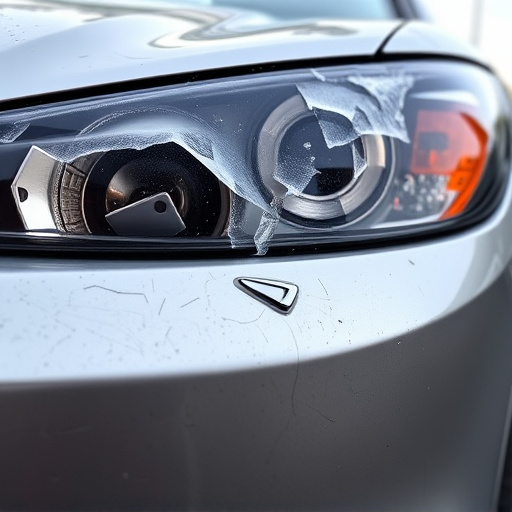
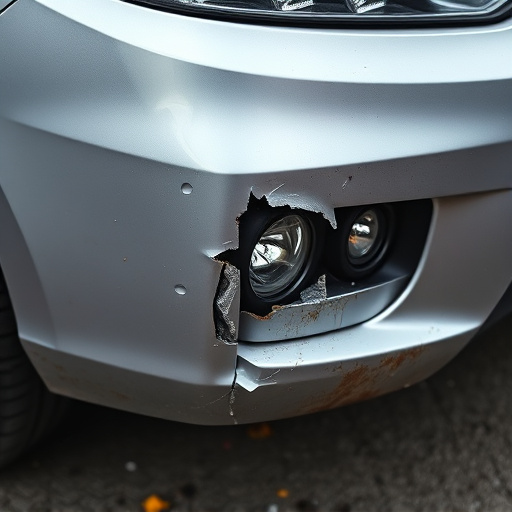
1. Assess the Damage: Begin by inspecting the dent carefully. Determine its size, depth, and location on the hood. This will help you choose the appropriate removal technique and tools.
2. Gather Essential Tools: For minor to moderate dents, a set of pliers, a mallet, and a piece of soft cloth are often sufficient. Pliers are ideal for gripping and pulling out stubborn dents, while a mallet can gently tap around the dent to loosen it. The soft cloth is used to protect the hood’s finish during the process. For more severe cases, consider professional-grade tools like a dent puller or a hydraulic press, typically available at auto body shops and collision centers. These tools employ precise force to remove dents without damaging the surrounding surface.
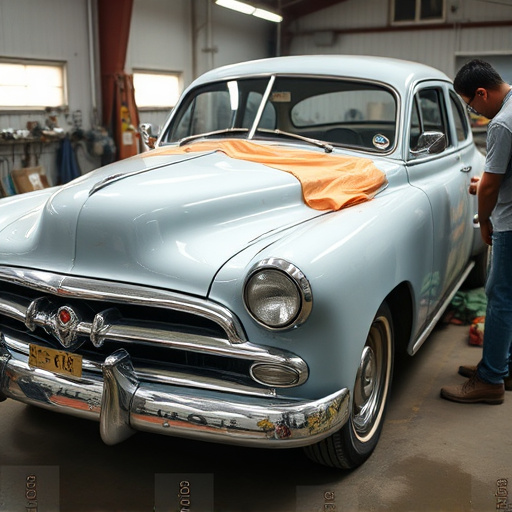
3. Prepare the Hood: Ensure your work area is clean and well-lit. Place the hood on a secure, level surface. If using a mallet, cover the dent with a thin cloth or plastic to prevent damage to the hood’s finish.
4. Apply Force Strategically: Depending on the tool you choose, apply gentle yet firm pressure around the dent. For pliers, grip the dent firmly and slowly pull it outwards. With a dent puller, follow the manufacturer’s instructions for the best results. Maintain control throughout the process to avoid further damage or leaving marks.
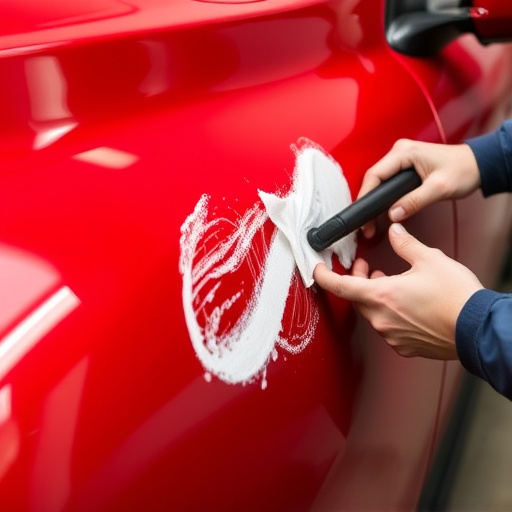
5. Polish and Inspect: After successfully removing the dent, use the soft cloth to wipe away any debris and polish the area until it’s smooth and seamless with the rest of the hood. Carefully inspect your work to ensure the dent is completely gone and no scratches or dents remain. If needed, repeat the process for other dents on the vehicle using the appropriate tools from your vehicle repair services toolkit.
When it comes to effective hood dent removal, the right tools make all the difference. By understanding the basics and benefits of this process and employing professional-grade solutions like paintless dent repair kits and specialized paddles, you can achieve flawless results at home. Following a step-by-step guide ensures optimal efficiency and precision, allowing you to remove those unsightly dents and restore your vehicle’s original appearance seamlessly.