


Car dent removal techniques vary based on damage severity, with Paintless Dent Repair (PDR) for minor dents and traditional body repair for extensive damage, like Mercedes Benz models. Essential tools include plastic mallets, dent pullers, gauge, putty knives, resin, hardener, and sandpaper. A step-by-step guide offers cost-effective, DIY-friendly methods to remove dents without painting, focusing on surface preparation, tool selection, and smoothing imperfections for a professional finish.
Tired of unsightly dents marring your vehicle’s appearance? Learn how to remove them without painting! This comprehensive guide delves into effective car dent removal techniques, equipping you with the knowledge and tools needed. From understanding various methods to mastering a step-by-step process, discover professional tips for restoring your car’s sleek finish. Achieve excellent results without breaking the bank—just you, some simple tools, and a bit of patience.
- Understanding Car Dent Removal Techniques
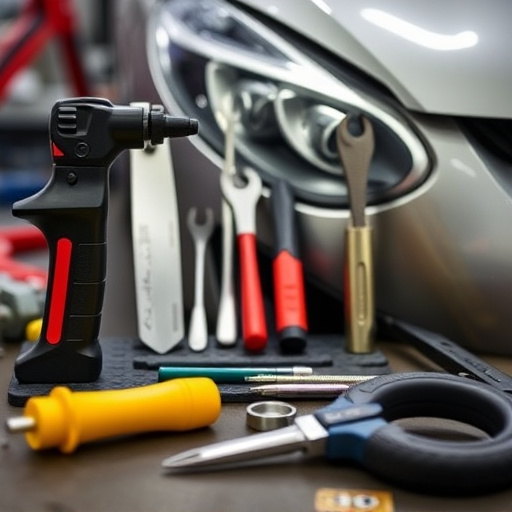
- Tools and Materials Needed for Dent Repair
- Step-by-Step Guide to Removing Dents Without Painting
Understanding Car Dent Removal Techniques
Car dent removal is a process that involves several techniques designed to restore your vehicle’s body to its original condition without painting. Understanding these methods is crucial for anyone looking to fix dents themselves or seek professional help. One common and effective approach is using special tools to gently push the dented area back into place, known as PDR (Paintless Dent Repair). This method is often preferred for smaller dents and scratches on car bodywork, as it preserves the factory finish.
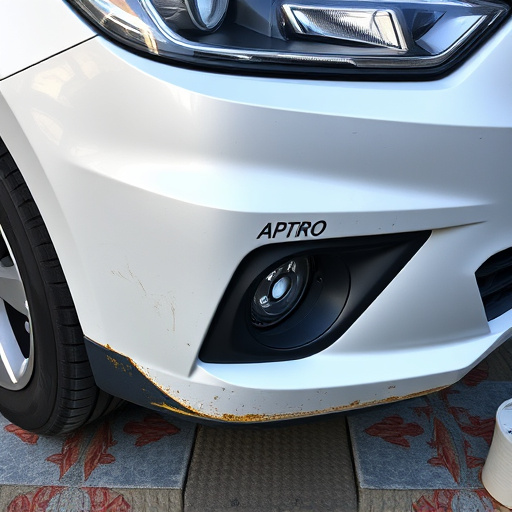
For more severe cases, where PDR isn’t feasible, traditional vehicle body repair techniques come into play. This involves removing damaged panels, straightening them, and then replacing them after painting. Mercedes Benz repair, for instance, often employs these methods due to the precision and quality required in restoring high-end vehicles like the iconic German brands. The goal of any car dent removal process is to ensure the vehicle’s structural integrity while minimizing the visual impact of dents on the overall aesthetics of the vehicle body.
Tools and Materials Needed for Dent Repair
To successfully tackle car dent removal without painting, you’ll need a few essential tools and materials. Start with a set of plastic or rubber mallets—these are crucial for gently pressing out the dent without causing further damage. Also, pick up some dent pullers, which are specialized tools designed to slide under the dented area and pop it back into place. For accurate measurements and adjustments, a dent gauge will be invaluable.
Additionally, prepare a toolkit with various types of putty knives for scraping away any leftover dents or debris, as well as a high-quality polyester resin for filling and repairing the damaged area. Don’t forget to include a hardener for the resin, along with a set of sandpaper for smoothing out the repaired surface. For those focusing on vehicle restoration, like a Mercedes Benz repair, these tools will enable you to achieve a seamless and professional car bodywork finish without resorting to painting.
Step-by-Step Guide to Removing Dents Without Painting
Removing dents from your car’s exterior without painting is a cost-effective and time-saving alternative to traditional repairs. Here’s a step-by-step guide for tackling those pesky dings and dents:
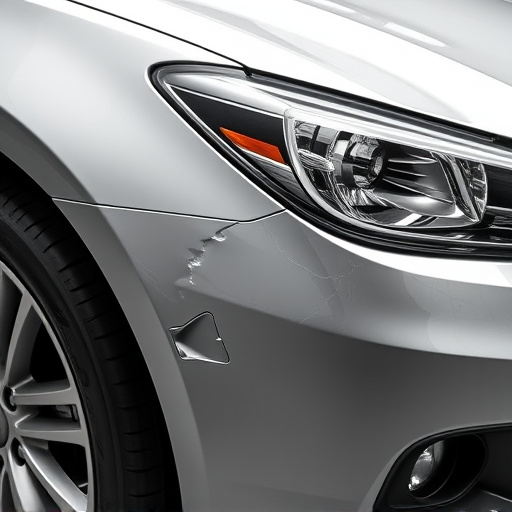
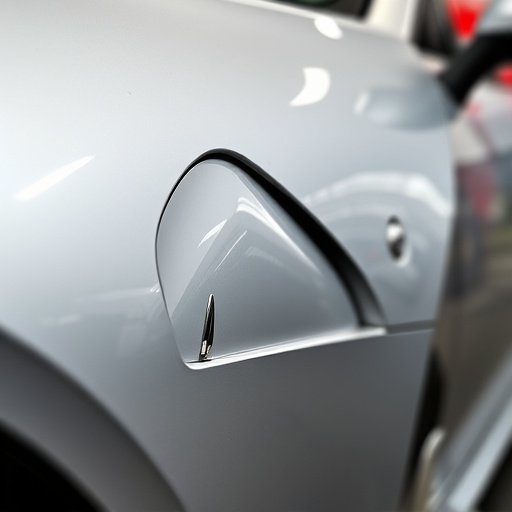
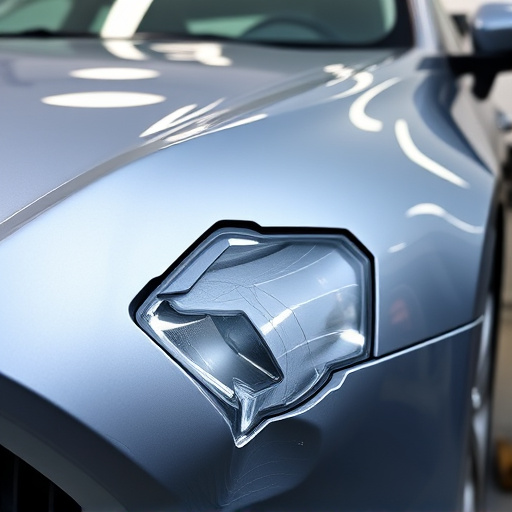
1. Inspect the Dent: Begin by thoroughly examining the dent to determine its size, depth, and location. Dents near edges or corners might be more challenging to fix without painting.
2. Choose the Right Tools: For smaller dents, a rubber mallet and a suction cup tool can work wonders. Suction cups are ideal for pulling out shallow dents. For deeper dings, consider using a dent puller kit, which applies precision force to pop out the dented area. These tools are readily available at auto collision centers or auto body shops, and some even come with detailed guides for DIY enthusiasts.
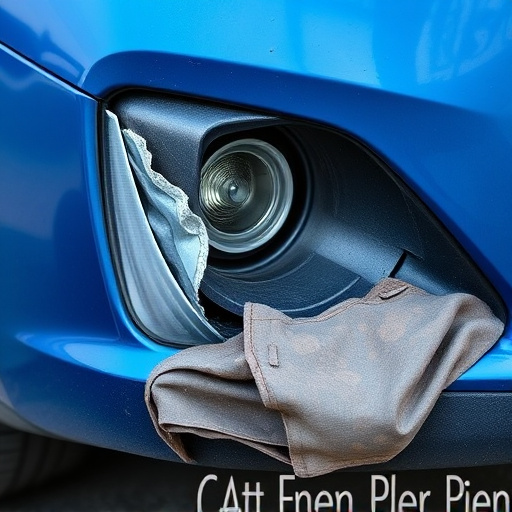
3. Prepare the Surface: Clean the affected area thoroughly. Remove any dirt, grease, or debris using a mild detergent and a soft cloth. This step ensures that your repair job adheres properly to the car’s surface.
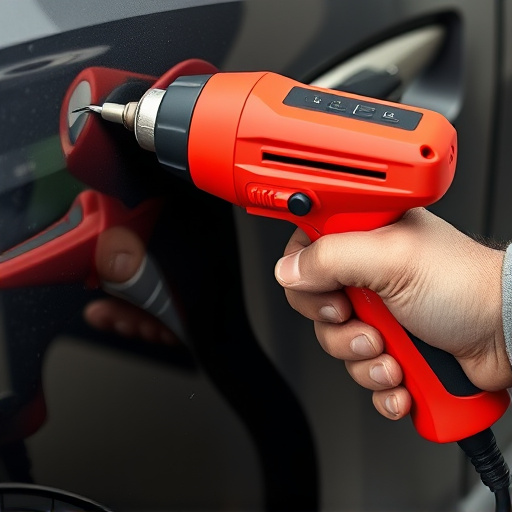
4. Apply Heat (Optional but Effective): Using a heat gun on low settings can help relax the metal slightly, making it easier to pop out dents. Be cautious not to overheat the area to avoid damaging the paint or the car’s underbody.
5. Use the Tools: For suction cups, apply them over the dent and pump air to create a vacuum, gently pulling up on the tool while applying pressure downwards on the dented panel. With dent pullers, follow the kit’s instructions for the correct placement and force application. Be careful not to damage surrounding panels or paint.
6. Smoothen and Finish: Once the dent is removed, use a putty knife to smooth out any remaining ridges. You can also apply a high-quality auto bodywork compound to blend the area seamlessly with the rest of the car’s surface.
Car dent removal doesn’t always require painting, as various techniques exist to restore your vehicle’s original condition. By understanding the process and using the right tools, you can effectively remove dents and avoid unnecessary repainting. Following a step-by-step guide ensures precise results, allowing you to save time and money while maintaining your car’s aesthetics. Now, armed with knowledge, take on dent repair projects with confidence!