


Rain sensor glass repair is a specialized task for fixing or replacing damaged transparent components in a vehicle's rain-sensing wiper system, which activates wipers upon sensing moisture. Common issues include cracks, scratches, or dirt buildup. Essential tools and materials include new sensor assemblies, cleaning solutions, precision tools, safety glasses, a rubber mallet, microfiber cloths, and adhesive. Accurate measurements and a steady hand are crucial for optimal performance in wet conditions. Replacing a damaged rain sensor glass is a manageable DIY task involving locating the sensor, removing the old glass, cleaning the area, installing the new glass with precise alignment, and securing it with automotive-grade adhesive. Proper placement is vital for seamless wiper operation and enhanced safety in wet conditions.
“Unsure where to begin with your rain sensor glass repair? This comprehensive guide is tailored for complete beginners. Learn the fundamentals of rain sensor glass repair, from identifying common issues to understanding the basics of its function. We’ll walk you through the essential tools and materials needed for the job. Subsequently, follow our step-by-step instructions to replace a damaged rain sensor glass efficiently and effectively.”
- Understanding Rain Sensor Glass Repair: The Basics
- Tools and Materials Required for the Job
- Step-by-Step Guide to Replacing a Damaged Rain Sensor Glass
Understanding Rain Sensor Glass Repair: The Basics
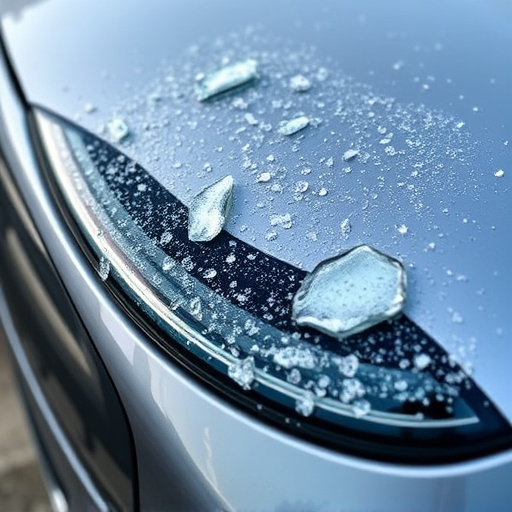
Rain sensor glass repair is a specialized task that involves fixing or replacing the transparent component within a vehicle’s rain-sensing wiper system. This technology, designed to automatically activate wipers when sensing moisture on the windshield, is becoming increasingly common in modern cars. Understanding how these sensors work and what can go wrong is essential for any beginner looking to tackle this repair.
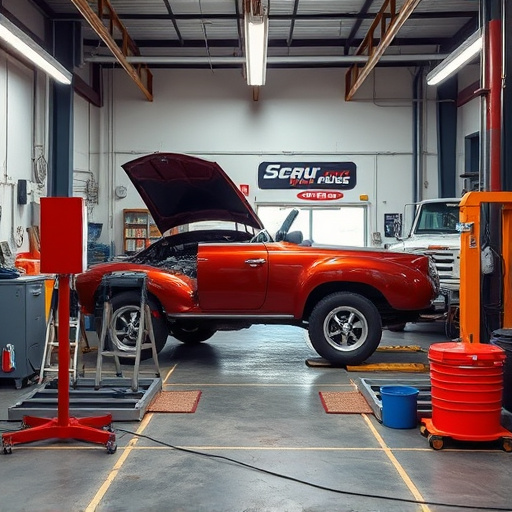
The rain sensor glass, typically located at the front of the vehicle, houses a sophisticated optical system that detects light reflection changes caused by water droplets. Any damage or clouding on this glass can disrupt its performance, leading to ineffective wiper operation. Common issues include cracks, scratches, or dirt buildup. When attempting a repair, it’s crucial to have the right tools and replacement parts, such as a new rain sensor glass assembly, suitable cleaning solutions, and precision tools for safe disassembly and reassembly. This process often requires careful navigation around other components, like the fender or auto frame repair parts, to access and replace the sensor without causing further damage.
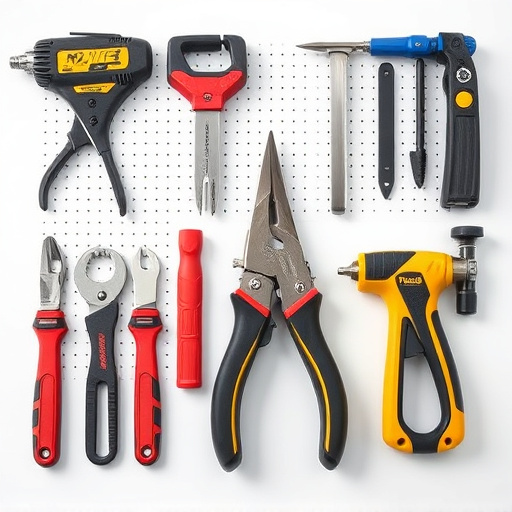
Tools and Materials Required for the Job
Before you begin your rain sensor glass repair, ensure you have all the necessary tools and materials at hand. For this job, you’ll require a variety of items specific to auto body work and precision repairs. Gather the following: high-quality replacement sensors, a small Phillips head screwdriver for accessing tight spaces, safety glasses to protect against debris, a rubber mallet for gentle tapping without causing damage, and a microfiber cloth for cleaning and polishing. Additionally, you might need an adhesive suitable for car body repair if the sensor needs reattaching.
Remember, accurate measurements and a steady hand are crucial for successful rain sensor glass repair. With these tools prepared, you’ll be ready to tackle the task with confidence, ensuring your vehicle’s sensors function optimally, especially during those rainy days.
Step-by-Step Guide to Replacing a Damaged Rain Sensor Glass

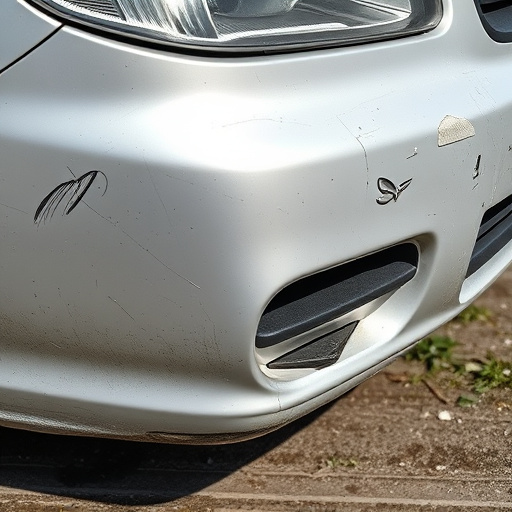
Replacing a damaged rain sensor glass is a straightforward process that can be accomplished with the right tools and some patience. Start by locating the rain sensor, usually found at the front or rear of your vehicle, near the windshield or bumper. The sensor itself is often protected by a small, transparent glass cover. Inspect this cover for any cracks or chips; if damage is present, it’s time to replace the glass.
Gather your replacement rain sensor glass, a suitable cleaner, and a soft cloth. Remove the old glass by carefully prying it out with a thin tool, like a spudger, being cautious not to damage the surrounding components. Clean the area thoroughly, ensuring no debris or old adhesive remains. Place the new rain sensor glass into position, aligning it precisely with the existing mounting holes. Secure it in place using fresh adhesive designed for automotive applications, and allow it to cure according to the manufacturer’s instructions before testing its functionality. Remember, accurate placement is key to ensure your vehicle’s rain-sensing wipers operate seamlessly, enhancing safety during wet conditions, similar to how a car collision repair might restore a vehicle’s safety features after an accident.
Rain sensor glass repair is now a feasible task for beginners, as this guide has demonstrated. By understanding the basics, gathering the right tools and materials, and following a simple step-by-step process, you can effectively replace a damaged rain sensor glass. This skill not only saves costs but also ensures your vehicle’s wipers function optimally in all weather conditions. For any future issues, remember that practice makes perfect, and you’re now equipped to tackle rain sensor glass repairs head-on.