


Heated windshield replacement is a specialized automotive service required for vehicles with advanced heating glass systems, demanding an understanding of their complexities. Skilled auto body shops use precise techniques to preserve existing components and ensure proper alignment of new glass for enhanced structural integrity and safety. Before replacing the heated windshield, prioritize preparation, gather tools, ensure workspace safety, understand removal processes, and wear protective gear. The installation process is straightforward; clean the surface, apply adhesive, place the new windshield, and use clamping tools until it sets, resulting in improved driving comfort and clear visibility.
“New to the world of heated windshield replacement? This comprehensive guide is your perfect starting point. Discover the fundamentals, from understanding the process to ensuring a safe and smooth experience. We’ll walk you through every step, from preparation to installation, making this seemingly complex task approachable. By the end, you’ll be equipped with the knowledge to replace your heated windshield with confidence. Let’s get started!”
- Understanding Heated Windshield Replacement: The Basics
- Preparation and Safety Measures for a Smooth Process
- Step-by-Step Guide to Installing a New Heated Windshield
Understanding Heated Windshield Replacement: The Basics
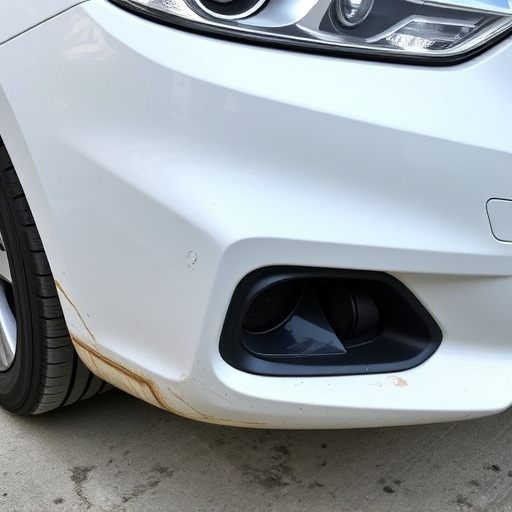
Heated windshield replacement is a specialized process designed to fix or replace cracked or damaged windshields in vehicles equipped with heated glass systems. Unlike conventional windshield replacements, this method requires an understanding of how these advanced automotive features work and the unique challenges they present. The basic principle involves repairing or swapping out the glass while ensuring seamless integration with the vehicle’s heating elements, ensuring optimal performance and comfort for drivers.
This process is crucial in maintaining the structural integrity and safety of a vehicle. Auto body shops skilled in heated windshield replacement employ techniques to preserve the existing heating components, aligning the new glass precisely to avoid gaps or misalignments. It’s not just about replacing the glass; it’s about performing auto body work that aligns with the vehicle’s advanced technology, ensuring the vehicle’s performance and safety standards are met.
Preparation and Safety Measures for a Smooth Process
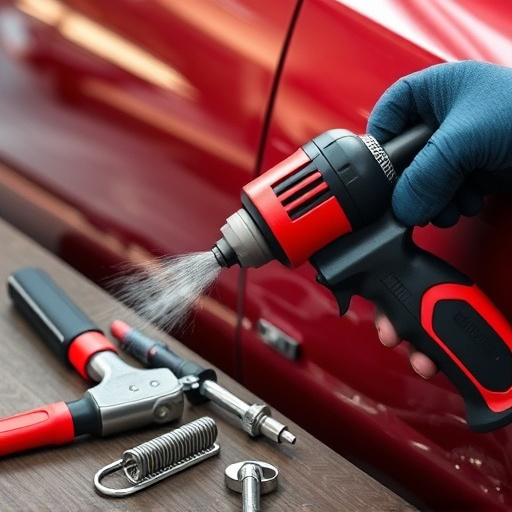
Before diving into the heated glass replacement process, a thorough preparation and understanding of safety measures are essential for a smooth experience. Begin by gathering all necessary tools and materials, including the new heated windshield, gloves, safety goggles, and protective clothing to shield yourself from any potential debris or chemicals. Ensure your work area is well-ventilated and clear of obstacles to create a safe and efficient workspace. Familiarize yourself with the removal process; this involves carefully disassembling the old windshield, which may require specific tools depending on your vehicle’s make and model.
Safety should always be a top priority during this procedure. Heated glass replacement can involve working with sharp objects and potentially hazardous materials, so wearing protective gear is non-negotiable. Keep a fire extinguisher nearby as a precaution, especially when dealing with the old windshield, which may contain residual chemicals that could ignite. Remember, proper preparation and safety measures will not only ensure a successful heated windshield replacement but also protect you from potential risks during the car restoration or auto detailing process.
Step-by-Step Guide to Installing a New Heated Windshield
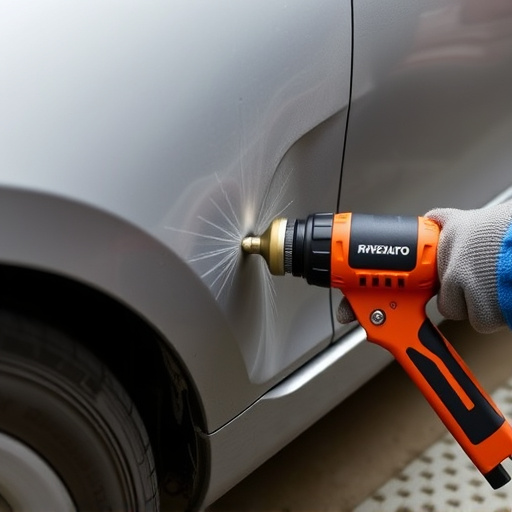
Installing a new heated windshield is a straightforward process that can significantly enhance your driving experience, especially in colder climates. Here’s a step-by-step guide to ensure the job is done right. Begin by gathering all necessary tools and materials, including the new heated windshield, adhesive, and any hardware specified for your vehicle model. Park your car indoors or on a cool day to avoid heating issues during installation.
Next, carefully remove the old windshield using the appropriate safety equipment like gloves and goggles. Clean the surface thoroughly to ensure optimal adhesion. Apply the adhesive as per the manufacturer’s instructions, typically along the edges of the new windshield. Place the glass in position, pressing firmly for a secure fit. Utilise clamping tools to hold it in place until the adhesive sets, following the recommended time frame by the supplier. Once cured, inspect for any gaps or misalignments and adjust as needed, ensuring a seamless finish that complements your vehicle’s interior and enhances safety through clear visibility.
Heated glass replacement is an essential skill for any car owner facing a cracked or faulty windshield. By understanding the basics, preparing adequately, and following a step-by-step guide, you can successfully install a new heated windshield yourself, ensuring a safe and cost-effective solution. Remember, proper safety measures are key to a smooth process, so equip yourself with the right tools and knowledge before beginning. With this beginner’s guide, you’re well-equipped to navigate the heated windshield replacement journey.