

OEM repair procedures are detailed guides for restoring vehicles to their original state, ensuring safety, performance, and resale value. These protocols cover a wide range of tasks, from painting and dent removal to engine repairs, with precise instructions on materials, methods, and drying times. Success requires a well-equipped toolkit, safety gear, and a sturdy workbench. The meticulous process involves damage assessment, part removal, surface prep, replacement/repair, and reassembly, aiming for accurate alignment and factory-like results.
Looking to tackle your first OEM repair? This complete beginner’s guide breaks down everything you need to know. We’ll walk you through understanding OEM repair procedures, from the ‘what’ and ‘why’ to gathering the essential tools and materials. Then, we’ll take you step-by-step through the process, empowering you with the knowledge to perform your first – and many more – OEM repairs confidently. Let’s dive in!
- Understanding OEM Repair Procedures: What and Why
- Essential Tools and Materials for OEM Repairs
- Step-by-Step Guide to Performing an OEM Repair
Understanding OEM Repair Procedures: What and Why

Understanding OEM Repair Procedures: What and Why
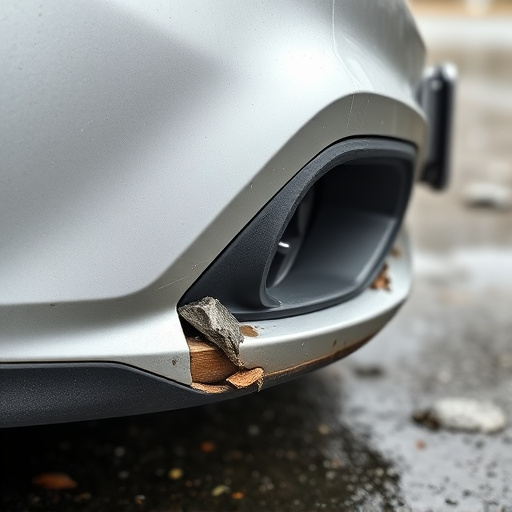
OEM (Original Equipment Manufacturer) repair procedures are detailed step-by-step guides designed to ensure vehicles are restored to their original factory specifications. These procedures cover a wide range of tasks, from simple auto painting and dent removal to complex engine repairs and assembly processes. The importance of adhering to OEM guidelines lies in maintaining the vehicle’s safety, performance, and resale value. By following these protocols, car enthusiasts and professionals alike can ensure that every part of the car functions as intended, making the driving experience smoother and more reliable.
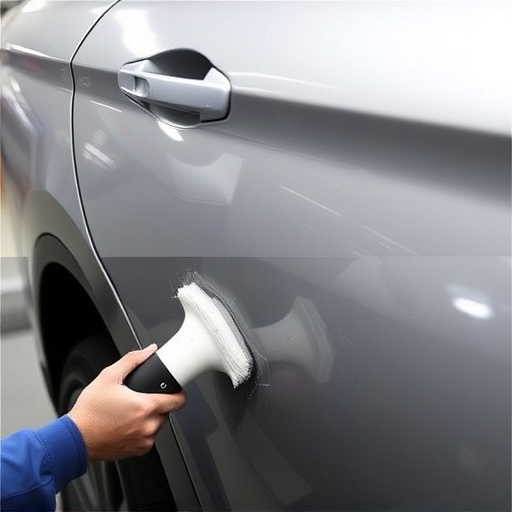
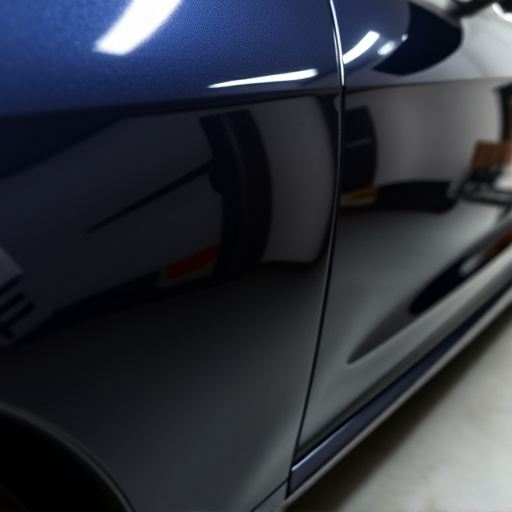
For instance, when dealing with car paint repair, an OEM procedure will dictate the type of primer and paint to use, along with precise application methods and drying times. This meticulous attention to detail prevents issues like poor color match or uneven finishes that can occur when skipping or simplifying these critical steps. Similarly, dent removal techniques detailed in OEM guides help preserve the vehicle’s structural integrity and aesthetic appeal, ensuring that every repair reflects the car’s original quality and craftsmanship.
Essential Tools and Materials for OEM Repairs

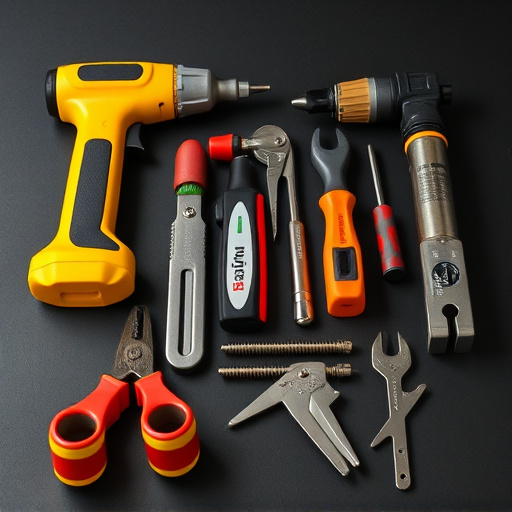
When diving into OEM (Original Equipment Manufacturer) repairs, having the right tools and materials is essential for achieving precise and quality results. A well-stocked toolkit tailored to auto glass repair, vehicle bodywork, and general vehicle repair services will serve as your foundation. Core items include specialized screwdrivers and wrenches designed for tight spaces, high-quality replacement parts matching your vehicle’s exact specifications, and a variety of adhesives and sealants suitable for different materials.
Additionally, consider investing in safety equipment such as gloves, safety glasses, and dust masks to protect yourself during the repair process. A sturdy workbench or repair stand can also ensure stability and accessibility when working on various components. With these essentials at your disposal, you’ll be well-equipped to confidently navigate OEM repair procedures, from replacing damaged auto glass to fixing intricate vehicle bodywork.
Step-by-Step Guide to Performing an OEM Repair
Performing an OEM (Original Equipment Manufacturer) repair involves a meticulous process designed to restore your vehicle to its original condition while ensuring structural integrity and aesthetic precision. Here’s a step-by-step guide to navigating this specialized procedure:
1. Safety First: Begin by preparing the workspace, gathering all necessary tools, and donning personal protective equipment (PPE). Ensure proper ventilation for safety during the repair process.
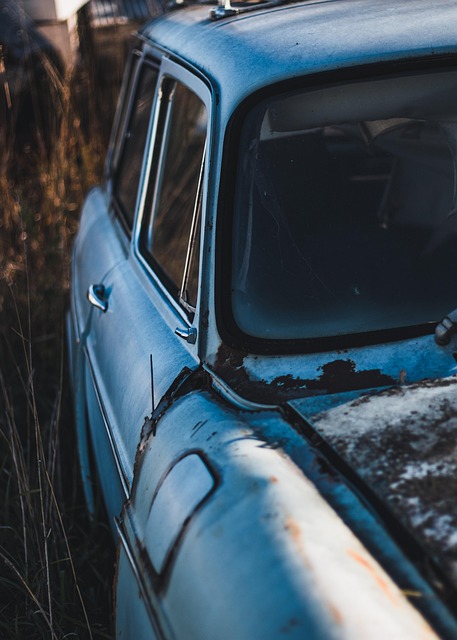
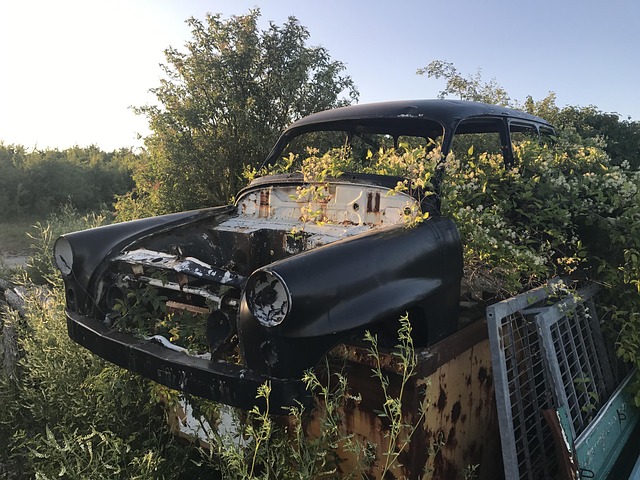
2. Assess the Damage: Carefully examine the affected area, identifying cracks, dents, or deformities. Compare the damage with original equipment manufacturer (OEM) specifications to ensure accurate replacement and alignment. This step is crucial in achieving a seamless car body restoration.
3. Remove Damaged Parts: Using specialized tools, carefully disassemble and remove the damaged panel or component. Take note of how each piece attaches for easy reassembly later. This process varies based on the vehicle’s make and model, highlighting the importance of following detailed guides specific to your vehicle.
4. Prepare the Surface: Clean the area thoroughly, removing any debris or contaminants. Use a suitable primer to prepare the surface for painting, ensuring adhesion and long-lasting results. In a collision repair center, this step is often crucial in achieving a flawless auto body restoration.
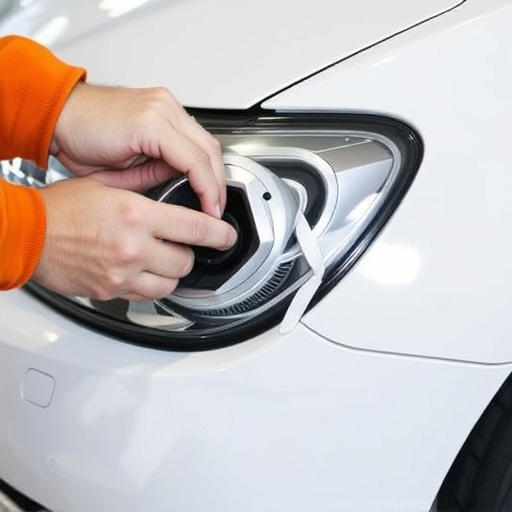
5. Replace or Repair: Depending on the extent of damage, either replace the part with a new OEM component or proceed with careful repairs using specialized techniques and materials. Ensure all parts are aligned precisely to factory standards for optimal performance and aesthetics.
6. Reassemble: Reconstruct the vehicle by carefully reattaching the repaired or replaced panel(s). Tighten bolts securely while referencing the OEM repair manual for specific torque settings, ensuring structural integrity throughout.
For those new to the world of OEM repairs, this guide has provided a comprehensive introduction to understanding and executing these specialized procedures. By familiarizing yourself with the basics, gathering the essential tools, and following a structured approach, you can now confidently tackle OEM repairs with skill and precision. Remember, proper training and a deep understanding of the processes are key to successful and safe repairs. With this knowledge in hand, you’re ready to embark on your journey as an OEM repair expert.