


Tesla vehicles' advanced driver-assistance systems (ADAS) heavily rely on their camera housing, which can be damaged by road debris, accidents, or extreme weather. Prompt repair or replacement is crucial to maintain ADAS effectiveness and enhance safety. Specialized diagnostic tools detect camera issues, enabling precise repairs using cautionary measures and the right materials. Post-repair, test camera functionality to ensure proper restoration.
Tesla vehicles are renowned for their advanced technology, but like any complex system, they can encounter issues—including problems with the camera housing. This article delves into the common Tesla camera housing repairs and offers a comprehensive guide using diagnostic tools. Understanding these challenges is crucial for both owners seeking DIY solutions and professionals aiming to master this specialized repair. By following a step-by-step approach, you’ll gain the knowledge to tackle these repairs effectively.
- Understanding Tesla Camera Housing Issues
- Diagnostic Tools for Effective Repairs
- Step-by-Step Guide to Camera Housing Repair
Understanding Tesla Camera Housing Issues
Tesla vehicles are renowned for their cutting-edge technology, but like any complex system, they can experience issues with specific components. One such part that has garnered attention among Tesla owners is the camera housing, an integral part of the vehicle’s advanced driver-assistance systems (ADAS). These cameras play a crucial role in features like Autopilot and lane departure warning, making their proper functioning essential for safety.
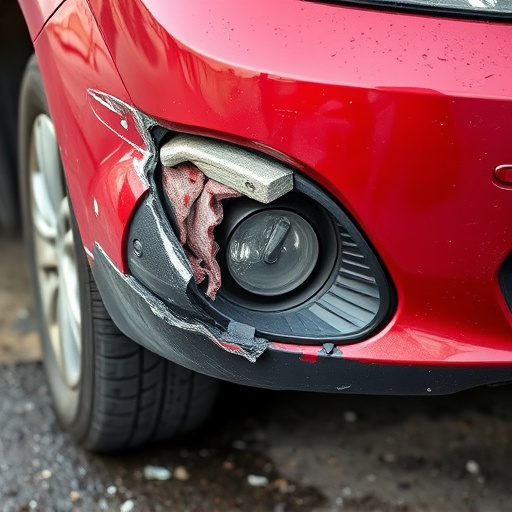
Camera housing repairs are often necessary due to various factors. Damage from road debris or accidents can compromise the integrity of these housings, leading to reduced camera clarity or even failure. Over time, exposure to extreme weather conditions may also contribute to housing warping or cracking. Recognizing these potential issues is vital for vehicle owners and qualified auto detailing services, as prompt repair or replacement can ensure the continued effectiveness of Tesla’s ADAS features, enhancing both safety and overall vehicle performance.
Diagnostic Tools for Effective Repairs
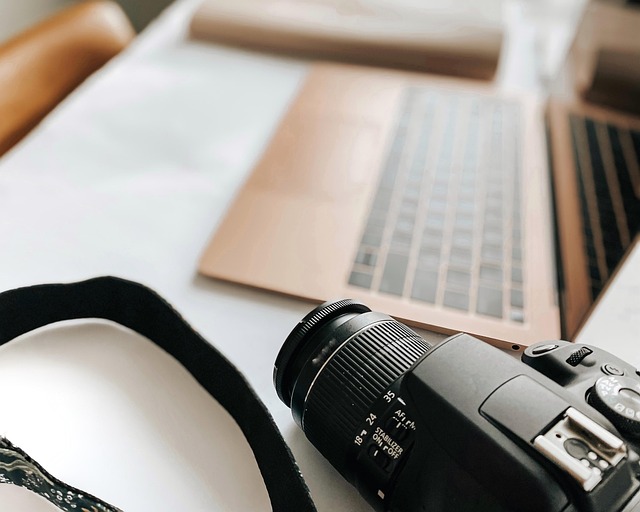
When it comes to Tesla camera housing repair, having the right diagnostic tools is paramount. These tools enable technicians to accurately identify issues and pinpoint exactly what repairs are needed, ensuring a more effective and efficient process. Modern diagnostic equipment goes beyond simple troubleshooting by providing detailed insights into vehicle systems, including cameras.
Specialized software and scanners can detect anomalies in camera functionality, allowing for targeted fixes. This is particularly crucial when dealing with advanced driver-assistance systems (ADAS) that rely on pristine camera conditions. Many collision repair centers and car paint services now utilize these diagnostic tools as part of their vehicle repair services to deliver top-notch repairs, restoring not just the physical damage but also the optimal performance of critical safety features like Tesla’s cameras.
Step-by-Step Guide to Camera Housing Repair

Reparating a Tesla camera housing is a process that can be tackled with the right tools and a systematic approach. Here’s a step-by-step guide to help you through it, focusing specifically on Tesla camera housing repair:
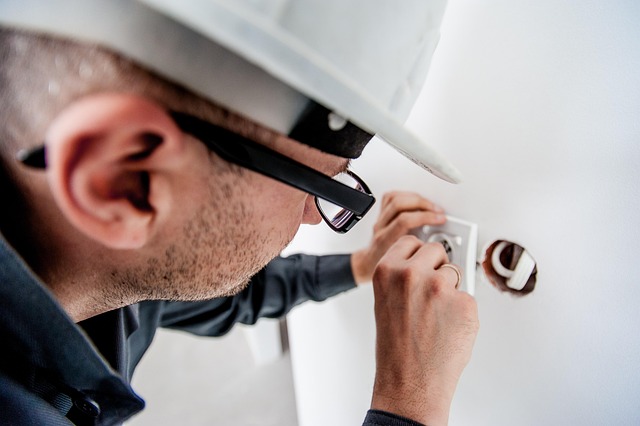
1. Safety First: Ensure your vehicle is parked on a level surface with the parking brake engaged. Put on protective gear, including gloves and safety glasses, before beginning any auto maintenance work, especially when dealing with intricate components like the camera housing.
2. Assess the Damage: Carefully inspect the camera housing for cracks, chips, or signs of impact. This step is crucial in determining the extent of the repair needed. Remember, proper diagnosis is key to successful Tesla camera housing repair, much like how accurate tire services begin with a thorough assessment.
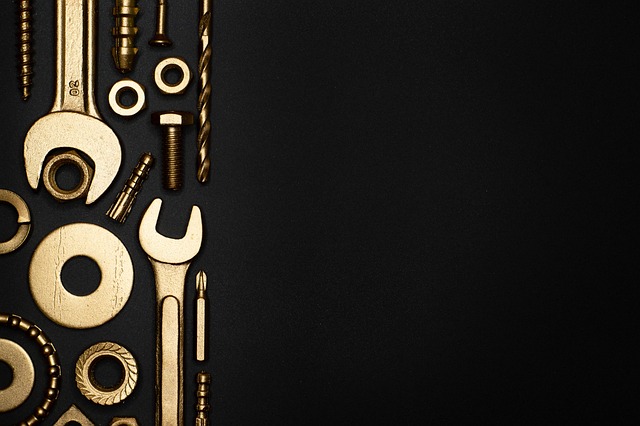
3. Gather Your Tools: You’ll require specialized tools for this task, such as a high-quality resin or epoxy for repairs, a fine-tooth brush, and possibly a heat gun for softening the resin (if needed). These tools will enable you to perform precise collision repair work on the housing.
4. Clean and Prepare: Remove any debris from around the damaged area using the fine-tooth brush. Ensure the surface is clean and free of dust or dirt before proceeding. This meticulous cleaning step is vital in achieving a durable, long-lasting repair.
5. Apply Repair Material: Following the manufacturer’s instructions, carefully apply the chosen resin or epoxy to the damaged areas. Use a small tool like a spatula for precise application. Allow it to set according to the recommended time frame.
6. Shape and Smooth: Once cured, gently shape and smooth the repaired area using your finger (protected by gloves) or a soft cloth. This step ensures the repair blends seamlessly with the original housing, much like how tire services aim to restore a vehicle’s original finish.
7. Test and Verify: After the repair has fully set, test the camera to ensure its functionality. Check for any signs of leaks or water damage, as these could indicate incomplete or incorrect repairs, similar to how collision repair professionals inspect vehicles post-repair.
In conclusion, understanding and effectively addressing Tesla camera housing issues is key to ensuring optimal vehicle safety and performance. By utilizing advanced diagnostic tools and following a meticulous step-by-step guide, repairs can be accurately and efficiently completed. For those seeking to tackle this task, embracing these methods will facilitate successful Tesla camera housing repair, enhancing both the functionality and longevity of your vehicle’s critical components.