
Tesla's exterior camera network, a 360-degree safety feature, relies on well-maintained repeater cameras. Regular replacements are crucial for optimal performance, accident prevention, and theft deterrence. Common issues like moisture buildup, lens clouding, and signal interference can be addressed through cleaning, lens replacement, and proper wiring. Professional auto detailing or collision repair services specializing in Tesla repeater camera replacements offer enhanced safety and peace of mind. Replacement involves parking in a well-lit area, gathering tools, accessing the camera, and following model-specific instructions for accurate placement.
Looking to restore your Tesla’s exterior camera network? This comprehensive guide is your go-to resource for understanding, troubleshooting, and replacing Tesla repeater cameras. The exterior camera system enhances safety and convenience, monitoring blind spots and aiding in autonomous driving. Over time, issues like glitching, poor image quality, or camera outages can arise, prompting the need for a repeater camera replacement. This step-by-step guide walks you through the process, empowering you to tackle this task efficiently.
- Understanding Tesla's Exterior Camera Network and Its Importance
- Why Replace a Repeater Camera? Common Issues and Their Solutions
- Step-by-Step Guide to Replacing Your Tesla Repeater Camera Effectively
Understanding Tesla's Exterior Camera Network and Its Importance
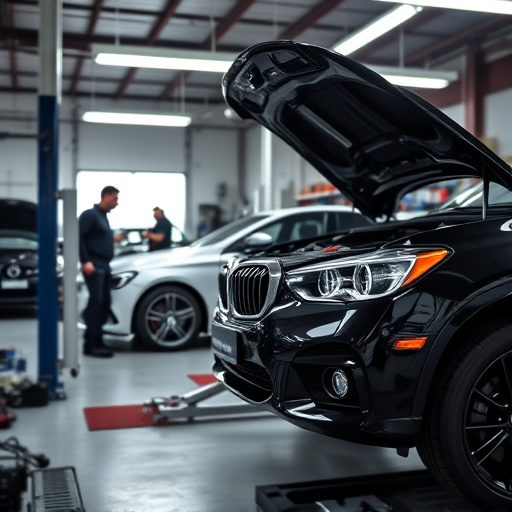
Tesla’s exterior camera network is a sophisticated system designed to enhance safety and security for both the vehicle and its occupants. These cameras provide a 360-degree view around the car, aiding in parking, low-light conditions, and even potential collision avoidance. The network consists of multiple high-resolution cameras strategically placed on the exterior of the vehicle, each linked via a repeater system to transmit footage to the driver’s display or central system. This interconnectedness allows for a comprehensive understanding of the car’s surroundings, making it an essential feature for modern drivers.
A Tesla repeater camera replacement is crucial when any component of this network fails or becomes outdated. With proper care and maintenance, these cameras can prevent accidents, deter theft, and provide peace of mind while driving. Regular checks and timely replacements, especially for parts like repeaters, ensure the system remains effective. Utilizing professional car paint services, auto glass repair, or bodywork experts can help restore not just the camera network but also the overall aesthetic appeal of the vehicle.
Why Replace a Repeater Camera? Common Issues and Their Solutions
Replacing a Tesla repeater camera is often necessary for several reasons. While these cameras are designed to provide comprehensive exterior coverage, they can degrade over time due to exposure to harsh weather conditions, road debris, and accidental damage. A simple replacement becomes crucial when you notice decreased image quality, reduced field of view, or intermittent connectivity issues.
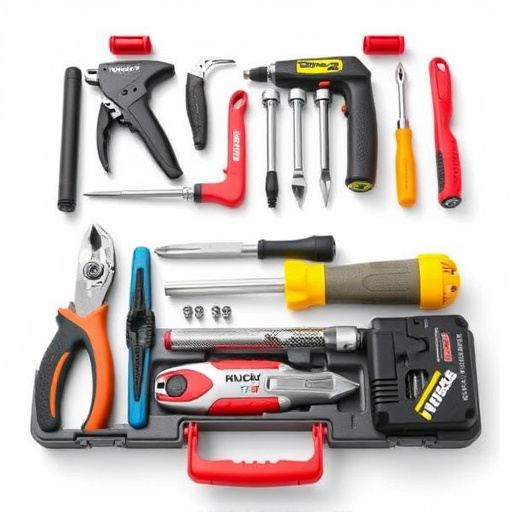
Common problems include camera fogging from moisture buildup, lens clouding from age or impact, and signal interference leading to blacked-out or distorted images. Solutions involve disassembling the camera unit for cleaning, using specialized tools to replace fogged or damaged lenses, and ensuring proper grounding and wiring to mitigate signal disruption. An expert auto detailing or car collision repair service can perform these tasks, restoring your Tesla’s exterior camera network to optimal condition, enhancing safety and peace of mind while driving.
Step-by-Step Guide to Replacing Your Tesla Repeater Camera Effectively
Replacing a Tesla repeater camera is a relatively straightforward process that can be accomplished with the right tools and a bit of patience. Here’s a step-by-step guide to help you effectively replace your Tesla repeater camera, restoring your vehicle’s exterior camera network.
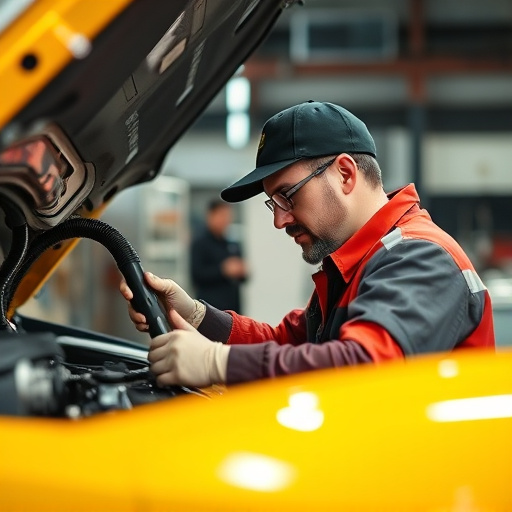
1. Preparation: Park your Tesla in a well-lit area and ensure it’s cooled down after any recent drive. Gather all necessary tools including the new repeater camera, a screwdriver, and any other hardware included with the replacement part. Protect yourself and your vehicle by wearing safety glasses and gloves.
2. Accessing the Camera: Begin by opening the trunk or frunk of your Tesla to access the exterior cameras. Locate the repeater camera you wish to replace. Use the provided instructions (if available) or online resources specific to your Tesla model for guidance on its exact placement. Remove any covers or trim surrounding the camera to expose the hardware securely.
Restoring your Tesla’s exterior camera network is an essential step in maintaining its advanced driver-assistance features. By replacing a faulty repeater camera, you can enhance your vehicle’s safety and security, ensuring optimal visibility around your car. This guide has provided a comprehensive overview of the process, from understanding the system to solving common issues and offering a detailed step-by-step replacement tutorial. Now, with these insights, Tesla owners can confidently tackle repeater camera replacements, thus improving their overall driving experience.