


OEM (Original Equipment Manufacturer) repair procedures provide standardized, detailed guidelines for auto repairs, ensuring accuracy, efficiency, and safety from simple fender repairs to complex engine overhauls. These procedures require a well-stocked toolkit including diagnostic scanners, cutting tools, welding machines, and sanders. The meticulous process involves preparation, inspections, disassembly, repair/replacement using OEM-approved methods, reassembly, and rigorous verification tests for structural integrity and optimal performance.
In today’s automotive landscape, understanding Original Equipment Manufacturer (OEM) repair procedures is paramount for both professionals and DIY enthusiasts. This article delves into the key elements of OEM repairs, providing a comprehensive guide for all levels of mechanics. From grasping the basics to equipping yourself with essential tools, you’ll learn how to navigate these intricate processes successfully. By following a step-by-step approach, you can ensure precise and reliable OEM repairs, enhancing your vehicle’s performance and longevity.
- Understanding OEM Repair Procedures: The Basics
- Essential Tools and Equipment for OEM Repairs
- Step-by-Step Guide to Performing an OEM Repair
Understanding OEM Repair Procedures: The Basics

OEM (Original Equipment Manufacturer) repair procedures are a set of standardized guidelines designed to ensure that vehicle repairs are performed accurately and efficiently. These procedures outline the step-by-step process for various auto repair services, from simple tasks like fender repair to complex operations such as engine overhauls. Each procedure is meticulously detailed, including specific tools, materials, and techniques required, ensuring that mechanics can complete repairs consistently and to a high standard.
By following OEM repair procedures, auto body shops maintain the integrity of the vehicle’s original design and performance. This is particularly crucial when it comes to tasks like auto body painting, where precision and color accuracy are vital. These guidelines not only help in achieving top-quality results but also guarantee that the vehicle remains safe and reliable on the road.
Essential Tools and Equipment for OEM Repairs

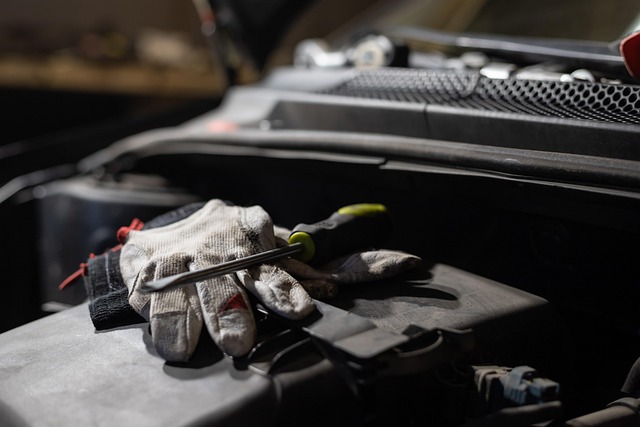
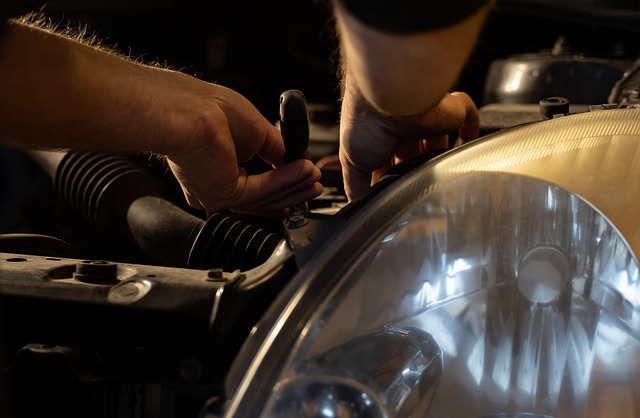
When it comes to performing OEM (Original Equipment Manufacturer) repairs, having the right tools and equipment is paramount to achieving precision and quality. A well-stocked toolkit tailored for OEM repairs ensures that every step of the process is executed efficiently. Among the essentials are high-quality diagnostic tools, such as scanners compatible with modern vehicles, which enable accurate reading of complex computer systems.
Additionally, an automotive body shop engaged in OEM repairs requires specialized equipment like precision cutting tools, welding machines, and sanders designed for delicate work. For instance, a car dent repair often necessitates specific tools to minimize damage to the vehicle’s original finish, while collision repair techniques may demand advanced frame straightening equipment. These tools not only facilitate effective OEM repairs but also contribute to maintaining the vehicle’s overall aesthetic appeal.
Step-by-Step Guide to Performing an OEM Repair

Performing an OEM (Original Equipment Manufacturer) repair requires a systematic approach to ensure precision and quality. Here’s a step-by-step guide that can be applied to various auto collision repair scenarios, focusing on fender repair as a common example.
1. Preparation: Begin by gathering all necessary tools and materials specific to OEM repairs, such as factory-matched parts, specialized equipment, and precise measuring tools. Ensure the work area is clean, well-lit, and organized for seamless workflow. For collision repair services, safety protocols should be in place, including personal protective equipment (PPE).
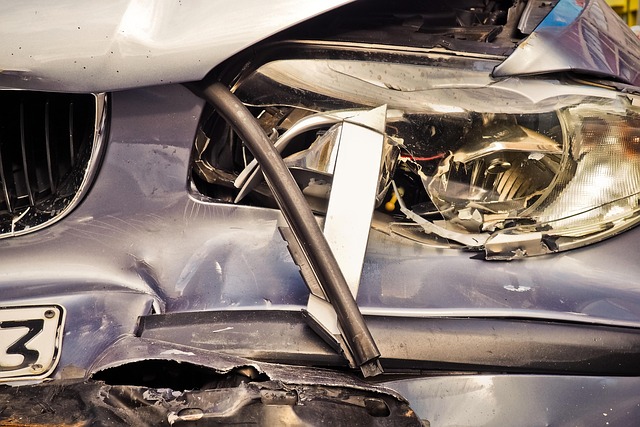
2. Assessment: Carefully inspect the damaged area, identifying the extent of the damage and any underlying structural issues. This step involves using advanced diagnostic tools to check for frame misalignment or damage that might require additional auto collision repair procedures. In a fender repair scenario, this could mean assessing dents, cracks, or other deformities before disassembly.
3. Disassembly: Carefully take apart the damaged component, following specific guidelines for each OEM. For fender repair, this may involve removing the fender to access underlying panels and components for thorough inspection.
4. Repair/Replacement: Depending on the damage, either repair or replace the component using OEM-approved methods and materials. Repairs might include welding, riveting, or bonding, while replacement involves installing a new, factory-matched part. Ensuring proper alignment and fitment is crucial at this stage.
5. Reassembly: Once the repair or replacement is complete, meticulously reassemble the component, following the reverse path of disassembly. Ensure all bolts, screws, and seals are correctly fastened and in place.
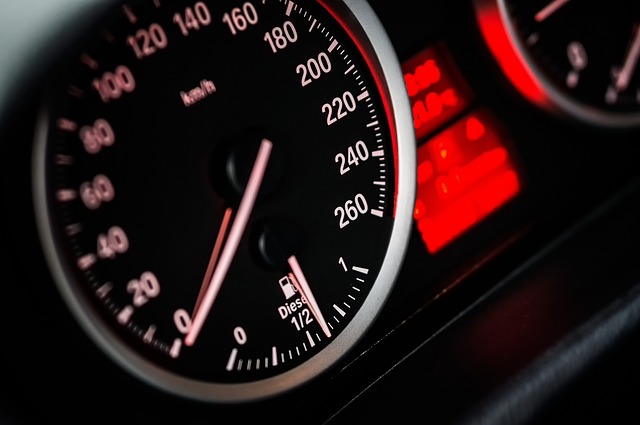
6. Verification/Testing: After reassembly, verify the integrity of the repair through visual inspection, using lights or magnifying tools to check for any signs of inadequacy. For collision repair services, dynamic testing might be required, such as road testing to ensure proper performance and handling after an OEM repair procedure.
OEM repair procedures are essential for ensuring high-quality, efficient, and cost-effective vehicle maintenance. By understanding the basics, equipping yourself with the right tools, and following a structured step-by-step guide, you can master these repairs, extend your vehicle’s lifespan, and save significant costs. Remember, knowledge is power when it comes to OEM repairs – the more you know, the better equipped you are to navigate any challenge that arises on the road ahead.