


Side window replacement is a home improvement project that boosts energy efficiency, natural light, and curb appeal. For cars, it's a DIY process involving removing old windows, cleaning frames, installing new glass, applying sealants, securing hardware, and final inspection for alignment. Using quality materials and proper techniques, car owners can save time and costs compared to professional services, enhancing their vehicle's comfort, noise reduction, and property value.
Looking to replace your car’s side windows? This complete beginner’s guide breaks down the process step-by-step, from gathering essential tools and materials to ensuring a successful installation. We’ll walk you through each phase, offer valuable tips for a smooth experience, and share common troubleshooting techniques. By the end, you’ll be confident in tackling this seemingly daunting task. Let’s dive in and explore the art of side window replacement.
- Understanding Side Window Replacement: Essential Tools and Materials
- Step-by-Step Guide to Replacing Your Car's Side Windows
- Tips for a Successful Installation and Common Troubleshooting Techniques
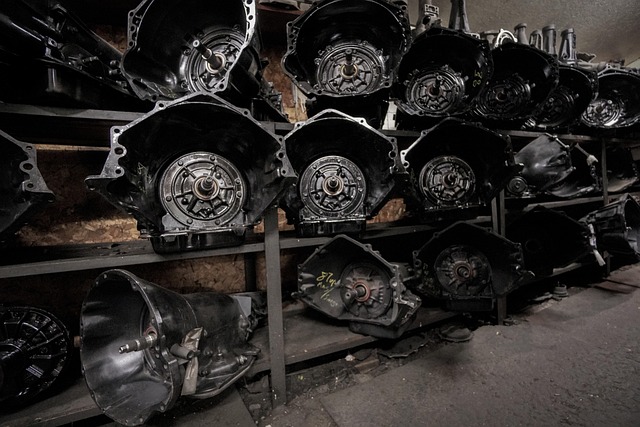
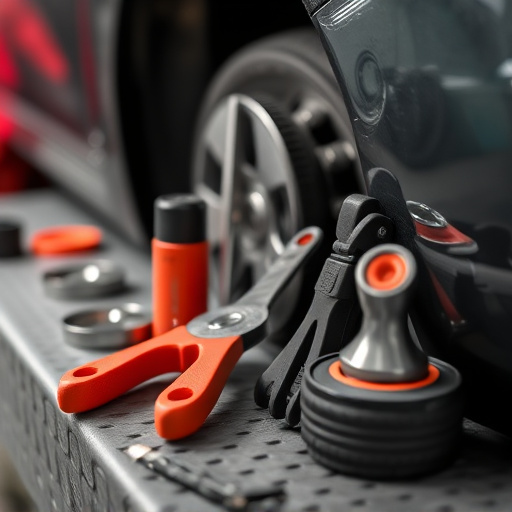
Understanding Side Window Replacement: Essential Tools and Materials

Step-by-Step Guide to Replacing Your Car's Side Windows

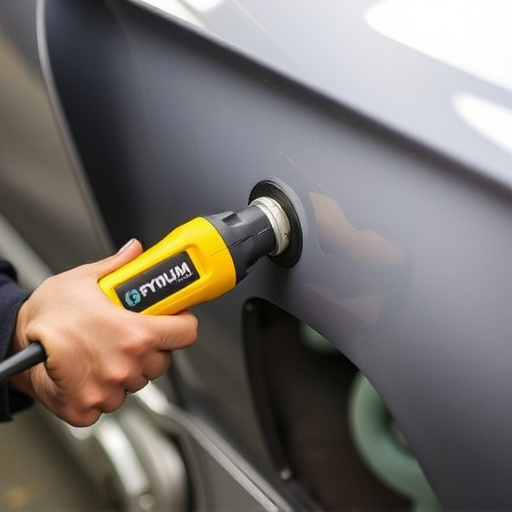
Replacing your car’s side windows involves a few simple steps that can be completed with the right tools and a bit of patience. First, gather all necessary materials, including new side window glass, sealants, and any required hardware. Park your vehicle on a level surface for safety during installation. Next, remove the old window by carefully prying it out from its frame using a flat head screwdriver or a specialized tool designed for this task. Once the window is free, clean the frame thoroughly to ensure proper adhesion of the new sealant.
Insert the new side window glass, aligning it perfectly with the frame. Apply a bead of sealant around the perimeter, following the manufacturer’s instructions for drying time. Secure any additional hardware provided, such as latches or clips, ensuring they are properly fastened. With the new window in place and sealed, inspect your work for any gaps or misalignments, making adjustments as needed. This step-by-step process can be completed by many car owners with basic DIY skills, potentially saving time and money compared to visiting an auto collision center for tire services or auto collision repair.
Tips for a Successful Installation and Common Troubleshooting Techniques
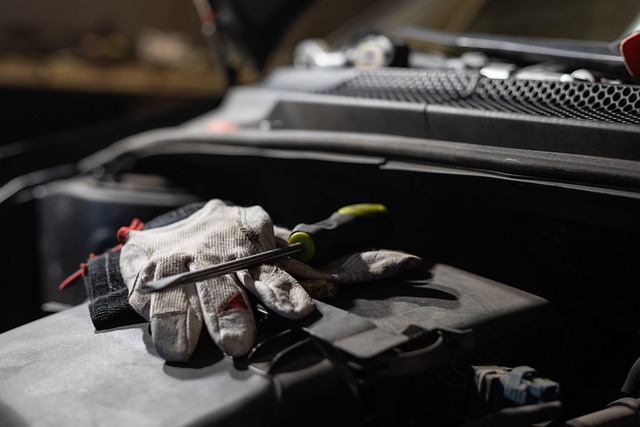
When tackling a side window replacement, whether for a classic car restoration or a more modern vehicle, proper preparation is key to a successful installation. Begin by gathering all necessary tools and parts, ensuring compatibility with your car’s make and model. Double-check that you have the correct glass size and type, as misalignment can lead to poor sealing and water infiltration. A clean workspace will also significantly aid in the process; clear any debris or old parts from the area where the window will be inserted.
Troubleshooting common issues during or after installation is easier with a proactive approach. If the new side window doesn’t fit snugly, check for any dirt or debris that might have been left behind. A thorough cleaning of the window channel and the glass edge can resolve this. For issues with sealing or water ingress, ensure all weatherstripping is correctly aligned and in good condition. In cases where the problem persists, consider consulting a professional auto repair service, especially if you’ve ruled out simple fixes related to tire services or auto dent repair.
Replacing your car’s side windows can be a straightforward process with the right knowledge and tools. By understanding the essential steps, gathering the necessary materials, and following our step-by-step guide, you’ll be able to successfully install new side windows in no time. Remember to always prioritize safety and refer to professional resources for detailed instructions tailored to your specific vehicle model. Happy replacing!