


Tesla touchscreen replacement goes beyond basic repair, focusing on addressing software glitches, hardware damage, and calibration errors to enhance the driving experience. The process involves careful preparation, using compatible tools, meticulous installation, and precise calibration for optimal performance. Proper optimization, including personalizing settings and adjusting touch sensitivity, ensures a safer, more enjoyable drive. For any issues during calibration or optimization, seek help from a reputable Tesla touchscreen replacement specialist.
Looking to replace or calibrate your Tesla’s touchscreen? You’ve come to the right place. This comprehensive guide delves into the process of replacing a faulty Tesla touchscreen, addressing common issues and offering a step-by-step approach for a seamless installation. Learn how to optimize your new touchscreen for peak performance, ensuring a smooth and enjoyable driving experience in your electric vehicle. Discover expert tips and tricks for a successful Tesla touchscreen replacement.
- Understanding Tesla Touchscreen Failure and Common Issues
- Step-by-Step Guide to Replacing Your Tesla Touchscreen
- Calibrating and Optimizing Your New Touchscreen After Installation
Understanding Tesla Touchscreen Failure and Common Issues

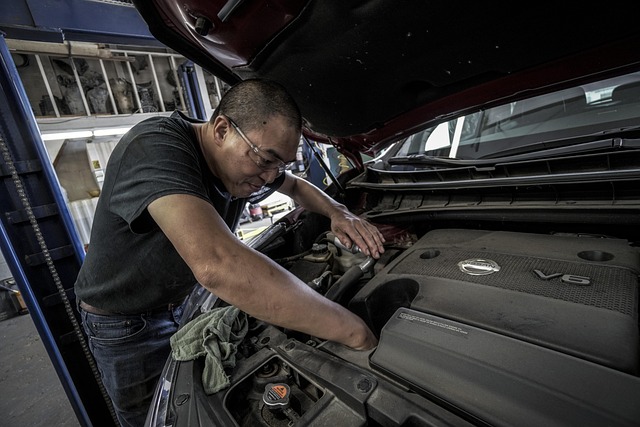
Tesla Touchscreen replacement isn’t just about fixing a broken screen; it involves addressing potential issues that can significantly impact your driving experience. While Tesla vehicles are renowned for their cutting-edge technology, like any sophisticated system, the touchscreen is susceptible to failure due to various factors. Common problems include unexpected crashes, slow response times, or even complete functionality loss. These issues might stem from software glitches, hardware damage, or inaccurate calibration—a critical component in ensuring the screen’s accuracy and user interaction.
Understanding these potential setbacks is crucial for both car owners and trusted auto body shops offering Tesla touchscreen replacement services. Regular maintenance checks can help identify early warning signs of malfunction. In the case of a mercedes benz repair or any vehicle with advanced infotainment systems, calibrating the touchscreen ensures optimal performance. An auto maintenance expert can perform this task, guaranteeing not just a functional screen but also a seamless driving experience for folks who rely on their vehicles’ technology.
Step-by-Step Guide to Replacing Your Tesla Touchscreen

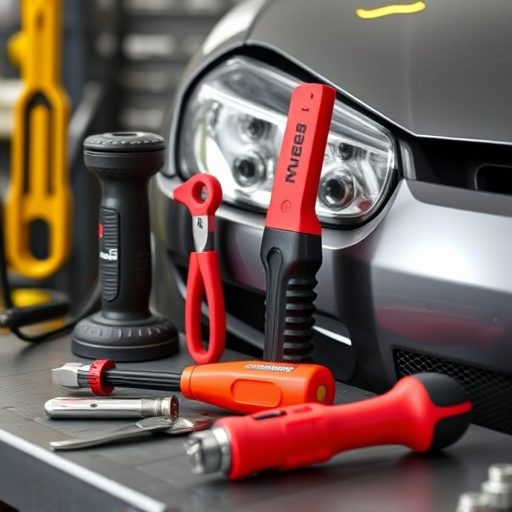
Replacing your Tesla touchscreen is a process that requires precision and some technical know-how. Here’s a step-by-step guide to help you navigate this task, ensuring a seamless experience for your electric vehicle. Begin by preparing all necessary tools, including specialized screwdrivers, adhesive, and a new touchscreen unit compatible with your Tesla model. Next, carefully remove the existing touchscreen by unscrewing the panels and detaching the connectors. This involves a meticulous process to avoid damaging other components within the car body restoration process.
Once the old touchscreen is removed, clean the area thoroughly to ensure optimal adhesion for the new one. Align and secure the replacement screen, ensuring it fits perfectly into your vehicle’s interior. The calibration process is crucial; you’ll need to follow specific instructions to adjust the display settings accurately, matching the original specifications. With proper care and attention during installation, including paintless dent repair techniques if needed, you can restore your Tesla’s infotainment system to its full capabilities, enhancing your driving experience without major auto body repairs.
Calibrating and Optimizing Your New Touchscreen After Installation
After successfully installing a new Tesla touchscreen, calibrating and optimizing it is a crucial step to ensure optimal performance. Calibration involves adjusting the display to accurately reflect your vehicle’s sensor data, enhancing responsiveness and accuracy. This process typically includes adjusting touch sensitivity, mapping the screen to your car’s interior layout, and ensuring proper recognition of various inputs like gestures and buttons.
Optimizing your new touchscreen means tailoring its settings to match your driving preferences. This can include personalizing the interface, customizing quick access controls, and fine-tuning display parameters such as brightness, contrast, and color temperature. By taking these steps, you’ll not only enjoy a seamless user experience but also maximize the capabilities of your Tesla’s advanced infotainment system, making your vehicle more enjoyable and safer to operate. Consider visiting a reputable car body shop or collision repair service if you encounter any issues during calibration or optimization.
After successfully replacing your Tesla’s touchscreen, it’s crucial to calibrate and optimize your new display for optimal performance. Follow the provided step-by-step guide to ensure a smooth calibration process, making your Tesla’s infotainment system responsive and user-friendly once again. Remember, a well-functioning touchscreen is essential for a satisfying driving experience, so take the time to master this process and enjoy an enhanced connection with your vehicle. For any issues, refer to our detailed discussions on common problems and their solutions, ensuring you’re equipped to handle potential challenges during or after your Tesla touchscreen replacement.