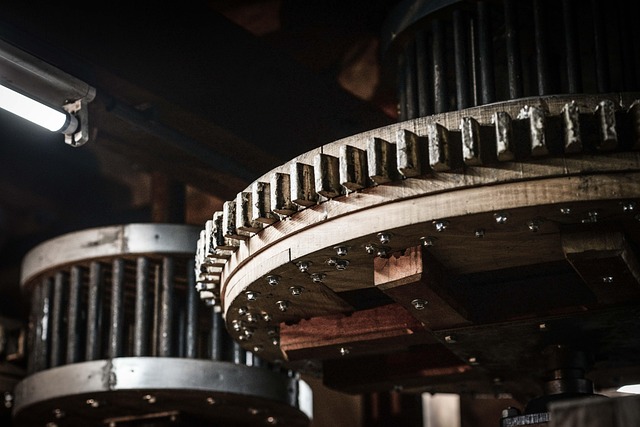


Tesla's clear coat, a protective layer that enhances aesthetics and durability, degrades over time due to environmental factors like UV exposure, acid rain, and road salt, impacting both visual appeal and resale value. Restoring the clear coat through techniques such as auto painting and collision repair revives the car's appearance, repairs scratches and swirls, restores original shine and color depth, and prevents further damage from elements, thereby increasing resale value and curb appeal. The process involves thorough washing, inspection for damages, sanding damaged areas, applying high-quality restoration kits, drying and buffing compounds, polishing, and final inspection under various lighting conditions to achieve a uniform, smooth finish.
Tesla owners often notice a significant drop in their vehicle’s resale value due to clear coat degradation over time. Understanding and addressing this issue is crucial for maximizing your car’s future value. This guide delves into the world of Tesla clear coat restoration, exploring its benefits and providing a step-by-step process. By learning how to effectively restore your Tesla’s clear coat, you can enhance its appearance, protect its finish, and potentially increase its resale appeal in today’s market.
- Understanding Tesla Clear Coat and Its Depreciation
- The Benefits of Restoring a Tesla's Clear Coat
- Step-by-Step Guide to Effective Clear Coat Restoration
Understanding Tesla Clear Coat and Its Depreciation

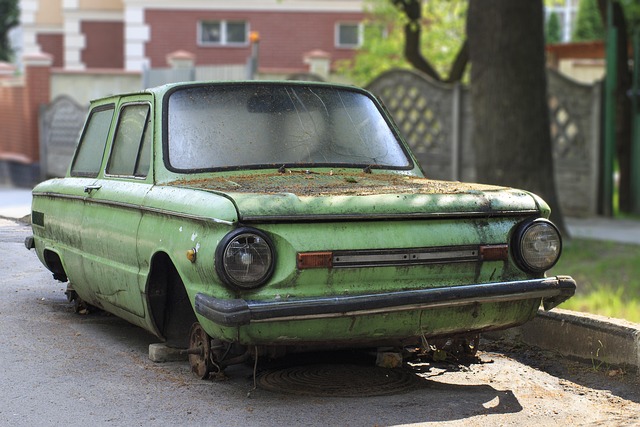
Tesla clear coat is a unique protective layer designed to enhance the vehicle’s exterior aesthetics and durability. However, over time, this coating can degrade due to various environmental factors such as UV exposure, acid rain, and road salt, leading to a loss of gloss and color clarity. This depreciation isn’t just about visual appeal; it also impacts the car’s overall resale value.
Understanding the process of Tesla clear coat degradation is crucial for vehicle owners looking to maintain or restore their car’s appearance. In many cases, a meticulous car restoration technique, involving auto painting and collision repair, can revive the clear coat, returning it to its original state and potentially increasing the vehicle’s market appeal.
The Benefits of Restoring a Tesla's Clear Coat

Restoring a Tesla’s clear coat offers numerous advantages when it comes to increasing the vehicle’s resale value and overall appearance. The clear coat is a protective layer that shields the paint job, giving it a glossy finish and a high-end look. Over time, this protective barrier can become scratched, swirled, or faded due to environmental factors, road debris, and everyday use. Engaging in Tesla clear coat restoration not only repairs these imperfections but also restores the car’s original shine and depth of color.
This process is particularly important for Tesla owners who want to maintain their vehicle’s premium aesthetic and market value. By fixing small issues like bird droppings, tree sap, or minor scratches, a car undergoes auto detailing that enhances its curb appeal. Moreover, proper clear coat restoration can prevent further damage, ensuring the paint job stays protected from UV rays, acid rain, and other environmental hazards. As a result, the car’s resale appearance is significantly improved, making it more attractive to potential buyers.
Step-by-Step Guide to Effective Clear Coat Restoration

Restoring your Tesla’s clear coat is an essential step to enhancing its resale value and overall aesthetics. Here’s a straightforward guide to achieving a professional-looking result:
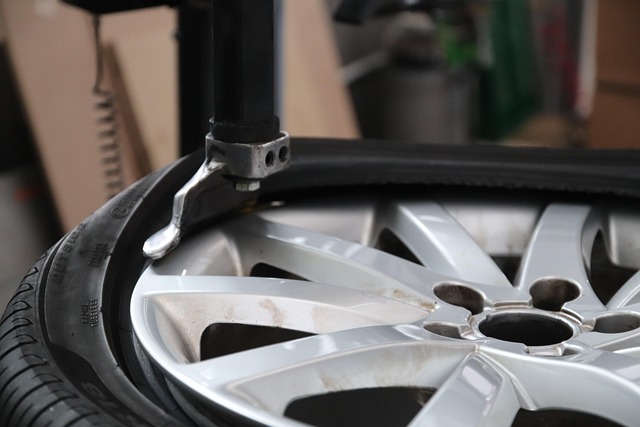
1. Preparation: Begin by washing your Tesla thoroughly to remove any dirt or debris. This initial step ensures that the restoration process starts with a clean canvas. Next, inspect your vehicle for any damages, including scratches, dents, or chips in the clear coat. Address these issues using suitable repair kits for a seamless finish.
2. Sand and Surface Preparation: Lightly sand the damaged areas to create a smooth surface. Use fine-grit sandpaper to avoid damaging the underlying paint. After sanding, wipe down the area with a microfiber cloth to remove any dust or residue. This step is crucial as it prepares the clear coat for the restoration process, ensuring an even application of the restorative products.
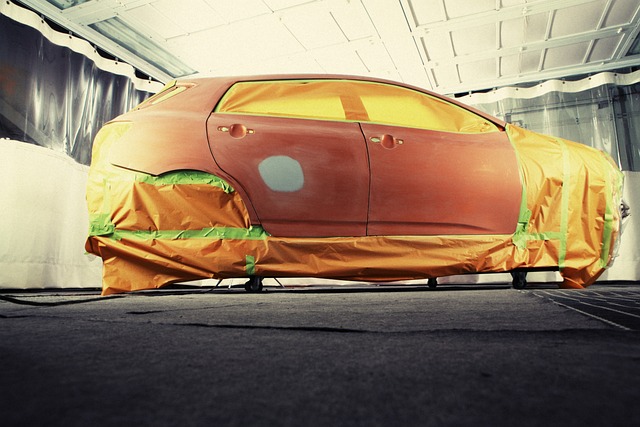
3. Apply Restorative Products: Utilize high-quality Tesla clear coat restoration kits, which typically include compounds and polishes designed for optimal results. Follow the manufacturer’s instructions to apply these products. Start with the compound, gently working it into the sanded areas using a polishing pad or machine polishers for efficient coverage. Allow it to dry slightly, then buff off the residue. Repeat this process until the damaged area is smoothed out. Finally, apply the polish to add a protective layer and achieve a glossy finish.
4. Buff and Inspect: After applying the polish, allow it to cure as per the product instructions. Then, buff the restored area with a clean cloth or pad to reveal a shiny, new-like surface. Carefully inspect the restoration work under various lighting conditions to ensure uniformity and address any imperfections promptly.
Tesla clear coat restoration is not just about achieving an aesthetically pleasing look; it’s a strategic move to significantly enhance your vehicle’s resale value. By understanding the depreciation that occurs over time and taking proactive steps to restore the clear coat, you’re investing in the long-term health of your Tesla. The process, detailed in this article, provides a step-by-step guide for achieving optimal results, ensuring your Tesla not only looks as good as new but also commands a higher market value when it comes time to sell.