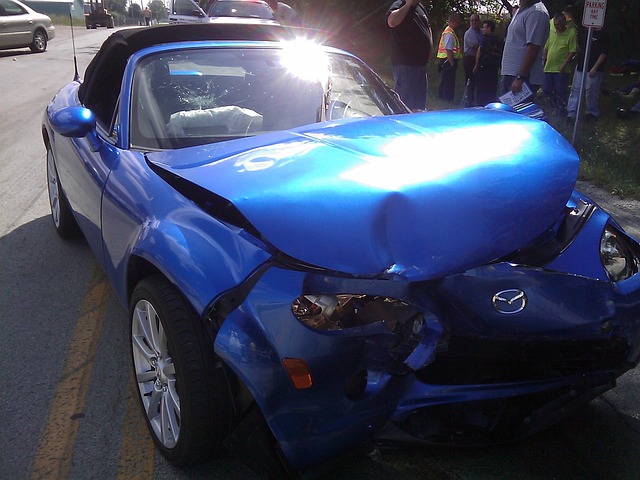


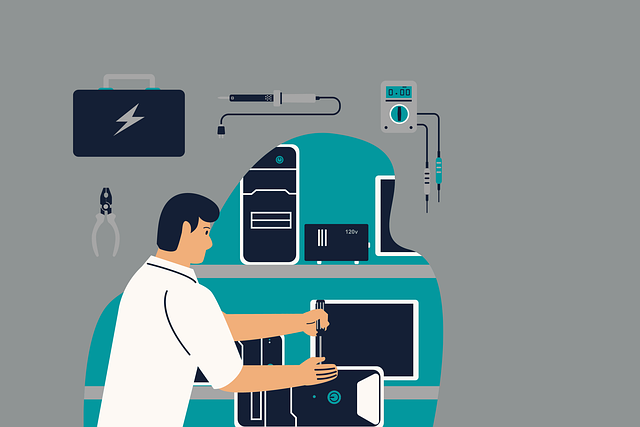

Repairing a Tesla MCU (Modular Control Unit) post-collision requires strict adherence to OEM guidelines for optimal performance, safety, and compatibility with advanced features like autonomous driving. Skilled technicians assess damage, disassemble the MCU, inspect components, perform repairs or replacements, and reassemble with precision, ensuring seamless restoration of critical vehicle functions. Correct MCU repair is vital for both operational efficiency and road safety in Tesla electric vehicles.
After a collision, repairing a Tesla’s MCU (Modular Control Unit) is crucial for ensuring the vehicle’s safety and optimal performance. This tiny yet powerful computer manages critical functions, from steering and braking to infotainment. Given the MCU’s sensitive nature, repairs must strictly adhere to Original Equipment Manufacturer (OEM) guidelines. This article breaks down the importance of following these directives and offers a step-by-step guide for safely repairing a Tesla MCU post-collision.
- Understanding Tesla MCU and Its Role After a Collision
- The Importance of Following OEM Guidelines for Repairs
- Step-by-Step Guide to Safely Repairing a Tesla MCU Post-Collision
Understanding Tesla MCU and Its Role After a Collision

The Tesla MCU (Modular Control Unit) is a critical component within the electric vehicle’s system, playing a pivotal role in various functions, from managing power distribution to facilitating advanced driver assistance systems. When a Tesla experiences a collision, proper MCU repair becomes essential, as this miniature brain must be meticulously handled to ensure the vehicle’s safety and performance.
In the aftermath of an auto body work or collision repair session, adhering to Original Equipment Manufacturer (OEM) guidelines is paramount. These guidelines are designed to safeguard both the functionality and reliability of the Tesla MCU. Skilled technicians appreciate that the intricate nature of electric vehicles demands precise care during repairs, encompassing not just physical damage assessment but also the integration of diagnostic tools to accurately restore the MCU’s optimal performance.
The Importance of Following OEM Guidelines for Repairs

When it comes to repairing a Tesla MCU (Modular Computer Unit) after a collision, adhering to Original Equipment Manufacturer (OEM) guidelines is paramount. These guidelines are set by Tesla and are designed to ensure that your vehicle returns to its original safety and performance standards following any accident. Deviating from these instructions can compromise the integrity of sensors, software, and connectivity features critical for both driver safety and vehicle functionality.
Following OEM best practices also ensures compatibility with advanced systems like autonomous driving capabilities and over-the-air updates, which are integral to modern electric vehicle technology. Unlike general auto maintenance or even routine fender repair, Tesla MCU restoration demands a deep understanding of the vehicle’s complex electronics. Skilled technicians armed with official guidelines can accurately diagnose issues, replace faulty components, and rebuild the MCU to its factory condition, guaranteeing a seamless return to driving without compromising safety or cutting-edge features.
Step-by-Step Guide to Safely Repairing a Tesla MCU Post-Collision

Repairing a Tesla MCU (Modular Control Unit) after a collision requires meticulous attention to detail and adherence to OEM (Original Equipment Manufacturer) guidelines. Here’s a step-by-step guide for safely repairing your Tesla MCU, ensuring both optimal functionality and safety.
1. Assess the Damage: Begin by meticulously inspecting the MCU and surrounding areas for any visible signs of damage or deformation. Take note of cracks, dents, or any unusual markings. This step is crucial as it determines the extent of repair needed. Remember, even minor damage to electronic components can lead to significant issues down the line.
2. Safety First: Before proceeding with the repair, ensure your work area is well-lit and organized, making it safer for you and preventing further complications. Disconnect the MCU from any power sources to avoid short circuits or electrical hazards during the repair process.
3. Demount and Disassemble: Carefully demount the MCU from the vehicle, following the reverse steps of installation. This may involve detaching connectors, wires, and other components securely attached. Once removed, disassemble the MCU according to Tesla’s guidelines, taking care not to damage any internal circuitry or sensitive parts.
4. Inspect and Test: Thoroughly inspect each component for signs of damage, including cracks, corrosion, or loose connections. Use diagnostic tools to test the functionality of the MCU. This step is vital as it helps identify potential issues that may have been caused by the collision.
5. Repair or Replace: Based on your inspection and testing, decide whether to repair or replace damaged parts. For minor dents or scratches, a specialized dent repair service can be employed for the vehicle body repair. However, for more severe damage, replacement might be necessary to ensure optimal performance and safety.
6. Reassemble and Test Again: After repairs or replacements, carefully reassemble the MCU, ensuring all components are securely in place. Follow Tesla’s installation guidelines precisely. Once reassembled, conduct comprehensive tests to verify the MCU’s functionality and compatibility with your Tesla vehicle.
7. Final Check: Before returning the MCU to its designated position, perform a final check for any loose connections or potential issues that may have been overlooked. Ensure all sensors, cameras, and other integrated systems are functioning optimally.
When repairing a Tesla MCU after a collision, adhering to Original Equipment Manufacturer (OEM) guidelines is paramount. Following these standards ensures not only the safety and performance of the vehicle but also maintains its advanced technology and connectivity. By carefully navigating each step outlined in this guide, you can expertly restore your Tesla’s central processing unit, ensuring it operates as effectively as before the incident, thus enhancing the overall ownership experience.