

The Tesla bumper camera system offers enhanced safety but faces issues like pixelation, distorted images, or complete malfunction due to debris, temperature extremes, or wear and tear. Professional repair from auto body specialists is needed for persistent problems, involving adjustments, component replacement, or diagnostics. DIY Tesla bumper camera repair is possible with the right tools, replacement assembly, and steps: park on a level surface, engage park assist, remove the damaged camera, install the new one, reconnect wiring, and reattach the bumper cover. Regular maintenance, including cleaning and inspecting bumpers, prevents damage and extends the lifespan of Tesla's safety features.
Tesla owners often rely on their vehicle’s advanced camera systems for enhanced safety and driving assistance. However, these cameras, especially those integrated into the bumpers, can encounter issues over time. This article guides you through the process of repairing your Tesla Model 3, S, X, or Y’s bumper camera. We’ll cover common problems, provide a step-by-step repair tutorial, and offer maintenance tips to ensure their longevity. Learn how to tackle these fixes yourself and keep your Tesla’s camera system in top shape.
- Understanding Tesla Bumper Camera System and Common Issues
- Step-by-Step Guide to Repairing Your Model 3, S, X, or Y's Bumper Camera
- Preventative Maintenance Tips for Longevity of Tesla Bumper Cameras
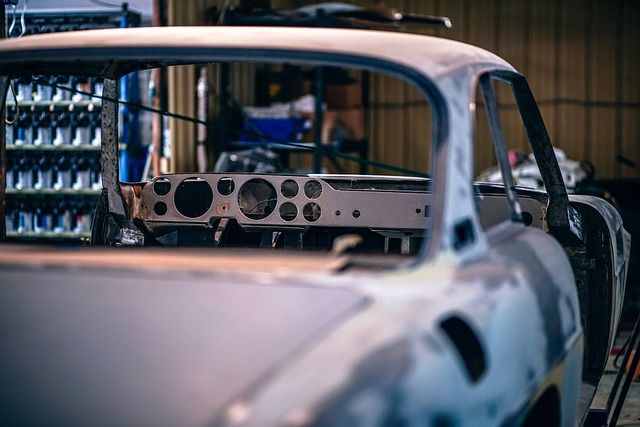
Understanding Tesla Bumper Camera System and Common Issues

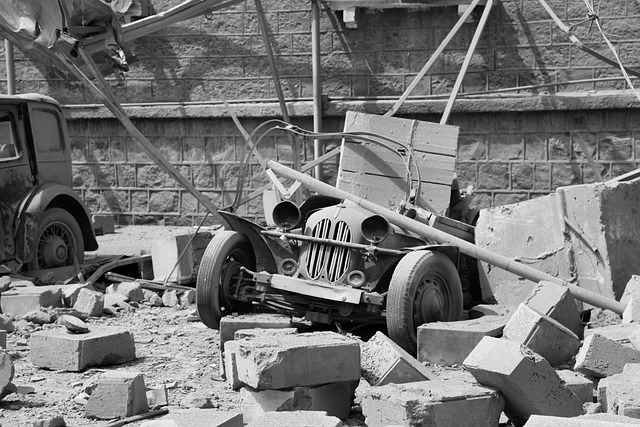
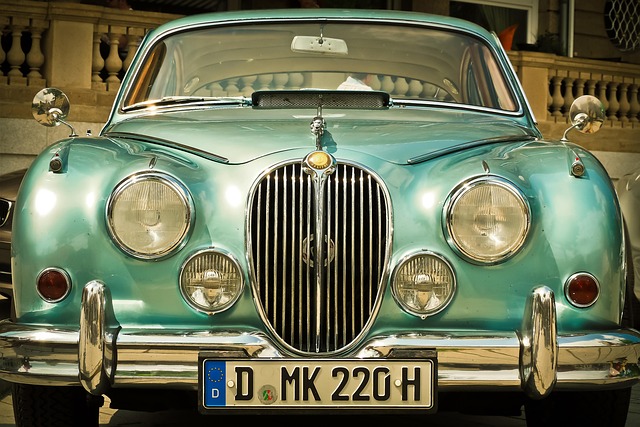
The Tesla bumper camera system is a sophisticated piece of technology designed to enhance safety and driver assistance features. It comprises cameras integrated into the vehicle’s front and rear bumpers, providing a 360-degree view around the car. This innovative approach offers drivers improved visibility during parking, low-speed maneuvering, and enhancing overall awareness while driving. However, like any complex system, it is susceptible to occasional issues. Common problems include camera malfunctions, such as pixelation, distorted images, or complete failure to capture footage. These issues can arise due to various factors, including debris impact, exposure to extreme temperatures, or simple wear and tear over time.
While minor glitches might be temporary fixes, a dedicated Tesla bumper camera repair becomes necessary when the problem persists. Considering the intricate nature of modern automotive technology, professional auto body restoration specialists are equipped with the expertise and tools to address these challenges effectively. They employ specialized techniques, including calibration adjustments, component replacement, or advanced diagnostic scanning, to restore optimal functionality. By ensuring precise auto frame repair and meticulous auto body restoration, drivers can regain full confidence in their vehicle’s safety features, ensuring a seamless and secure driving experience.
Step-by-Step Guide to Repairing Your Model 3, S, X, or Y's Bumper Camera

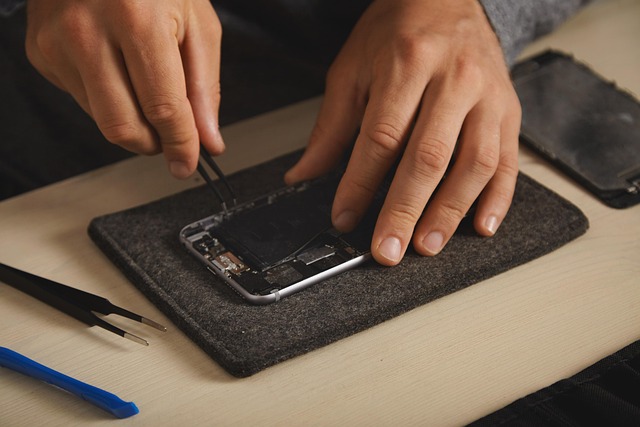
Repairing your Tesla Model 3, S, X, or Y’s bumper camera can be a straightforward process if approached methodically. First, gather all necessary tools and replacement parts, including a new camera assembly suitable for your model. Park your vehicle on a level surface, engage park assist to ensure stability, and follow these steps:
1. Pop the bumper cover by unclipping it from the body. This often involves releasing a few snaps or clips securely holding the cover in place.
2. Remove any debris or damage around the camera location, using tools like a flathead screwdriver for meticulous work.
3. Disconnect the camera’s electrical connector, usually a simple plug-and-socket arrangement. Label the wires to ensure proper reconnection later.
4. Unscrew and carefully lift out the old camera assembly, taking note of its placement and any associated components.
5. Install the new camera, securing it with screws or clips as per manufacturer guidelines. Reconnect the electrical connector, ensuring all connections are firm.
6. Reattach the bumper cover, making sure all clips engage securely for a seamless fit. Verify the camera functionality by powering up your vehicle and checking the display for clear images.
Preventative Maintenance Tips for Longevity of Tesla Bumper Cameras
Regular maintenance plays a vital role in ensuring your Tesla’s bumper cameras have a long lifespan. Here are some preventative measures to keep them functioning optimally:
1. Keep it Clean: Just like with any camera, dust, dirt, and grime can impact performance. Regularly wash your vehicle, focusing on the bumpers, to remove accumulated debris. A dedicated car wash or even a simple water hose can help maintain clear lenses for better image quality.
2. Monitor for Damage: Inspect your Tesla’s bumper cameras periodically for any signs of damage or clouding. Minor scratches or cracks in the lens can affect picture quality. Regular checks allow for early detection, enabling you to address issues before they require a full Tesla bumper camera repair. Consider it part of your routine auto detailing regimen—a simple yet effective way to safeguard against potential problems.
Repairing your Tesla bumper camera is a feasible task with the right knowledge and tools. By understanding the complex yet innovative system and common issues, you can effectively navigate through the process detailed in our step-by-step guide. Regular preventative maintenance will further ensure the longevity of these essential components, enhancing your Tesla’s safety features and overall driving experience. For any Tesla bumper camera repair needs, arming yourself with this knowledge is a smart move to keep your vehicle’s advanced technology up and running smoothly.