


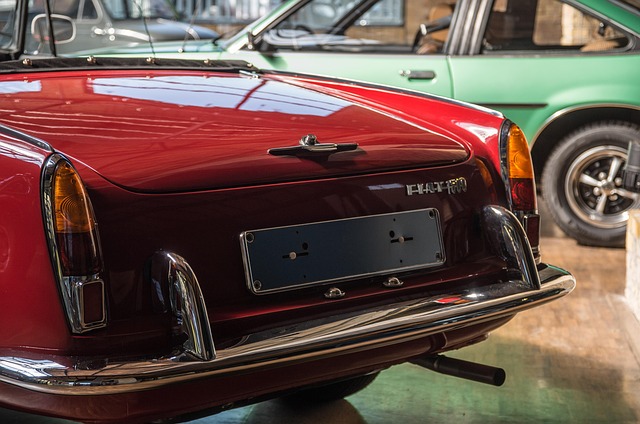
Tesla taillight assembly repairs are common due to weather, road debris, or collisions, causing issues like cracks, dents, or dislodged parts leading to poor lighting or connection problems. Replacement involves removing the old housing, aligning and securing new components, testing functionality, and in some cases, auto painting for a seamless match with the vehicle's color. Regular cleaning, inspections, and protective coatings can prevent costly repairs by ensuring optimal light output and safer driving conditions.
Tesla owners often face issues with their taillight assemblies, which can impact safety and aesthetics. If your Tesla’s taillights are clouded, cracked, or damaged, a complete housing replacement might be necessary, rather than just a fix to the existing assembly. This comprehensive guide delves into understanding common problems, walking you through the repair process, and offering maintenance tips to prevent future issues, all focused on the crucial aspect of Tesla taillight assembly repair.
- Understanding Tesla Taillight Assembly Issues
- The Process of Replacing the Housing
- Tips for Effective Maintenance and Prevention
Understanding Tesla Taillight Assembly Issues

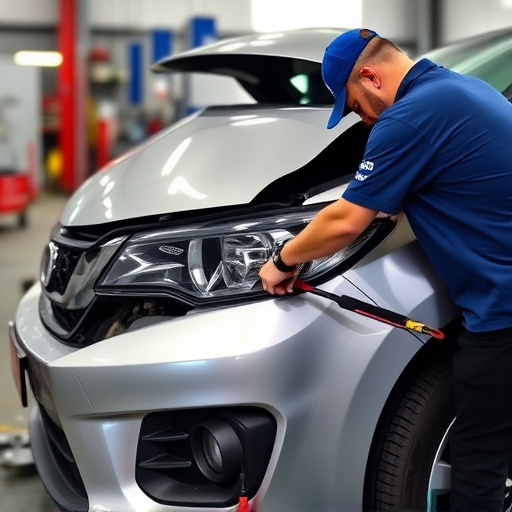
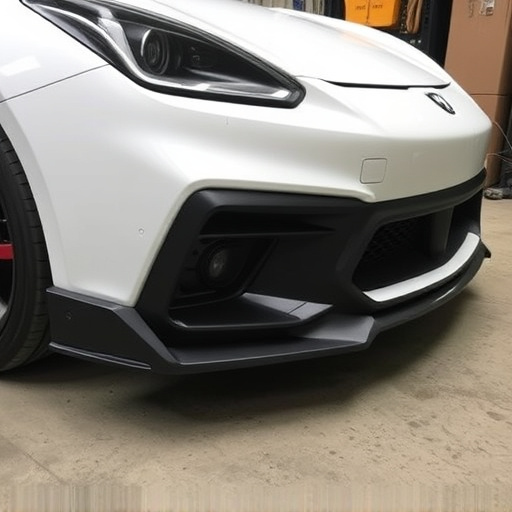
Tesla taillight assembly issues can arise from various factors, making them a common problem for Tesla owners. While some minor issues might be resolved with simple adjustments or part replacements, more severe damage often requires a thorough understanding and expertise in Tesla taillight repair. Over time, exposure to harsh weather conditions, road debris, and even small collisions can compromise the structural integrity of the housing, leading to cracks, dents, or dislodged components.
These problems may manifest as foggy or dimly lit taillights, loose connections, or even complete failure of the assembly. In cases where the damage is extensive, involving significant structural harm or multiple broken parts, a full housing replacement might be the most effective and lasting solution. This process often requires specialized tools and knowledge to ensure proper alignment and sealing for optimal light output and durability, similar to how collision repair or paintless dent repair techniques are employed in other automotive repairs.
The Process of Replacing the Housing

Replacing the housing of a Tesla taillight assembly involves a meticulous process designed to ensure both functionality and aesthetic integrity. It begins with carefully removing the old housing, which may require disassembling components like wires and lenses, taking care not to damage surrounding parts. Once the old housing is removed, technicians inspect the area for any signs of damage or corrosion, addressing these issues before proceeding.
The new housing is then precisely aligned and secured in place. This step often involves meticulous adjustments to ensure proper fitment. Following installation, thorough testing is conducted to verify the taillight’s operation, including checking the lighting intensity and pattern. In some cases, additional auto painting might be necessary to match the car’s original color perfectly, ensuring a seamless repair that blends with the vehicle’s overall design and enhances its visual appeal.
Tips for Effective Maintenance and Prevention

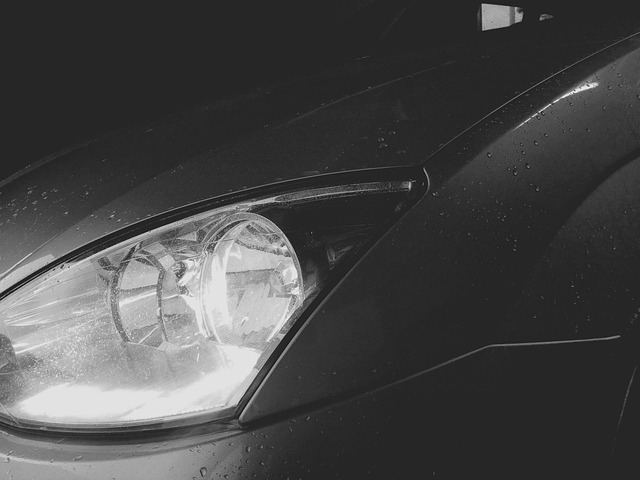
Regular maintenance is key to preventing Tesla taillight assembly repair issues down the line. Keeping your vehicle’s exterior lights clean and free from debris can significantly extend their lifespan. Periodically inspect the taillights for any cracks, chips, or signs of damage, addressing them promptly before they escalate. A quick wipe-down with a microfiber cloth and a dedicated cleaner can remove dirt and grime, ensuring optimal light output.
For added protection, consider investing in a high-quality sealant or coating designed for automotive lights. This barrier will shield the taillight assembly from environmental factors, including UV rays and harsh weather conditions, commonly encountered during collision repair shop visits or while enjoying off-road adventures. Remember, preventing damage is always more cost-effective than extensive repairs, especially when it comes to specialized parts like Tesla taillight assemblies.
In light of the above, it’s clear that addressing Tesla taillight assembly issues is a crucial aspect of vehicle maintenance. While the process may involve a full housing replacement, understanding the steps and implementing effective preventive measures can save time and money in the long run. Remember that regular checks and prompt repairs are key to ensuring optimal visibility and safety on the road, making your Tesla a well-maintained and reliable ride.