

Before replacing a Tesla emblem, prepare thoroughly by gathering tools and materials, cleaning the area with automotive cleaners, inspecting paintwork for damage, and considering professional collision repair services if needed. Ensure quality replacements to prevent further damage and maintain vehicle aesthetics. Proper preparation is key for an effective Tesla emblem replacement using suitable adhesives, tools, and expert advice when necessary.
Considering a Tesla emblem replacement? This comprehensive guide walks you through the entire process, from understanding the need for a replacement to surface prep best practices for longevity. Learn about safety precautions, essential tools, and step-by-step instructions for installing a new emblem correctly. Ensure optimal fitment and protect your vehicle’s paint job with expert tips on surface preparation. Achieve a like-new look with our detailed Tesla emblem replacement guide.
- Preparing for Tesla Emblem Replacement
- – Understanding the need for replacement
- – Gathering necessary tools and materials
Preparing for Tesla Emblem Replacement

Before diving into the Tesla emblem replacement process, thorough preparation is key to ensure a seamless and successful outcome. Start by gathering all necessary tools and materials, including a new Tesla emblem, appropriate adhesives, and surface prep solutions. It’s essential to clean the area thoroughly; remove any dirt, debris, or existing adhesive remnants from the vehicle’s surface using specialized cleaners recommended for automotive applications. This step is crucial as it guarantees a strong bond between the new emblem and the car’s panel.
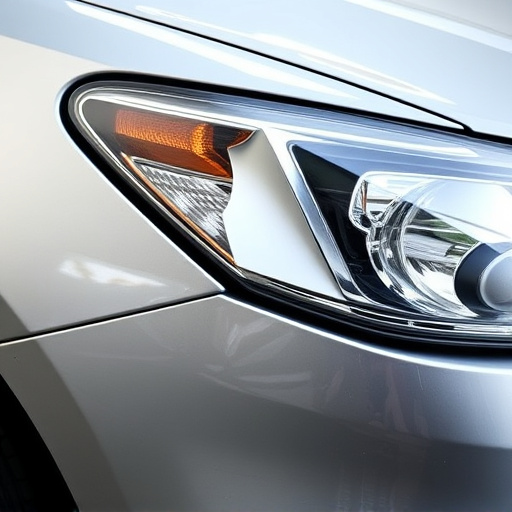
Additionally, inspect your vehicle’s paintwork carefully. If there are any scratches, dents, or imperfections around the emblem location, consider taking your car to a trusted collision repair shop or automotive body shop for professional surface prep services. These experts can meticulously prepare and repair the area, ensuring a smooth base for your Tesla emblem replacement, resulting in a factory-like finish.
– Understanding the need for replacement
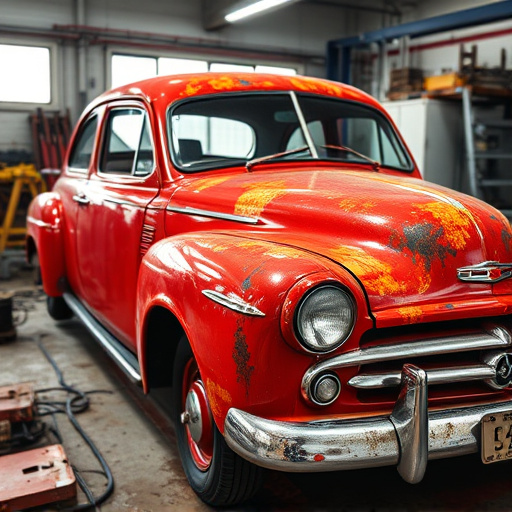
Over time, the Tesla emblem can show signs of wear and tear, especially if your vehicle is frequently exposed to harsh weather conditions or road debris. A faded or damaged emblem not only affects the aesthetic appeal of your Tesla but also reflects on its overall value. This is where a Tesla emblem replacement becomes necessary. Regular use and exposure to elements like sunlight, bird droppings, and bug splatters can cause the emblem’s color to fade, peel, or even crack, making it a common concern among Tesla owners.
While some minor damage can be addressed with touch-up paints, more significant issues often require a complete replacement. An expert auto dent repair or vehicle body repair service can handle this process, ensuring precise cutting and fitting of the new emblem to match the car’s original finish. It’s crucial to invest in quality replacements to prevent further damage and maintain your Tesla’s striking appearance on the road.
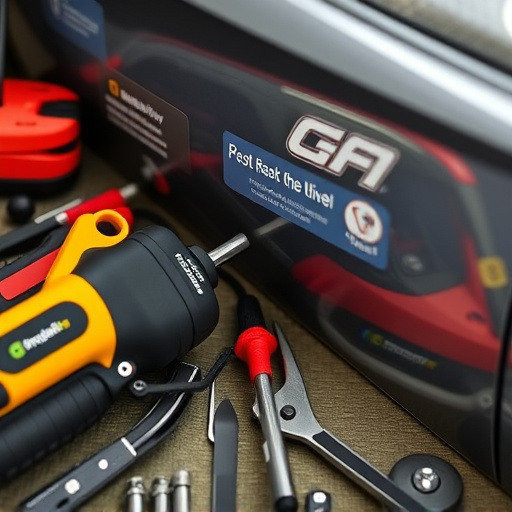
– Gathering necessary tools and materials

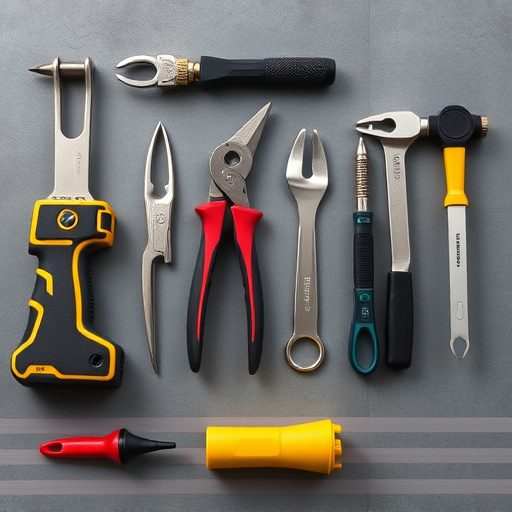
Before you embark on a Tesla emblem replacement project, it’s crucial to gather all necessary tools and materials. This includes specialized adhesives designed for car body restoration, precision screwdrivers or picks, and a clean cloth for final touch-ups. Additionally, consider having a collision repair center’s contact details handy in case you need expert advice or assistance with tricky steps.
For an effective Tesla emblem replacement, auto detailing supplies are essential. This includes a high-quality cleaner suitable for car surfaces, microfiber towels for streak-free cleaning, and perhaps even a polishing agent to ensure the new emblem blends seamlessly with the rest of your vehicle’s exterior following the process.
Replacing a Tesla emblem is a relatively straightforward process that, when done properly, can significantly refresh the look of your vehicle. By understanding the need for replacement and gathering the right tools and materials, you’re well on your way to achieving a like-new finish. Remember, proper surface prep is key; take your time, follow these steps diligently, and enjoy the transformed appearance of your Tesla.