

Tesla taillight assembly issues stem from environmental factors, wear and tear, accidents, and routine use, causing problems like broken lenses, faulty bulbs, or misaligned assemblies. Repairs range from DIY tasks to professional services, with timely maintenance crucial for prevention. Regular checks, damage inspection, proper alignment, and electrical connection tightening extend the lifespan of Tesla taillight assemblies and enhance safety features. A proactive approach saves costs and ensures optimal light output.
“Facing a flickering or malfunctioning Tesla taillight? This comprehensive guide is your solution. We break down the intricate details of Tesla taillight assembly repairs, catering to left, right, or full rear lighting issues. From identifying common problems and their causes to providing a step-by-step repair process, we ensure every driver can tackle this task confidently.
Additionally, learn essential maintenance tips to prevent future failures, keeping your Tesla’s lighting system reliable and safe.”
- Understanding Tesla Taillight Assembly Issues: Common Problems and Causes
- Step-by-Step Guide: Repairing Your Tesla's Taillight Assembly
- Maintenance Tips: Preventing Future Taillight Assembly Failures
Understanding Tesla Taillight Assembly Issues: Common Problems and Causes

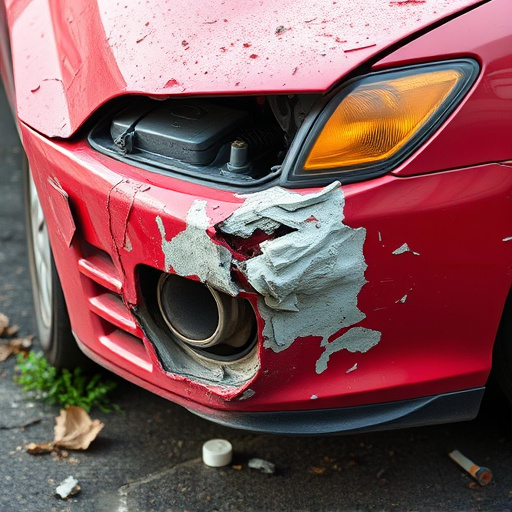
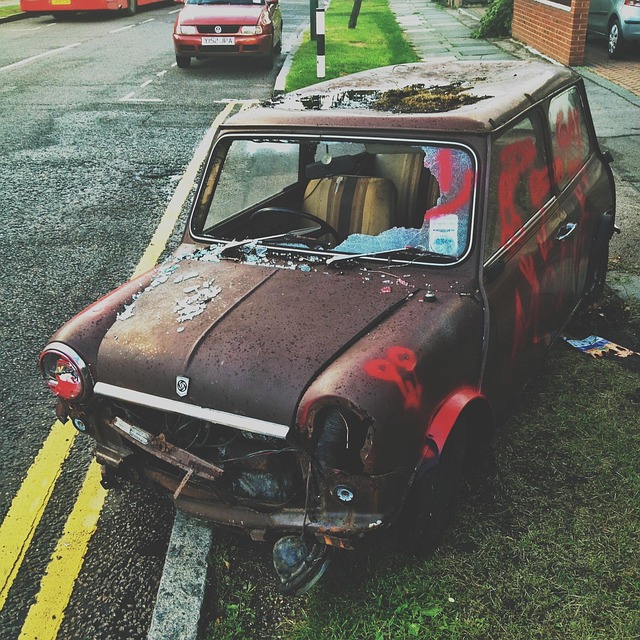
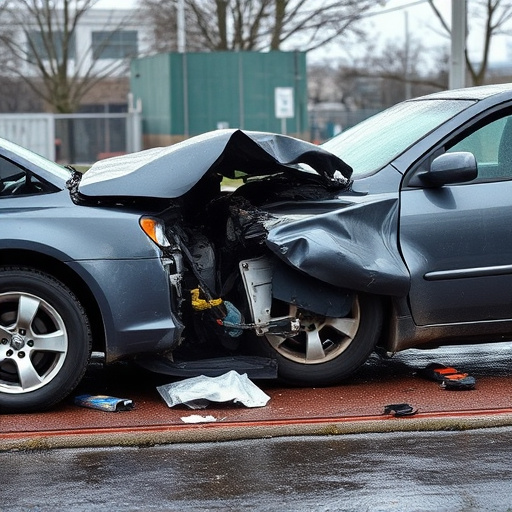
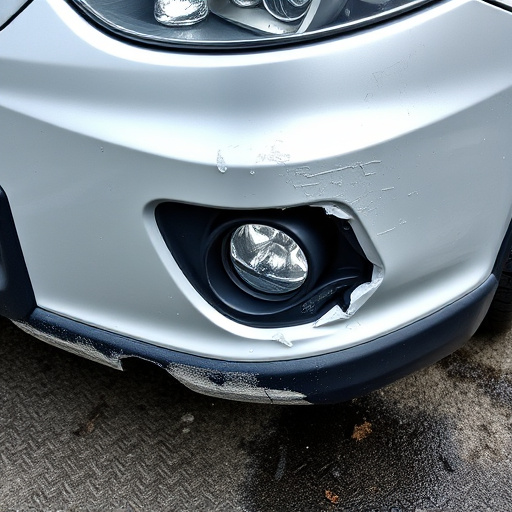
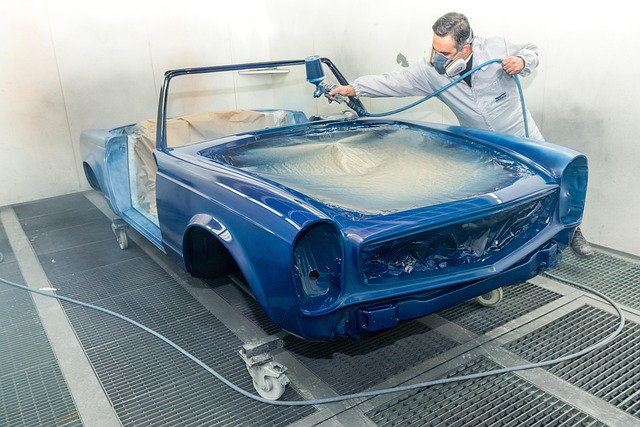
Tesla taillight assembly issues can arise from various factors, leading to a need for Tesla taillight assembly repair. Common problems include broken or cracked lenses, faulty bulbs, and misaligned assemblies. These issues often stem from environmental factors like extreme temperatures and road debris, as well as routine wear and tear over time. Additionally, accidents or collisions at auto collision centers can cause significant damage, necessitating professional auto painting and auto body painting services to restore proper functioning.
Specific causes vary across the left, right, or full rear lighting spectrum. For instance, a damaged left taillight might result from a side impact during an accident, while a faulty right taillight could be due to a bulb burnout from prolonged use. Full rear lighting problems often involve complex assembly issues that require expert attention and may involve replacement parts. Timely maintenance and regular checks can help prevent these issues, but understanding the potential causes is key in determining when a Tesla taillight assembly repair is necessary.
Step-by-Step Guide: Repairing Your Tesla's Taillight Assembly

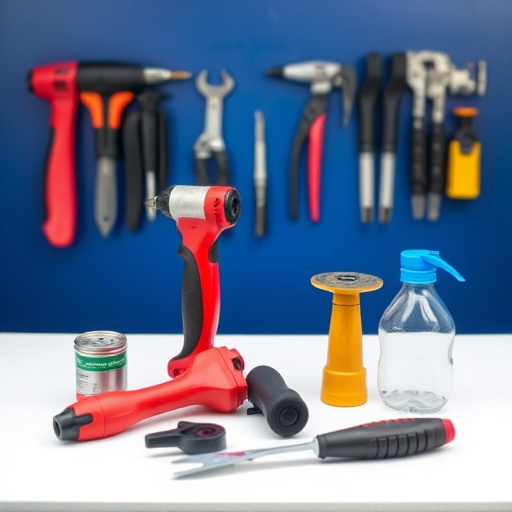
Repairing your Tesla’s taillight assembly can be a straightforward process with the right tools and guidance. Before beginning, ensure you have the necessary replacement parts for either the left, right, or full rear lighting system. Gather all required tools, including torque wrenches, screwdrivers, and any specialized equipment recommended by Tesla. The first step is to carefully remove the damaged taillight assembly, which involves detaching electrical connectors and securing removal tools to prevent harm during the process. Once the old assembly is removed, inspect your vehicle for any related frame straightening or car dent repair needs—a common occurrence in vehicle collisions.
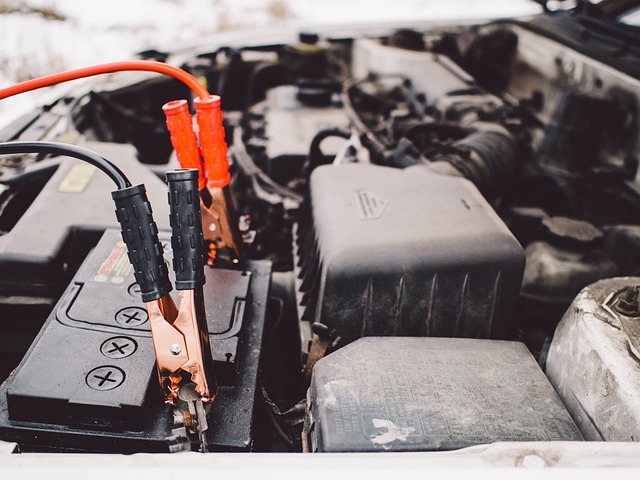
With a clear work area, proceed to install the new taillight assembly, ensuring proper alignment and tight fastenings using the appropriate torque settings. Verify all electrical connections are secure and functional. If any issues persist, double-check your work and consult Tesla’s repair guidelines or seek professional assistance for complex cases involving vehicle collision repair. Regular maintenance and prompt repairs can significantly enhance your Tesla’s safety features and overall driving experience.
Maintenance Tips: Preventing Future Taillight Assembly Failures

Regular maintenance can significantly extend the lifespan of your Tesla’s taillight assembly and prevent costly repairs. Here are some essential tips to keep in mind:
1. Inspect for Damage: Regularly check your taillights for any signs of damage, cracks, or loose connections. This simple step can help identify potential issues early on, preventing minor problems from escalating into major repairs. Remember, a quick inspection could save you from a costly Tesla taillight assembly repair in the future.
2. Keep it Clean: Over time, dirt and grime can accumulate on your taillights, reducing their effectiveness. Use a soft cloth to gently wipe down the lenses and housing regularly. This simple auto maintenance task ensures optimal light output and enhances visibility, not just for you but also for other drivers on the road.
3. Tighten Connections: Loosen connections can lead to flickering lights or complete failure. Periodically check and tighten any accessible electrical connections related to your taillight assembly. If you’re unsure about any part of the process, don’t hesitate to reach out to professional collision repair services for guidance or assistance.
Whether you’re dealing with a faulty left, right, or full rear lighting issue in your Tesla, understanding and addressing the problem promptly is key. By following the step-by-step guide provided, you can effectively repair your vehicle’s taillight assembly. Additionally, implementing maintenance tips will help prevent future failures, ensuring your Tesla’s lighting system remains reliable and safe on the road. For all things related to Tesla taillight assembly repair, these strategies are your go-to solution.