


Tesla ultrasonic sensor covers protect vital safety components that can be damaged over time. When a replacement is needed, use OEM parts for accurate fitment and seamless integration. Specialized paint repair services ensure proper alignment, cure timing, and cosmetic appeal while maintaining safety and performance. Replacing the cover involves gathering materials, cleaning the surface, applying sealant, aligning the new cover, adjusting for gaps, painting, and protecting the finish with clear coat. Optimizing paint cure times is crucial for durability.
Looking to replace your Tesla ultrasonic sensor cover? You’ve come to the right place. This guide provides a comprehensive step-by-step process for successfully replacing your Tesla’s ultrasonic sensor cover, ensuring optimal performance. We also delve into the crucial aspect of paint cure timing, offering insights to maximize longevity and maintain your vehicle’s sleek aesthetics. Discover expert tips and tricks for a seamless DIY experience with Tesla ultrasonic sensor cover replacement.
- Understanding Tesla Ultrasonic Sensor Covers
- Step-by-Step Guide to Replacement
- Optimizing Paint Cure Timing for Longevity
Understanding Tesla Ultrasonic Sensor Covers

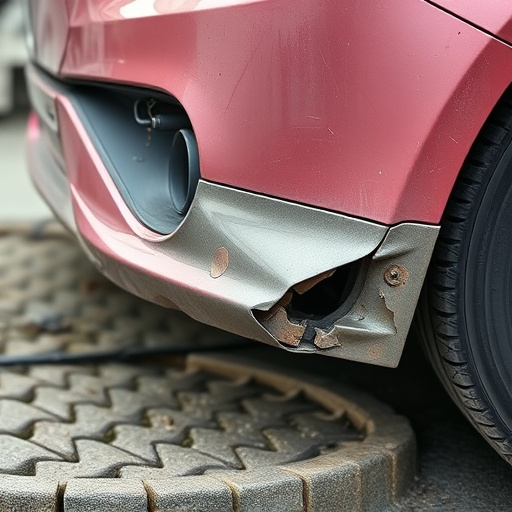
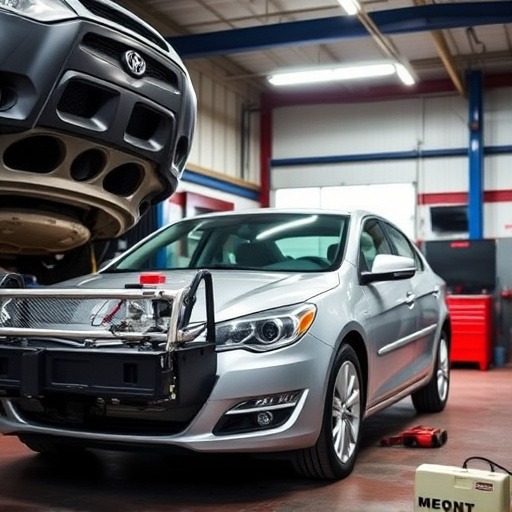
Tesla Ultrasonic Sensor Covers are an integral part of a vehicle’s safety and advanced driver-assistance systems (ADAS). These sensors, often disguised beneath sleek covers, play a crucial role in functions like parking assist, automatic emergency braking, and lane departure warnings. Over time, these protective covers can become damaged due to road debris, curbs, or minor collisions, compromising the functionality of the underlying sensors. This is where a Tesla ultrasonic sensor cover replacement becomes necessary for both safety and optimal vehicle performance.
When considering a replacement, it’s important to source high-quality, OEM (original equipment manufacturer) parts that are designed to match the exact specifications of Tesla vehicles. While some tire services and auto body shops may offer these replacements, specialized vehicle paint repair services are often required for accurate fitment and proper paint cure timing. Ensuring the sensors are aligned precisely and painted to match the vehicle’s finish seamlessly is vital, as it not only enhances the cosmetic appeal but also guarantees the sensor’s long-term functionality in adverse weather conditions.
Step-by-Step Guide to Replacement
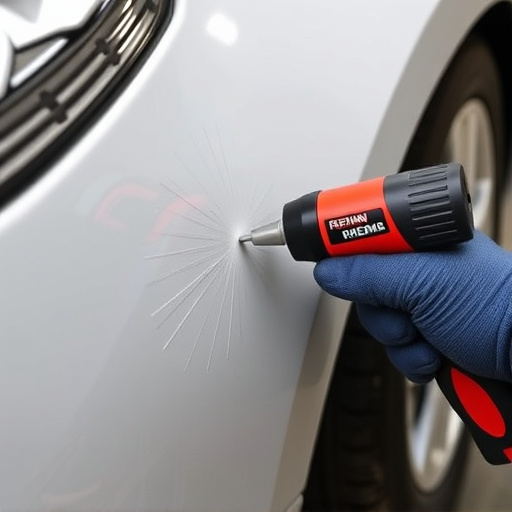
Replacing a Tesla’s ultrasonic sensor cover is a straightforward process that can be accomplished with the right tools and a bit of patience. First, gather all necessary components, including a new sensor cover, paint suitable for automotive use, and a clear coat to protect the finish. Then, locate the sensors on your vehicle—they’re usually found around the bumper or in other peripheral areas. Next, remove any debris or old sealant from the mounting surface using a soft brush or cloth dampened with isopropyl alcohol.
Follow the manufacturer’s instructions for applying new sealant around the edges of the cover to ensure a secure fit. Once sealed, carefully align and press the new cover into place, ensuring it fits snugly. After the initial installation, allow the adhesive to cure as per the product guidelines, usually 24-48 hours. Before painting, check for any gaps or misalignments; if needed, make adjustments with fine-grit sandpaper. Finally, apply a thin, even coat of paint designed for auto detailing and let it dry, followed by a clear coat to seal and protect the sensor cover.
Optimizing Paint Cure Timing for Longevity
When performing a Tesla ultrasonic sensor cover replacement, optimizing paint cure timing is key to ensuring longevity and durability. After applying new paint, it’s crucial to allow sufficient time for it to properly cure before subjecting the vehicle to harsh conditions like rain or direct sunlight. This process involves more than just waiting for the topcoat to dry; it includes allowing the base layers to fully set and achieve optimal adhesion.
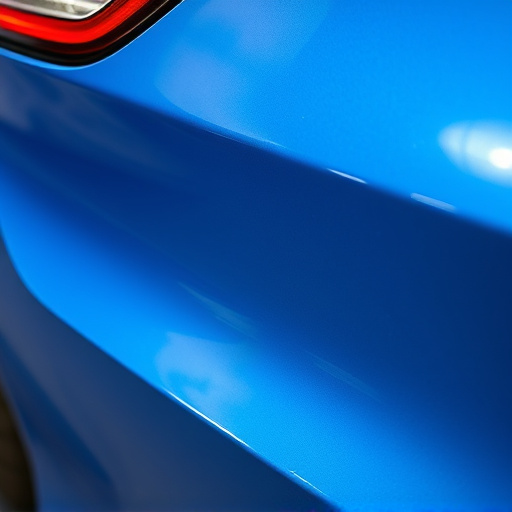
Proper cure timing ensures that the paint job not only looks seamless but also stands up against chips, scratches, and other forms of damage. It’s important to follow the manufacturer’s recommended drying and curing times, taking into account factors like temperature and humidity. A car restoration or automotive collision repair expert can provide valuable insights on achieving the best results, ensuring that your Tesla retains its vibrant finish for years to come, even after undergoing a sensitive component replacement like the ultrasonic sensor cover.
Replacing your Tesla ultrasonic sensor cover is a straightforward process that, when combined with optimal paint cure timing, can ensure both functionality and longevity. By following our step-by-step guide, you can efficiently swap out damaged or worn covers, maintaining the safety features of your vehicle. Remember, proper paint cure timing is key to achieving a durable finish, protecting the sensors from environmental damage, and preserving your Tesla’s aesthetic appeal. With these tips in hand, you’re well-equipped to tackle this task and keep your Tesla running smoothly.