


Reparing the Tesla Model 3 front fascia requires careful planning, execution, and specialized tools. It involves meticulous demolition, accurate measurements, and precise cuts, while prioritizing safety by securing the vehicle, wearing protective gear, and using a service manual for torque specs. Essential tools include impact wrenches, heat guns, electronic torque wrenches, and socket sets for successful reassembly and restoration of the Model 3's aesthetic appeal and structural integrity.
Looking to restore your Tesla Model 3’s front fascia? This comprehensive guide walks you through the entire process, from demolition to final touches. We’ll detail the safe removal of the old fascia, provide a step-by-step repair and reassembly tutorial with essential torque specs, and offer testing tips for guaranteed functionality. Master the art of Tesla Model 3 front fascia repair with our expert insights.
- Demolition Process: Removing the Old Front Fascia
- – Steps for safe disassembly
- – Tools required and their specifications
Demolition Process: Removing the Old Front Fascia

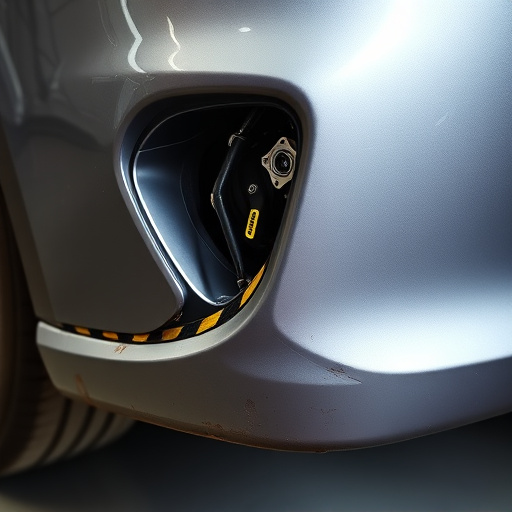
The first step in a Tesla Model 3 front fascia repair involves carefully planning and executing the demolition process for the old fascia. This requires a systematic approach to ensure accurate measurements and precise cuts during removal. The task begins by disconnecting any electrical components within the fascia, such as sensors or lights, to prevent short circuits or damage. Next, using specialized tools, the existing fascia is carefully detached from the vehicle’s body panel. This may involve removing surrounding trim pieces, plastic covers, and other accessories to gain full access to the fascia. Once these components are safely set aside, the old fascia can be completely removed, revealing the underlying structure of the car’s front end.
Mastering this demolition process is key in achieving a successful Tesla Model 3 front fascia repair. It requires an understanding of both automotive mechanics and vehicle restoration techniques, as well as access to the correct tools and auto body services. Ensuring proper alignment and fitment during reassembly is paramount to maintaining the vehicle’s aesthetic appeal and structural integrity. This meticulous step ensures that any issues with the original fascia—from cracks or dents to misalignments—are properly addressed in subsequent stages of the repair process, ultimately leading to a restored and enhanced look for the Model 3’s front end.
– Steps for safe disassembly
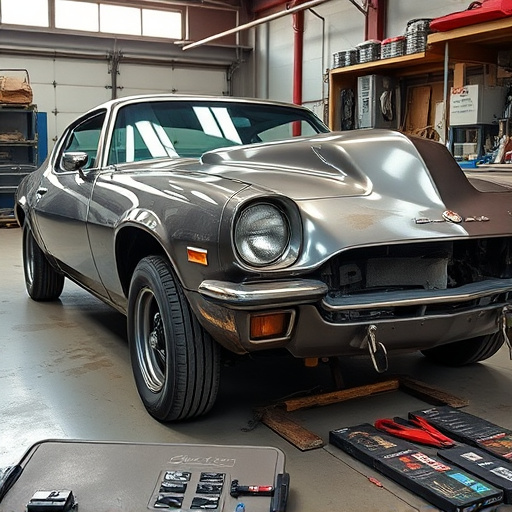
When tackling a Tesla Model 3 front fascia repair, safety should always be your top priority. Begin by ensuring the vehicle is secured on a level surface with wheel chocks in place. Put on protective gear, including safety glasses and gloves, to shield yourself from any debris or sharp edges. Next, locate and identify all components related to the front fascia, studying their positions and connections meticulously. This step is crucial for smooth disassembly and subsequent reassembly, ensuring every nut, bolt, and bracket is accounted for.
For efficient disassembly, start with the outer components like the headlights and fog lights, carefully detaching wiring harnesses as you go. Work your way inward, freeing up any adhesives or fasteners holding the fascia in place. Remember, proper torque specs are essential for a secure fit during reassembly. Consult the vehicle’s service manual for accurate values to ensure your Tesla Model 3 front fascia is not only repaired but also restored to its optimal condition, like a professional auto maintenance and car repair service would.
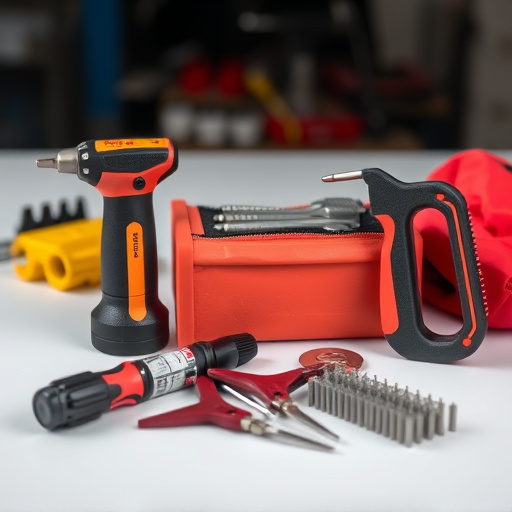
– Tools required and their specifications
To successfully undertake a Tesla Model 3 front fascia repair, including its reassembly with the correct torque specs, several specialized tools are essential. These include a set of high-torque impact wrenches in various sizes, compatible with the Model 3’s design, to securely remove and install components. Additionally, a precision torch or heat gun is necessary for plastic welding or softening certain parts, especially during fender repair.
For accurate alignment and tightening, an electronic torque wrench is a must-have tool. This ensures that every bolt is fastened with the correct torque as specified by Tesla, preventing potential damage during collision repair. Furthermore, a comprehensive set of socket sets, ratchets, and extension tools will facilitate easy access to hard-to-reach areas, enhancing the overall efficiency of the auto maintenance process.
Repairing your Tesla Model 3’s front fascia is a manageable task with the right knowledge. By carefully following the demolition process outlined in this guide, including safe disassembly steps and specific tools, you can efficiently replace the old fascia. These detailed instructions empower Tesla owners to take on such repairs themselves, promoting cost-effectiveness and empowering autonomy. With a bit of patience and precision, you’ll be back on the road with a freshly restored front fascia, enhancing your Model 3’s aesthetics.