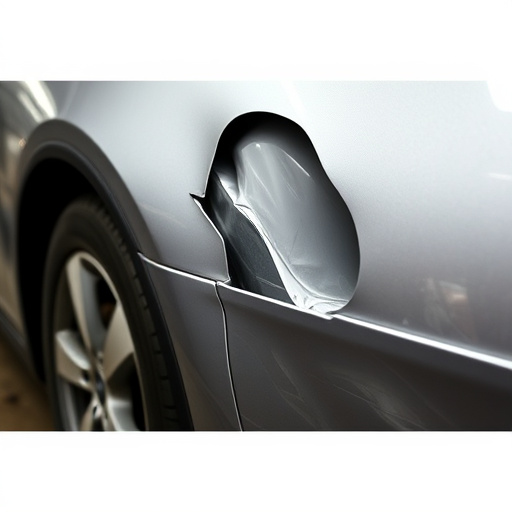


Tesla interior trim repair requires skilled technicians to match specific texture patterns, colors, grain, and material composition accurately to preserve each unique model's aesthetic appeal and value. Using incorrect textures or materials can disrupt the overall design and impact the driving experience. Repairs demand meticulous care, inspection, high-quality parts, proper preparation, cleaning, adhesives, and primers, with complex work best handled by auto body experts for flawless results.
Tesla owners often face a unique challenge when repairing or replacing their vehicle’s interior trim: ensuring it matches the model-specific textures. This meticulous process is crucial for maintaining the car’s aesthetic integrity. Our guide delves into the significance of accurate texture matching, providing a step-by-step approach to successful Tesla interior trim repair. By understanding the nuances of each model’s unique textures, you’ll ensure a seamless and authentic restoration, enhancing your Tesla’s overall appeal.
- Understanding Model-Specific Textures in Tesla Interior Trim
- The Importance of Accurate Texture Matching for Repair
- Step-by-Step Guide to Successful Tesla Interior Trim Repair
Understanding Model-Specific Textures in Tesla Interior Trim

Tesla vehicles are renowned for their sleek and modern designs, and this aesthetic extends to their interior trim. When it comes to repairs, especially for interior components, matching the model-specific textures is paramount. Each Tesla model, from the Model S to the Model 3, boasts a unique interior feel that contributes to its overall identity. This attention to detail doesn’t stop at exterior aesthetics; it permeates every aspect of the car’s design, including color palettes, material choices, and texture patterns.
Understanding these nuances is crucial for anyone involved in Tesla interior trim repair. It ensures not only the visual harmony but also maintains the vehicle’s overall value. For instance, the soft touch materials used in premium models require specialized knowledge to replace without compromising the car’s signature sensory experience. Similarly, the intricate patterns on seats or door panels demand precision replication during repairs to avoid disrupting the harmonious tapestry of the interior space.
The Importance of Accurate Texture Matching for Repair

When conducting Tesla interior trim repair, achieving accurate texture matching is paramount to preserving the vehicle’s aesthetic integrity. Each Tesla model boasts a unique design language, with distinct textures and materials that contribute to its overall character. Skilled technicians understand that simply replacing damaged components isn’t enough; they must seamlessly integrate repairs into the existing interior. This involves closely examining the surrounding trim to match not only color but also texture, grain pattern, and even subtle variations in material composition.
Accurate texture matching goes beyond mere visual appeal; it ensures a consistent and high-quality finish that aligns with Tesla’s precision engineering standards. In a vehicle known for its cutting-edge technology and sleek design, every detail matters. Using the wrong texture or material can disrupt the harmonious flow of the interior, drawing attention to the repair and detracting from the overall driving experience. Therefore, body shop services specializing in Tesla interior trim repair must invest in comprehensive training and high-quality materials to deliver repairs that match the model-specific textures, ensuring a seamless restoration for every customer.
Step-by-Step Guide to Successful Tesla Interior Trim Repair

When it comes to Tesla interior trim repair, achieving a flawless result requires precision and attention to detail. Here’s a step-by-step guide for a successful DIY or professional repair process.
Start by thoroughly inspecting the damaged area, identifying the specific components requiring repair, and gathering all necessary tools and materials. For accurate matching, source Tesla-approved interior trim parts or high-quality aftermarket alternatives that replicate the model-specific textures. Before repairing, clean the surface to remove any debris or dirt, ensuring a pristine base for your work. Using the appropriate adhesives and primers, carefully attach and secure the new trim pieces, following the manufacturer’s instructions. For a seamless finish, meticulously smooth out any gaps or bubbles, allowing adequate time for drying and curing. In case of more extensive damage, involving car body repair or even auto body painting, it’s crucial to seek professional assistance from experienced auto body services to ensure optimal results.
When undertaking Tesla interior trim repair, matching model-specific textures is paramount. This ensures not only aesthetic accuracy but also maintains the vehicle’s overall value. By carefully following a step-by-step guide and prioritizing precise texture matching, owners can effectively restore their Tesla’s interior to its original state, enhancing both functionality and visual appeal. Remember, attention to detail during repair processes is key to achieving a professional finish that satisfies the high standards set by Tesla vehicles.