


TL;DR: Before replacing your vehicle's window channel, prepare by assessing bodywork damage, consulting professionals, gathering tools, and creating a clean workspace. Accurately cut out the old channel, insert and secure the new one, and seal edges with caulk for watertightness. Post-installation checks are vital: inspect fitment, fastening, sealing, and window operation. Promptly address any issues for optimal performance and longevity of the replacement, focusing on window channel replacement throughout.
Considering a window channel replacement? This comprehensive guide is your roadmap. From understanding the essential pre-installation preparations to a step-by-step seamless channel insertion process, we’ve got you covered. Learn about post-installation checks crucial for longevity and optimal performance. Discover expert tips to ensure your new window channels withstand the test of time, enhancing energy efficiency and security. Master these steps for a successful window channel replacement project.
- Understanding Window Channel Replacement: Essential Pre-Installation Preparations
- Step-by-Step Guide to Seamless Channel Insertion
- Post-Installation Checks: Ensuring Longevity and Performance
Understanding Window Channel Replacement: Essential Pre-Installation Preparations

Understanding Window Channel Replacement: Essential Pre-Installation Preparations
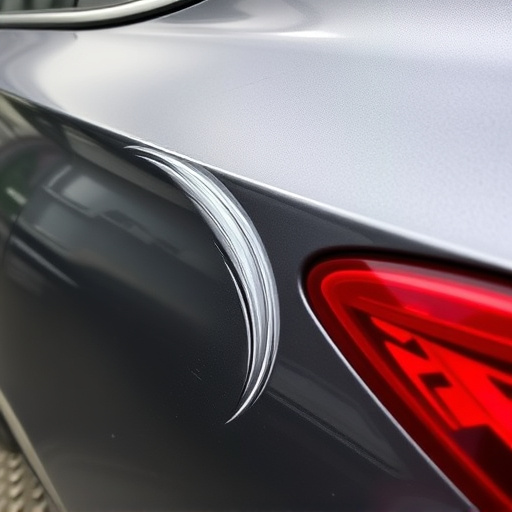
Before diving into the installation process of window channel replacement, it’s crucial to grasp the basics and prepare adequately. This involves assessing your vehicle’s structure, especially the car bodywork around the windows, for any signs of damage or misalignment. Ensure that all components related to the fender repair are in good condition and properly fitted. Consulting with a professional vehicle body shop can provide valuable insights into specific requirements for your make and model.
Additionally, gather the necessary tools and materials, including replacement channels, sealing compounds, and any hardware required. Create a clean and organized workspace, clearing the area around the windows to facilitate smooth installation. Proper preparation not only ensures a seamless window channel replacement but also contributes to the longevity of the repair, enhancing your vehicle’s overall aesthetic and structural integrity.
Step-by-Step Guide to Seamless Channel Insertion

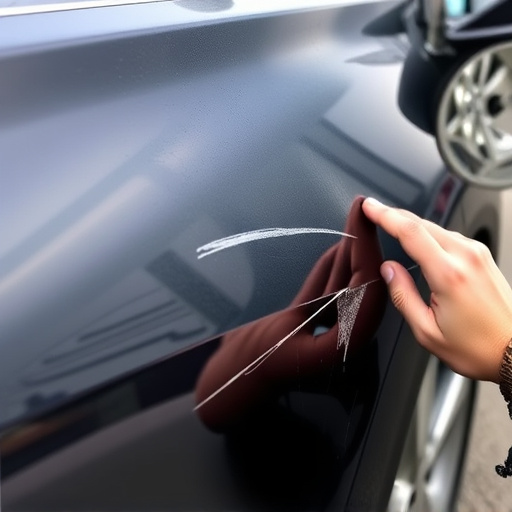
To ensure a seamless window channel replacement, follow this step-by-step guide. Begin by preparing the area around the window by removing any debris or old caulk. Clean the surface thoroughly to create a smooth base for the new channel. Next, measure and mark the placement of the channel, ensuring it aligns perfectly with the window frame. Using a utility knife, carefully cut out the existing channel, taking precision and caution to avoid damaging the surrounding areas.
With the old channel removed, insert the new one into the prepared slot. Secure it in place using appropriate fasteners or adhesive recommended for the material. Ensure the channel is firmly attached before proceeding. Apply a bead of caulk along the channel’s edges, sealing any gaps between the window frame and the replacement channel. This step not only provides a watertight seal but also enhances the overall aesthetic appeal, making the window channel replacement look as good as new. For an expert finish, consider seeking assistance from professionals in automotive repair or car bodywork to ensure precision and longevity of your installation.
Post-Installation Checks: Ensuring Longevity and Performance

After successfully installing a new window channel replacement, conducting thorough post-installation checks is paramount to guarantee its longevity and optimal performance. Begin by inspecting the fitment for any signs of misalignment or gaps that could compromise structural integrity. Ensure all components are securely fastened and sealed to prevent water intrusion, which can lead to damage over time.
Next, test the opening and closing mechanisms to verify smooth operation. Check for any unusual noises or resistance, as these may indicate issues with alignment, lubrication, or the need for further adjustments. Additionally, assess the overall stability of the window by attempting to push or pull it slightly off its tracks. If there’s any considerable movement, it’s essential to address these concerns promptly, either through fine-tuning or seeking professional assistance from a collision center specializing in auto bodywork and auto glass repair.
Proper installation of a window channel replacement is key to achieving optimal energy efficiency and enhancing your home’s curb appeal. By understanding the process, preparing accordingly, and following the step-by-step guide provided, you can ensure a seamless fit that stands the test of time. Regular post-installation checks will further safeguard against potential issues, making your window channel replacement a successful and long-lasting investment.