


Tesla's Ultrasonic Sensor System, vital for safety features like automatic emergency braking, requires regular checks and specific replacement parts like the Tesla ultrasonic sensor cover to maintain optimal performance. Replacement involves locating sensors, removing the old cover, cleaning debris, installing a new one securely with proper alignment, and rechecking functionality. Proper installation prevents false readings, ensuring vehicle safety and ideal performance.
Looking to replace your Tesla ultrasonic sensor cover? You’ve come to the right place. This guide dives into the process of replacing your Tesla’s ultrasonic sensor cover and rechecking functionality, ensuring your vehicle’s safety features work seamlessly. We’ll outline the steps involved, common issues to watch out for, and provide tips for a successful replacement. Get ready to restore your Tesla’s advanced driver-assistance system (ADAS) to peak performance.
- Understanding Tesla's Ultrasonic Sensor System
- Step-by-Step Guide: Replacing the Cover and Rechecking Functionality
- Common Issues and Tips for a Successful Replacement
Understanding Tesla's Ultrasonic Sensor System

Tesla’s Ultrasonic Sensor System is a sophisticated technology designed to enhance safety and navigation for their vehicles. This system uses a network of sensors, typically located around the perimeter of the car, which emit high-frequency sound waves. These waves bounce off objects, providing real-time data on nearby obstacles or potential hazards. The data is then processed to assist in features like automatic emergency braking, lane departure warning, and parking assistance.
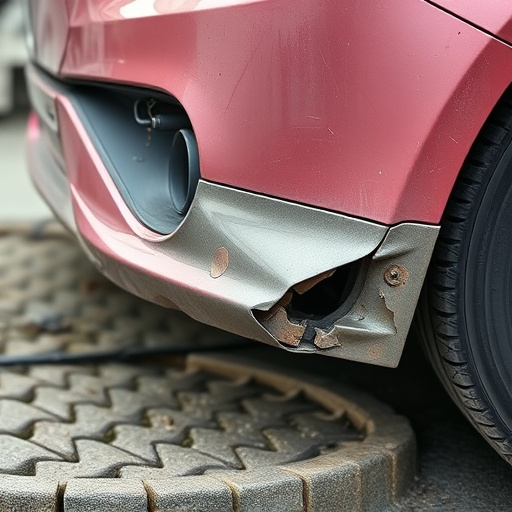
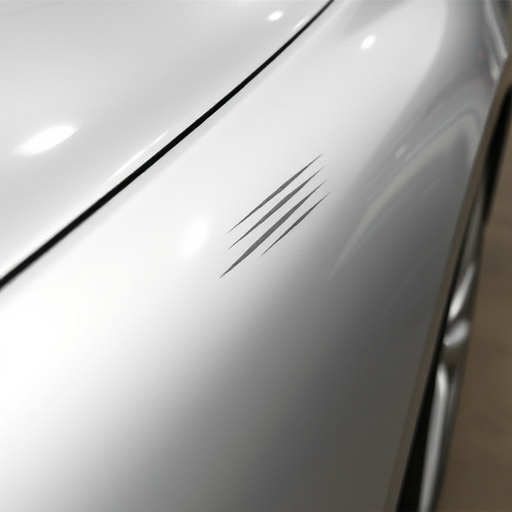
Maintaining this system’s integrity is crucial for optimal vehicle performance and safety. Tesla offers specific ultrasonic sensor cover replacements designed to protect these sensors from damage caused by debris, weather conditions, or accidental impacts during car bodywork services or vehicle repair services. Regular functional rechecks ensure the sensors remain accurate and reliable, contributing to a smoother driving experience. Car paint services should also consider the sensor’s placement when repairing or replacing bodywork to avoid any potential interference.
Step-by-Step Guide: Replacing the Cover and Rechecking Functionality
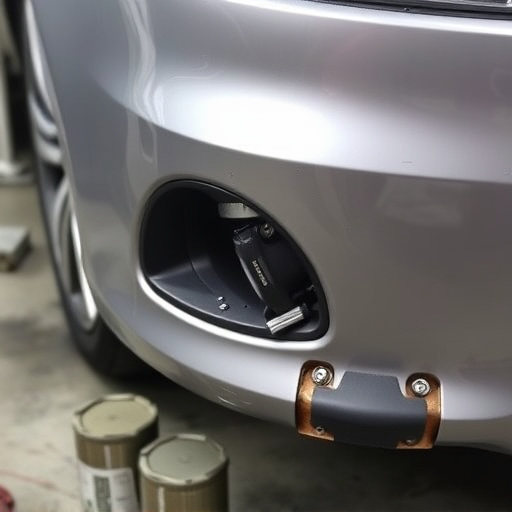
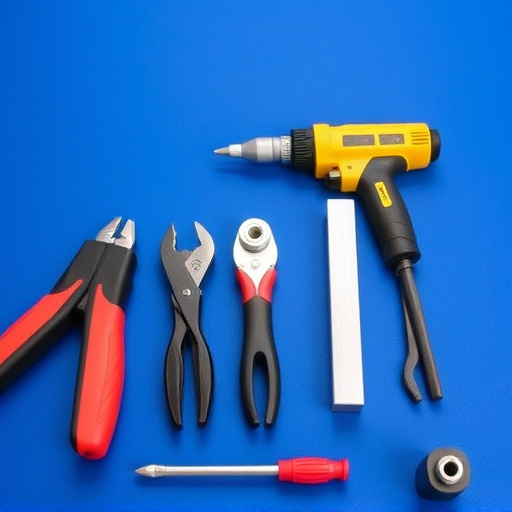
Replacing a Tesla ultrasonic sensor cover is a straightforward process that can be accomplished with the right tools and a bit of patience. Here’s a step-by-step guide to ensure a successful replacement and functional recheck. Begin by locating the ultrasonic sensors around your vehicle, typically found in areas like the front and rear bumpers. Gather your tools, including the new sensor cover, a Phillips head screwdriver, and any other necessary hardware. Next, carefully remove the old cover by unscrewing it with the screwdriver, taking note of its placement to ensure proper alignment during installation. Clean the area around the sensors to eliminate any dirt or debris that may interfere with their operation. Once clean, install the new cover, ensuring it fits securely and aligns correctly. Tighten the screws firmly but avoid over-tightening. After replacing the cover, conduct a functional recheck by utilizing your Tesla’s settings or professional diagnostic tools to verify the sensors are operating optimally. This step is crucial in auto body restoration, as it ensures your vehicle’s safety features function properly. If any issues persist, double-check your work and consider seeking expert assistance from reputable vehicle repair services for comprehensive auto detailing.
Common Issues and Tips for a Successful Replacement

When tackling a Tesla ultrasonic sensor cover replacement, several common issues can arise, but with some preparation and the right tips, these challenges can be easily navigated. One of the primary concerns is ensuring proper alignment of the new cover to maintain the sensitivity and accuracy of the ultrasonic sensors. Misalignment could lead to ineffective object detection or false readings, impacting the overall performance of the vehicle’s safety features.
To ensure a successful replacement, consider these tips: start by cleaning the area thoroughly to remove any dirt or debris that might interfere with sensor functionality. Next, carefully disassemble the old cover, taking note of its placement and any specific installation steps. During the installation of the new cover, double-check every step, ensuring it fits perfectly and aligns precisely with the vehicle’s bodywork. Given the delicate nature of these sensors, meticulous attention to detail is crucial for a seamless Tesla ultrasonic sensor cover replacement and optimal vehicle performance.
Replacing a Tesla ultrasonic sensor cover is a straightforward process that can be completed in a few simple steps. By understanding the functionality of Tesla’s ultrasonic sensor system and following a structured guide, owners can easily address any issues and ensure their vehicles’ safety features remain reliable. Remember, a thorough functional recheck is vital to guarantee optimal performance, making it an essential step in the replacement process. With this knowledge in hand, you’re equipped to handle any Tesla ultrasonic sensor cover replacements with confidence.