


For effective windshield chip repair, prepare by gathering a resin kit with resin, hardener, and applicators. Clean the damaged area thoroughly and pour resin onto it, spreading evenly and removing air bubbles. Allow the resin to cure as per manufacturer instructions, then inspect for cracks or imperfections. Reapplication or professional help is recommended for significant issues.
Repairing a chipped windshield is easier than you think! This step-by-step guide will walk you through the process of using resin for effective windshield chip repair. First, gather your materials and prepare the area around the chip (Gather Materials and Prepare the Area). Next, apply the resin and smooth the surface (Apply the Resin and Smooth the Surface) to ensure a seamless fix. Finally, cure the resin and inspect the repair for a flawless, safe drive (Cure the Resin and Inspect the Repair).
- Gather Materials and Prepare the Area
- Apply the Resin and Smooth the Surface
- Cure the Resin and Inspect the Repair
Gather Materials and Prepare the Area

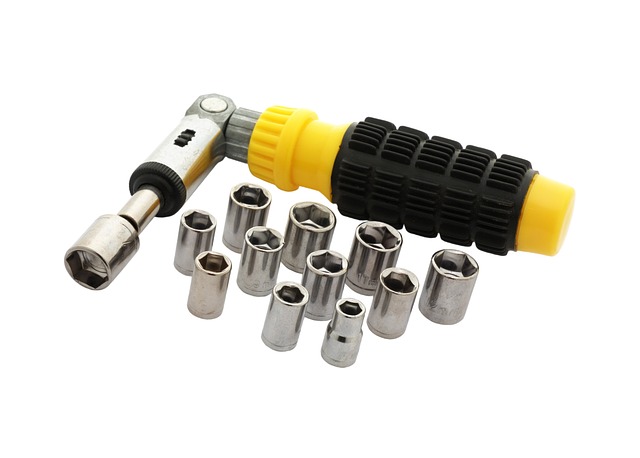
Before starting the windshield chip repair process, ensure you have all the necessary materials on hand. Gather a resin kit suitable for auto glass repairs, including the resin, hardener, applicators, and any other tools specified in the kit instructions. Also, prepare an area that is well-ventilated and free from dust or debris, as this can affect the quality of your repair.
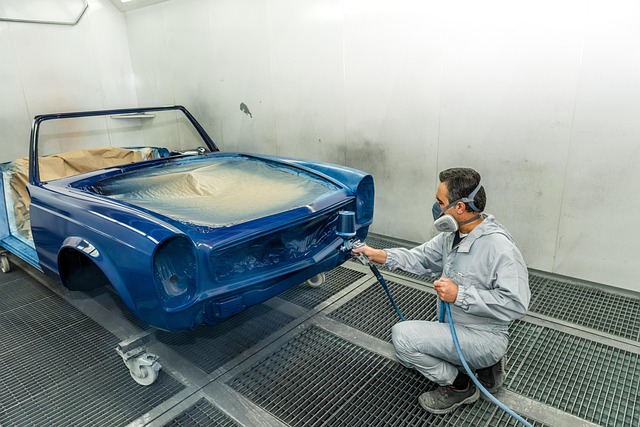
Clean the damaged area thoroughly with water and a mild detergent to remove any grime or dirt. Allow the windshield to dry completely before proceeding. This step is crucial in achieving a strong bond between the resin and the glass surface, similar to how meticulous car paint services prepare a vehicle’s body for painting at an auto collision center.
Apply the Resin and Smooth the Surface
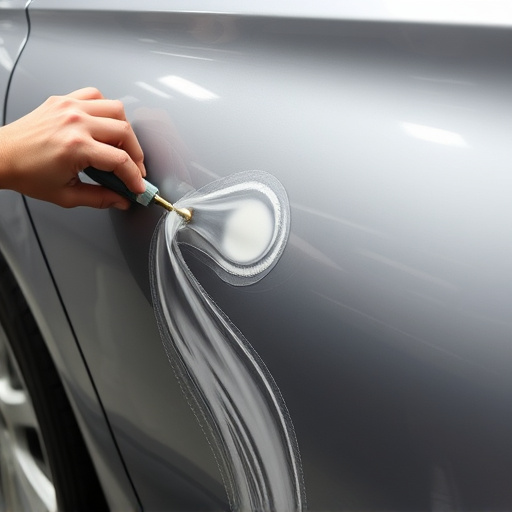
After carefully preparing the windshield chip repair area, it’s time to apply the resin. Start by pouring a small amount of resin onto the damaged area, ensuring it covers the entire crack or chip. Use a thin film applicator or your finger (after sanitizing) to spread the resin evenly, smoothing it over the surface until it’s level with the surrounding glass. This step is crucial for achieving a clear, seamless finish when the resin hardens.
As you work, pay close attention to removing any air bubbles that may have formed. You can do this by gently pressing on the resin or using a heat gun on a low setting to pop them without causing further damage. Once satisfied with the application, allow the resin to cure according to the manufacturer’s instructions for optimal results in your windshield chip repair.
Cure the Resin and Inspect the Repair
After carefully applying the resin to the windshield chip repair, the next step is to cure it properly. Most resins will require a specific time frame and temperature for optimal hardening. This process usually involves allowing the resin to set undisturbed for a period of time, often indicated by the manufacturer’s instructions. It’s crucial to respect these guidelines to ensure the resin cures correctly, forming a strong bond over the chip.
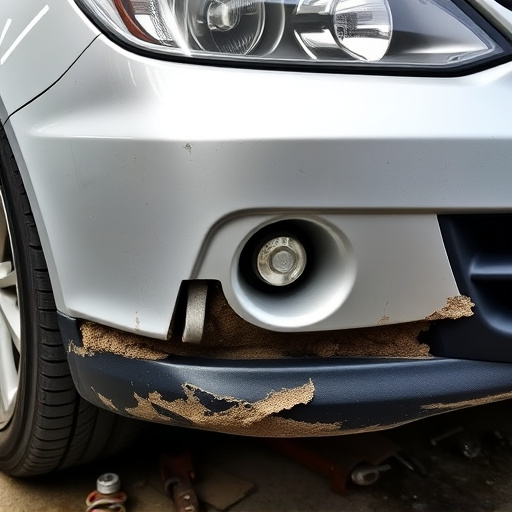
Once the curing period is complete, inspect the repair area closely. Check for any visible cracks or imperfections in the resin finish. Ensure that the surface is smooth and even, and the chip is entirely filled and concealed. Proper inspection guarantees that the windshield chip repair is successful and safe. Any issues detected should be addressed promptly by reapplying resin or seeking professional auto bodywork assistance for more complex cases, extending beyond the scope of vehicle paint repair for smaller chips.
Repairing a windshield chip with resin is a straightforward process that can save you time and money. By gathering the necessary materials, preparing the area around the crack, applying the resin correctly, and allowing it to cure properly, you can achieve a durable, long-lasting fix. Windshield chip repair using resin is an effective DIY solution that can restore your vehicle’s clarity and safety, ensuring a smooth drive ahead.