


After an accident, assess clear coat damage with a flashlight or magnifying glass. Note chip, crack, or scratch type and location for effective repair techniques. Before repairing, clean and sand the surface for uniform new clear coat application. After successful repair, decontaminate the area to prevent future damage from debris, chemicals, or stains.
“After a successful clear coat repair, safeguarding your vehicle’s finish is paramount to prevent future damage. This comprehensive guide delves into the essential steps post-repair to ensure longevity. From meticulous assessment of the initial damage and surface preparation to mastering the art of clear coat application and implementing effective care routines, each section offers invaluable insights. Discover how to choose the right materials, apply a durable coat, protect against chips and scratches, and maintain your flawless finish with regular cleaning practices.”
- Assessing the Damage and Preparing the Surface
- – Inspecting the clear coat damage
- – Cleaning and decontaminating the repair area
Assessing the Damage and Preparing the Surface
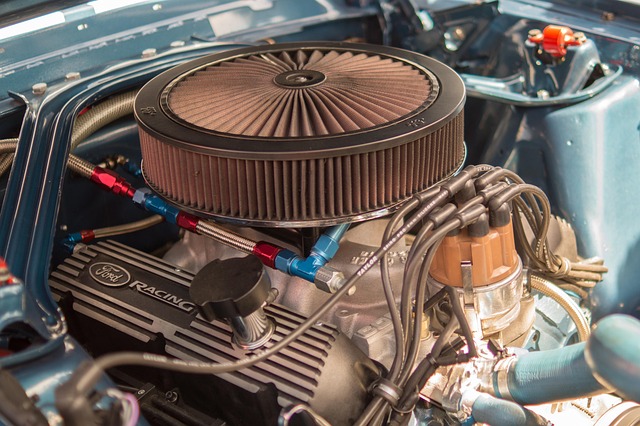
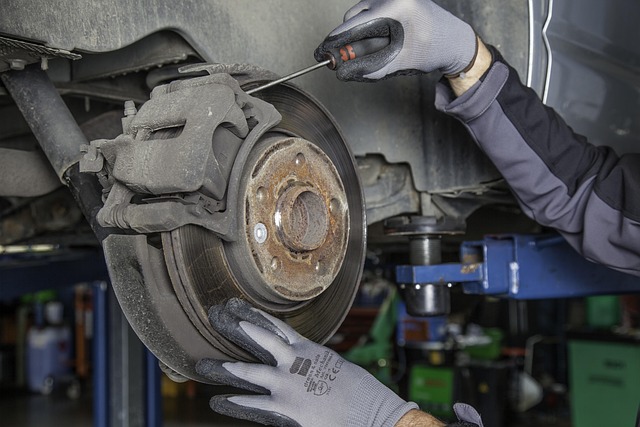
After an accident, assessing the damage is the first step towards clear coat repair. This involves carefully examining the affected area to determine the extent of the harm. Look for chips, scratches, or dents in the clear coat and underlying paintwork. In some cases, auto collision repair might be required for severe damages, including auto frame repairs if the structure is compromised.
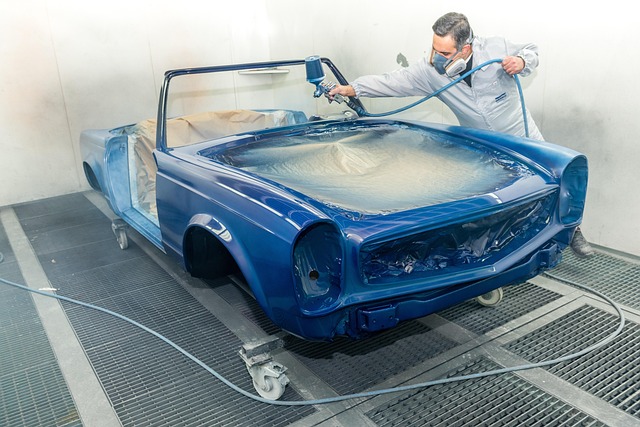
Preparing the surface is crucial before initiating any clear coat repair. This process includes thorough cleaning to remove dirt, debris, and grime that could affect the bond between the new clear coat and the existing paint. Sanding may also be necessary to smooth rough spots and ensure a uniform application of the fresh clear coat, enhancing the overall quality of auto bodywork.
– Inspecting the clear coat damage
Before attempting any clear coat repair, it’s crucial to thoroughly inspect the damaged area. Start by assessing the extent of the damage – chips, cracks, or scratches on the clear coat can vary in size and depth, affecting the repair process. Use a flashlight or magnifying glass to peer closely at the affected surface, identifying any pitting or uneven texture that might indicate deeper damage. Remember, successful clear coat repair hinges on catching issues early, so don’t skip this critical step.
Once you’ve identified the damage, take note of its location and appearance. Different types of clear coat damage may require distinct repair techniques – from simple touch-ups using automotive paint repair supplies to more complex procedures involving vehicle paint repair. Understanding the unique characteristics of your car’s clear coat will ensure a more effective and long-lasting car paint repair solution.
– Cleaning and decontaminating the repair area
After successfully repairing a clear coat, ensuring the area is clean and decontaminated is paramount to prevent future damage. The initial step involves removing any visible debris, dirt, or dust from the repaired surface using a soft cloth and mild detergent. This simple process prevents particles from settling on the repair, which could lead to scratches or further deterioration over time.
Proper decontamination goes beyond cleaning. It includes utilizing specialized products designed to neutralize harmful chemicals and prevent water spots or stains. Given that clear coat repairs often involve exposure, such as during painting or sanding, it’s crucial to remove any residual contaminants that might weaken the repair or attract unwanted elements like dirt, bugs, or bird droppings, which can all contribute to auto dent repair issues or fender repair complications down the line, emphasizing the importance of thorough decontamination in maintaining long-lasting results.
After carefully assessing and preparing the surface, you’ve laid the foundation for successful clear coat repair. By thoroughly inspecting the damage, cleaning the area, and removing contaminants, you’ve created an environment conducive to long-lasting results. Remember, proper preparation is key to preventing future damage, ensuring your repair work stands the test of time. For optimal protection, consider regular maintenance and reapplication to keep your vehicle’s clear coat looking its best.