


Tesla owners love their vehicle's modern aesthetic, primarily due to the unique protective wrap. However, fading or cracking can result from sun exposure, extreme temperatures, auto collisions, or poor installation. Promptly addressing these issues through DIY Tesla wrap repair prevents extensive damage and maintains the stunning exterior. Before starting, ensure you have all necessary tools and materials for precise work, including knives, applicator rollers, adhesive, gloves, and a respirator. This guide teaches you how to perform a DIY Tesla wrap repair, saving costs compared to professional services. It covers gathering tools, preparing your area, removing debris, applying adhesive, pressing the wrap into place, smoothing issues, and trimming excess material for a clean finish.
Looking to fix your damaged Tesla wrap yourself? This comprehensive guide provides the best DIY methods for Tesla wrap repair. We’ll first explore common issues and understanding Tesla wrap damage, then walk you through gathering necessary tools and materials. Next, follow our step-by-step instructions for a successful, cost-effective repair that leaves your Tesla looking like new. Discover expert tips and tricks for achieving professional results at home.
- Understanding Tesla Wrap Damage and Common Issues
- Gather Tools and Materials for the Repair Process
- Step-by-Step Guide to DIY Tesla Wrap Repair
Understanding Tesla Wrap Damage and Common Issues

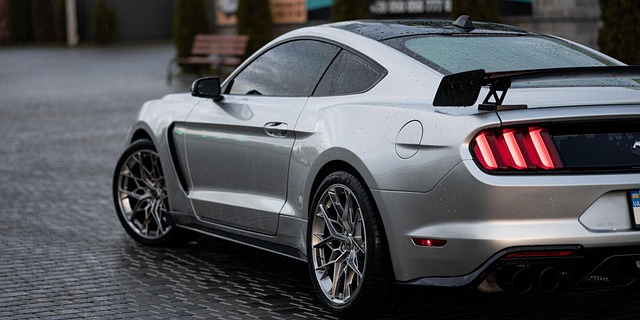
Tesla owners often pride themselves on the sleek, modern aesthetic of their vehicles, a good deal of which is thanks to the unique wrap that covers their cars. However, even the most careful drivers can encounter issues that lead to Tesla wrap damage. Understanding common problems is the first step in effective Tesla wrap repair.
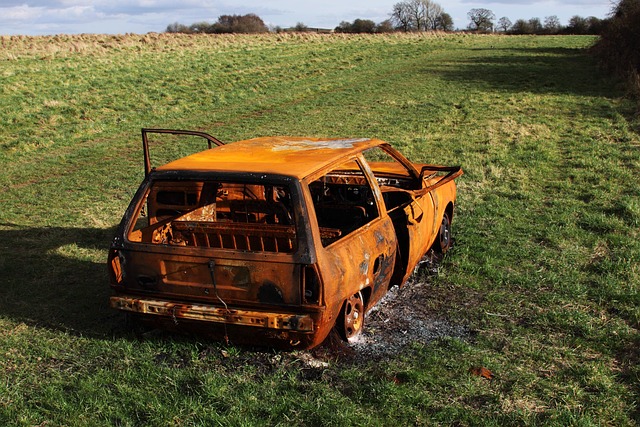
One of the primary causes of wrap damage is exposure to elements like harsh sunlight and extreme temperatures, leading to fading or cracking. Auto collision repair may also be necessary if your Tesla sustains dents or scratches from accidents or road debris. Moreover, improper installation of wraps during auto maintenance can result in bubbles, wrinkles, or misalignments that detract from the vehicle’s appearance. Knowing these common issues equips owners to address them promptly, preserving their Tesla’s stunning exterior and avoiding more extensive—and costly—collision repair down the line.
Gather Tools and Materials for the Repair Process
Before starting any Tesla wrap repair, it’s crucial to gather all necessary tools and materials. This process involves specific items designed for precise work, ensuring a clean and seamless finish. For beginners, investing in high-quality tools like professional wrap knives, applicator rollers, and a suitable adhesive can make the task easier. Additionally, you’ll need protective gear, including gloves and a respirator, to safeguard against any harmful substances.
Remember that preparation is key when it comes to car dent repair for Tesla wraps. Just as an auto glass repair or even an auto body shop would, meticulous attention to detail during this stage will impact the overall outcome. Make sure you have a clean, well-lit workspace and all components required to match the original wrap’s color accurately.
Step-by-Step Guide to DIY Tesla Wrap Repair
Repairing your Tesla’s wrap yourself can save you a substantial amount compared to taking it to an auto repair shop or collision repair center. Here’s a simple, step-by-step guide for DIY Tesla wrap repair.
Begin by gathering all necessary tools and materials: a high-quality Tesla wrap replacement, adhesive, applicator tools (like a roller or brush), and protective gear. Ensure your work area is clean and well-lit before starting. Carefully remove any loose debris from the damaged section using a vacuum cleaner to create a smooth surface for application. Lightly sand the area if needed to ensure better adhesion. Next, apply a thin layer of adhesive to the back of the wrap, ensuring it’s evenly distributed. Press the wrap firmly onto the car’s surface, starting from one edge and smoothing out any bubbles or wrinkles as you go. Continue this process until the entire damaged area is covered, taking care to overlap if needed for a seamless finish. Finally, trim any excess material with a sharp pair of scissors or a razor blade, leaving a clean edge.
Tesla wrap repair can be achieved effectively through DIY methods, empowering vehicle owners to address damage promptly. By understanding common issues and gathering the right tools, you can successfully restore your Tesla’s original look. The step-by-step guide provided offers a clear, concise approach, making DIY repairs accessible. Armed with knowledge and the proper resources, taking on Tesla wrap repair is no longer daunting—it’s a practical solution for maintaining your vehicle’s aesthetic appeal.