


Tesla's Silver Metallic Paint is renowned for durability and aesthetics, requiring specialized restoration processes. This involves meticulous preparation, compound application, precise painting with multiple thin coats, and final buffing for a seamless finish. After curing, the process concludes with buffing and sealing to protect against environmental damage and UV rays, ensuring a showroom-ready, durable silver metallic appearance that matches factory quality. Focus on Tesla silver metallic repair throughout.
“Uncover the meticulous process behind restoring your Tesla’s iconic Silver Metallic finish. This comprehensive guide delves into the art of repair, from understanding the unique properties of Tesla’s paint to a step-by-step approach for achieving perfection.
We’ll walk you through each stage, ensuring a seamless transformation. From surface preparation to the final buff and seal, learn how to revive your car’s showroom luster. Master the secrets to Tesla silver metallic repair, allowing you to maintain or restore your vehicle’s striking aesthetic.”
- Understanding Tesla Silver Metallic Paint: The Foundation of the Repair Process
- Step-by-Step Guide to Tesla Silver Metallic Repair
- Final Touches: Buffing and Sealing for a Showroom-Ready Finish
Understanding Tesla Silver Metallic Paint: The Foundation of the Repair Process
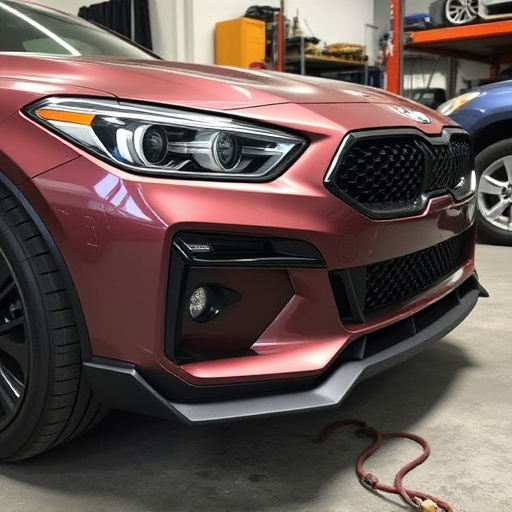
Tesla’s Silver Metallic Paint is renowned for its striking appearance and durability. Understanding this unique paint formulation is key to a successful Tesla silver metallic repair. Unlike traditional paints, it’s designed to withstand the high-temperature baking processes and strict quality controls inherent in Tesla manufacturing. This ensures not just a visually stunning finish but also structural integrity.
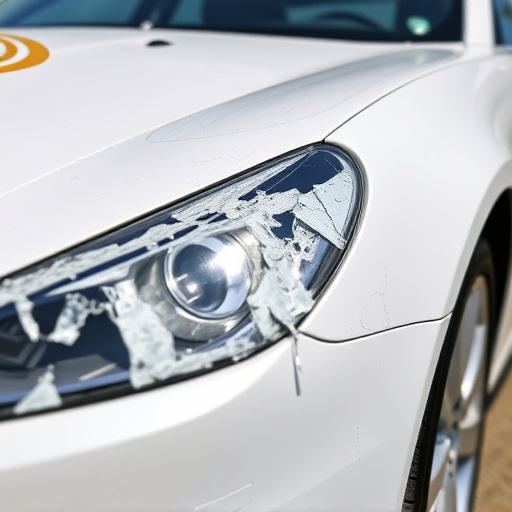
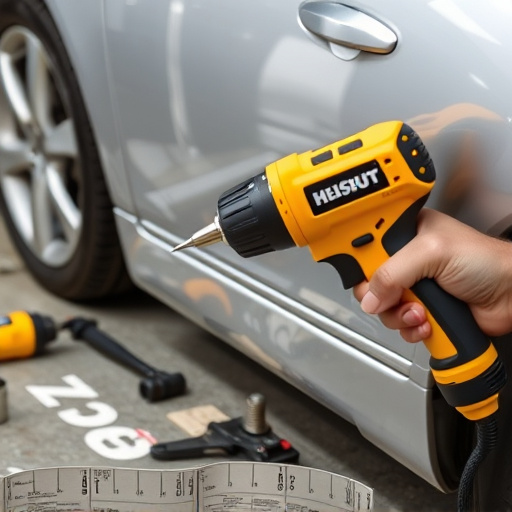
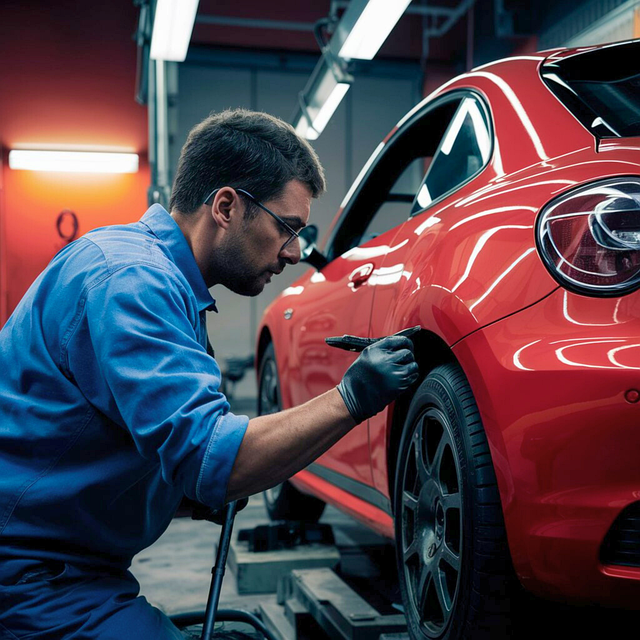
When damage occurs, whether from a minor fender bender or more significant collision, addressing it promptly at a reputable collision repair center is crucial. Skilled technicians employ specialized tools and techniques tailored to Tesla silver metallic repair. They begin with meticulous preparation, ensuring the surface is clean and free of contaminants before applying matching vehicle paint repair compounds. This meticulous process lays the foundation for a flawless final buff and seal, restoring your Tesla’s pristine aesthetic and protecting its investment-worthy finish.
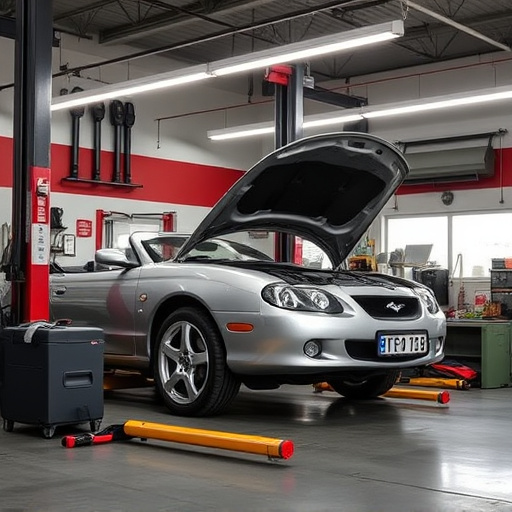
Step-by-Step Guide to Tesla Silver Metallic Repair
Repairing a Tesla’s silver metallic finish involves a meticulous process to ensure a flawless outcome. Here’s a step-by-step guide for the restoration:
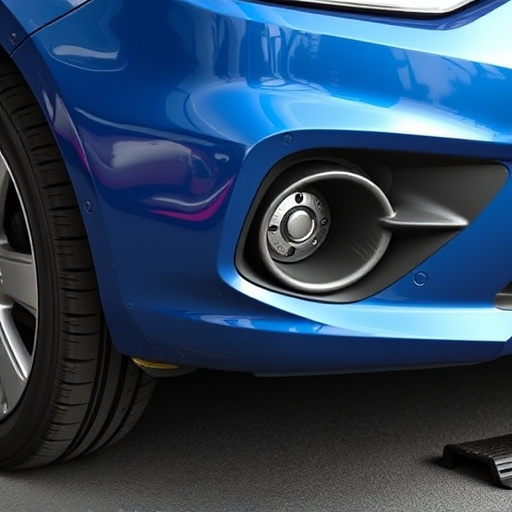
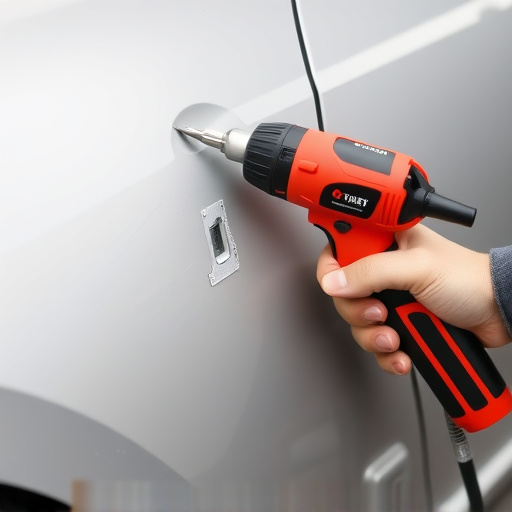
1. Preparation: Begin by thoroughly cleaning the damaged area and surrounding surface to remove any dirt, debris, or contaminants. This ensures that the repair compound adheres properly. Next, use fine-grit sandpaper to gently buff the metal, creating a smooth base.
2. Repair Compound Application: Apply an appropriate auto maintenance repair compound using a putty knife, following the manufacturer’s instructions. Fill in any dents or scratches, smoothing the compound for a level surface. Allow it to dry as per the product guidelines.
3. Sand and Prime: Once dry, sand the repaired area with progressively finer grits until smooth. Remove any residue and ensure the metal is ready for priming. Apply an appropriate primer designed for Tesla silver metallic finishes, allowing it to dry completely.
4. Painting: Use a high-quality Tesla silver metallic paint, matching the original finish precisely. Apply thin, even coats, allowing each layer to dry before adding the next. This meticulous process ensures a seamless blend with the surrounding body panels.
5. Final Buff and Seal: After the final coat has dried, apply a protective sealant to enhance the paint’s durability. Then, use a microfiber cloth to buff the entire area, revealing the restored silver metallic finish.
Final Touches: Buffing and Sealing for a Showroom-Ready Finish
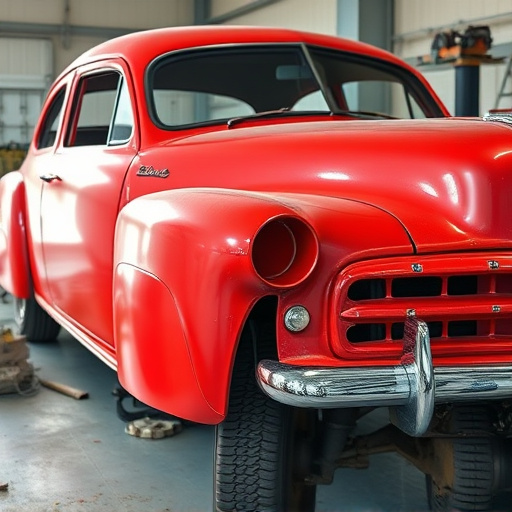
After the base coat has cured completely, the final touches come into play – buffing and sealing. This crucial step is where your Tesla silver metallic repair truly comes to life, transforming it from a damaged panel to a showroom-ready finish. The process involves using specialized compounds and machines to achieve a flawless, glossy surface that matches the car’s original paint job.
Buffing not only reveals the true color depth of the silver metallic but also smoothes out any minor imperfections left behind. Once buffed, an appropriate sealant is applied to protect the repair work. This step acts as a barrier against environmental factors and UV rays, ensuring the paint job stays vibrant and durable for longer. The result? A Tesla that looks as good as new, with a finish that rivals any straight from the factory.
The intricate Tesla silver metallic repair process, as outlined in this article, is a testament to achieving a showroom-ready finish. By understanding the unique characteristics of Tesla’s silver metallic paint and following a meticulous step-by-step guide, repairs can be performed with precision and skill. The final touches of buffing and sealing are crucial to enhancing the car’s appearance, ensuring its protective coat is not only visually stunning but also durable against the elements. Mastering the Tesla silver metallic repair technique allows enthusiasts and professionals alike to restore their vehicles’ original splendor, making them stand out in any fleet or garage.