


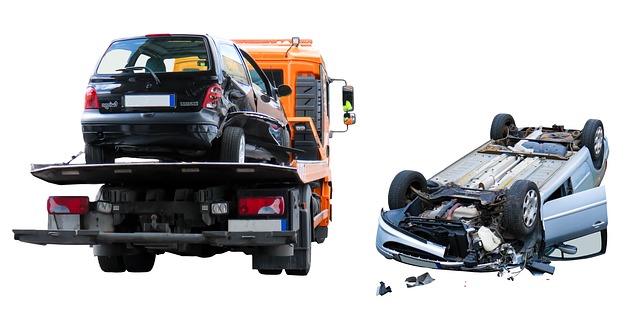
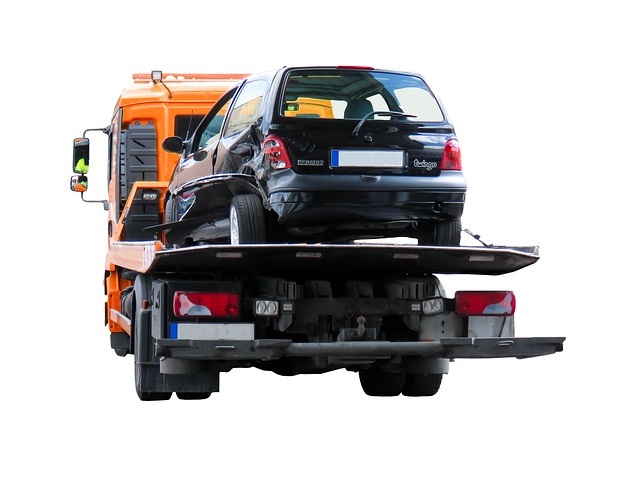
After a collision, a thorough alternator inspection is crucial for vehicle safety and reliable operation. Using specialized tools and following safety protocols, assess external and internal alternator damage, fluid leaks, and electrical connections to prevent future issues. Securely lift the car, inspect the belt and alternator visually, then carefully remove it to check internal components for wear or leaks. Significant damage may require replacement during auto body repair, ensuring optimal vehicle performance after restoration, including bumper repairs.
After a collision, properly inspecting your vehicle’s alternator is crucial. Collisions can cause hidden damage, potentially leading to costly repairs or even failure if overlooked. This comprehensive guide equips you with essential tips for a thorough alternator inspection post-accident. We’ll walk you through the process, highlighting critical safety precautions and necessary tools to ensure accurate assessment. By following these steps, you’ll be better equipped to maintain your vehicle’s reliability and safety.
- Understanding the Impact of Collisions on Alternators
- Essential Tools and Safety Precautions for Inspection
- Step-by-Step Guide to Efficient Alternator Inspection Post-Accident
Understanding the Impact of Collisions on Alternators
Collisions can significantly affect a vehicle’s electrical system, particularly the alternator, which is a vital component responsible for generating electricity to charge the battery and power various electrical components. During an accident, the force imparted on the vehicle can cause damage to the alternator in several ways. The impact might lead to physical dents or cracks in the alternator housing, exposing internal components to potential wear and tear. In severe cases, the alternator may experience internal damage, affecting its ability to generate power efficiently.
Proper alternator inspection after an accident is crucial for ensuring safe and reliable vehicle operation. It involves a thorough assessment of external and internal damage, checking for any signs of fluid leaks, and verifying the condition of electrical connections. Early detection of potential issues can facilitate timely auto body repair, including bumper repair and, if necessary, car restoration, ultimately preventing more severe complications in the future.
Essential Tools and Safety Precautions for Inspection
When conducting an alternator inspection after a collision, several essential tools and safety precautions should be kept in mind to ensure accurate assessment and prevent further damage. The process demands specialized equipment, including a voltage tester, multimeter, and, if necessary, a replacement alternator for comparison. These tools allow you to verify the alternator’s functionality and identify any discrepancies post-accident.
Safety is paramount during this procedure. Always wear protective gear, such as gloves and safety glasses, to safeguard against debris and potential electrical hazards. Ensure the vehicle is securely supported on jack stands, especially when working under the hood, which minimizes the risk of auto frame repair complications or injury during the inspection process. Remember, a thorough yet cautious approach will facilitate accurate diagnosis, whether it’s for a Mercedes Benz repair or any other make.
Step-by-Step Guide to Efficient Alternator Inspection Post-Accident

Post-accident, a thorough alternator inspection is crucial for determining if your vehicle’s electrical system is safe and operational. Begin by lifting the car securely on a jack stand to gain easy access to the alternator. Next, locate the alternator belt and visually inspect it for any cracks, fraying, or loose segments. If the belt appears damaged, replace it immediately as a worn or damaged belt can lead to electrical failure.
Remove the alternator from the vehicle and set it aside carefully. Check for any physical damage like dents or cracks in its casing. Inspect the internal components, including the rotor, stator, and rectifier, for signs of wear or damage. Look for any leaks that may indicate compromised seals. If you notice significant damage or wear, consult an automotive body shop or auto collision repair specialist to assess if the alternator requires replacement during your car restoration process.
After a collision, a thorough alternator inspection is crucial to ensure your vehicle’s safety and reliability. By following these professional tips and guidelines for alternator inspection post-accident, you can effectively assess potential damage, identify issues early on, and make informed decisions regarding repairs. Remember, a well-maintained alternator is vital for keeping your vehicle’s electrical systems running smoothly.