


Door seals in classic and vintage cars are vital for performance, protection against elements, and insulation. Regular inspection is key to preventing water leakage, drafts, and increased repair costs. Replacement requires skill, meticulous attention to detail, cleaning, precise measurement, and use of high-quality materials. Accurate identification of make and model is crucial, and consulting online resources ensures sourcing the correct seals. Proper tools minimize risks and streamline the process for optimal vehicle performance and aesthetics.
Keep your classic or vintage car in top condition with a simple yet crucial maintenance task: door seal replacement. These seals not only enhance weatherproofing but also preserve the vehicle’s structural integrity. This comprehensive guide walks you through understanding door seals, the step-by-step replacement process, and choosing the right parts for your beloved ride. Learn how to ensure a tight seal, maintain optimal performance, and extend the life of your classic car with this essential door seal replacement tutorial.
- Understanding Door Seals in Classic and Vintage Cars
- The Process of Replacing Door Seals Step-by-Step
- Choosing the Right Seals and Tools for Your Vehicle
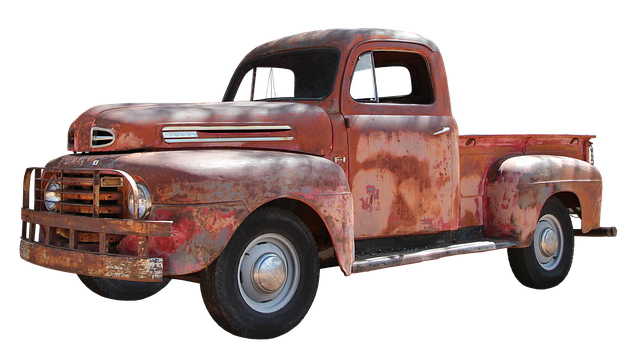
Understanding Door Seals in Classic and Vintage Cars

Door seals in classic and vintage cars are integral components that play a vital role in maintaining optimal performance and protection. These seals, often made from durable materials like rubber or vinyl, act as a barrier between the car’s interior and exterior environments. Their primary functions include preventing water intrusion, keeping out debris, and ensuring proper airflow while offering insulation against temperature extremes. Over time, due to exposure to various elements, age, or mishandling, door seals can become damaged or brittle, leading to issues like drafts, water leakage, and even increased car damage repair costs.
Regular inspection is crucial for identifying worn-out or cracked door seals, which can be addressed through prompt door seal replacement. This relatively simple auto collision repair process involves removing the old seal, preparing the surface, and installing a new one that ensures a secure fit. Unlike some modern vehicles, where these parts are less noticeable, classic and vintage cars often demand meticulous attention to detail during such repairs, ensuring the car’s historical integrity is preserved while enhancing its overall performance and aesthetics, thus avoiding unnecessary car scratch repair issues caused by poor sealing.
The Process of Replacing Door Seals Step-by-Step

Replacing door seals on classic or vintage cars is a process that requires precision and an understanding of auto body work. It’s a task best left to experienced mechanics or dedicated car enthusiasts familiar with such intricate repairs. Here’s a simplified breakdown of the steps involved:
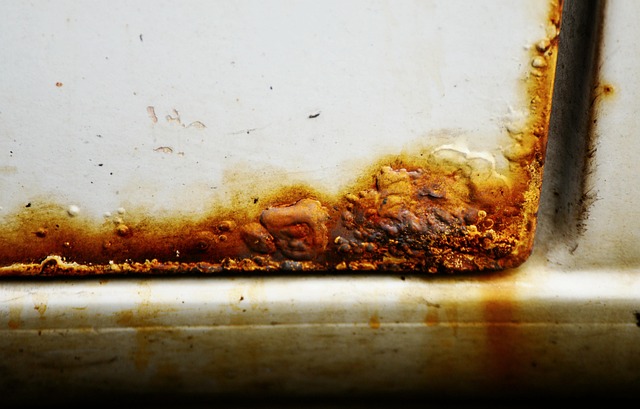
1. Preparation: Begin by thoroughly cleaning the door frame and removing any debris, rust, or old seal remnants. This step is crucial as it ensures a clean surface for the new seal’s effective attachment. In many cases, this may involve disassembling parts of the door to access all surfaces properly.
2. Measure and Cut: Measure the length and width of the existing seal to ensure you get a perfect fit for your specific car model. Then, carefully cut the new door seal to match these dimensions. This precision is key to ensuring an effective seal that prevents water intrusion and protects against excessive wind noise. While many door seals are made from rubber or silicone, some vintage cars might require more specialized materials, calling for auto frame repair techniques if adjustments need to be made to accommodate unique specifications.
Choosing the Right Seals and Tools for Your Vehicle

When undertaking a door seal replacement for your classic or vintage vehicle, selecting the right seals and tools is paramount to ensure a successful and long-lasting repair. The first step is to accurately identify your car’s make and model, as different vehicles require specific seal types and dimensions. Online resources and consultation with automotive forums can be invaluable in this regard. Once you’ve determined the precise specifications, source high-quality door seals from reputable suppliers; these are often available in kits that include all necessary parts for a complete replacement.
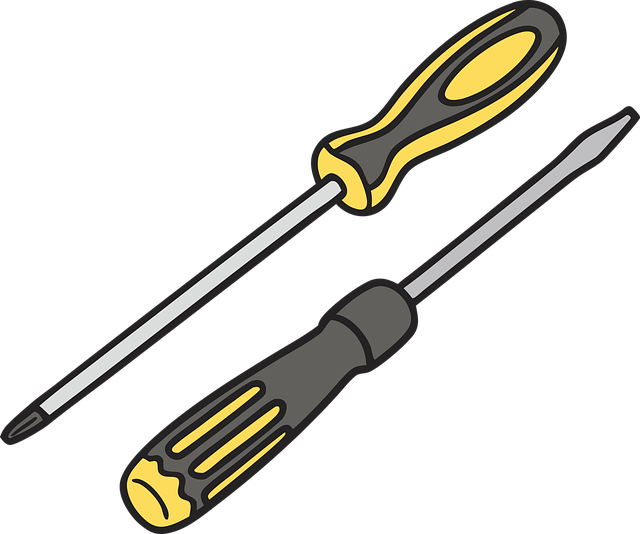
Complementing your choice of seals is the need for suitable tools tailored to your car’s make and model. Standard tools like jack stands, socket sets, and rubber mallets are usually sufficient, but rare cases may necessitate more specialised equipment – especially for luxury brands like Mercedes Benz repair. For instance, some cars might require a door sills tool or even an auto dent repair kit to address any panel damage during the process. Having the right tools on hand ensures the job is done efficiently and reduces the risk of further complications at a local car body shop.
Door seal replacement is a crucial task for classic and vintage car owners, ensuring both the vehicle’s integrity and its timeless appeal. By understanding the importance of these seals and following a meticulous process, enthusiasts can effectively maintain their beloved cars. With the right tools and knowledge shared in this guide, tackling door seal replacement becomes a straightforward game-changer, keeping your classic on the road for years to come.