
Prompt replacement of damaged cowl panels by collision repair experts is crucial for safety, vehicle value preservation, and aesthetic restoration. Choosing between aluminum or steel materials depends on functionality and aesthetics, with aluminum offering lightweight benefits and steel renowned for strength and durability. The replacement process involves careful planning: assess damage, gather tools & materials, remove loose debris, disassemble interfering components, lift out the old panel, repair underlying surface imperfections, and ensure a smooth finish before reinstallation.
“Cowl panels, a vital component of both aluminum and steel vehicle designs, serve as both aesthetic features and functional guards. Over time, these panels can sustain damage, compromising both vehicle integrity and aesthetics. This article guides you through the essential process of cowl panel replacement, offering insights into choosing the right materials for seamless integration. Learn how to select durable alternatives for aluminum and steel vehicles, ensuring a secure fit and restored vehicle beauty. For an efficient fix, follow our step-by-step tutorial.”
- Understanding Cowl Panels and Their Importance
- Choosing the Right Replacement Materials for Aluminum and Steel Vehicles
- Step-by-Step Guide to Effective Cowl Panel Replacement
Understanding Cowl Panels and Their Importance
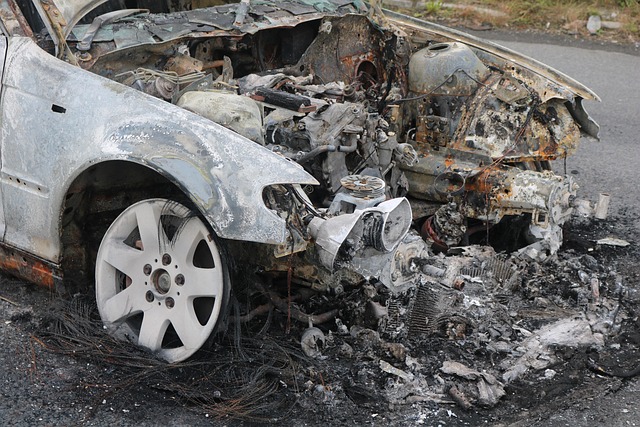
Cowl panels are essential components of a vehicle’s exterior, serving as the front protective barrier between the engine and the driver. These panels are typically made from lightweight yet durable materials like aluminum or steel, reflecting both structural integrity and aesthetic appeal. In the event of damage, be it from a fender bender or a more severe collision, cowl panel replacement becomes a critical aspect of auto body restoration.
A qualified collision repair center is adept at handling these repairs, ensuring that the replacement panel perfectly matches the original in terms of both fit and finish. This precision is crucial not only for safety but also for maintaining the vehicle’s overall value. A successful cowl panel replacement, executed by experts, can make all the difference in a car’s appearance and performance after a collision, ultimately facilitating a swift return to the road.
Choosing the Right Replacement Materials for Aluminum and Steel Vehicles
When it comes to cowl panel replacement for aluminum or steel vehicles, selecting the appropriate materials is a key step in ensuring both functionality and aesthetics. The choice between traditional steel and modern aluminum alternatives should consider the vehicle’s original design and intended use. For example, aluminum panels offer lightweight benefits ideal for fuel efficiency, especially in modern vehicles. They also resist corrosion better than steel, making them suitable for regions with higher moisture levels.
On the other hand, steel remains a popular choice for its strength and durability, particularly in collision repair scenarios. Many automotive body shops prefer steel cowl panels due to their ability to withstand impact without significant deformation. When replacing a cowl panel, whether for maintenance or after a collision, it’s crucial to match the original material as closely as possible to guarantee that the vehicle retains its structural integrity and visual appeal, enhancing the overall collision repair services provided.
Step-by-Step Guide to Effective Cowl Panel Replacement
Replacing a cowl panel on either an aluminum or steel vehicle involves careful planning and execution to ensure a seamless fit and finish. Here’s a step-by-step guide designed to help you navigate this car restoration process with ease.
First, assess the damage to determine the extent of the repair required. Next, gather all necessary tools and materials, including the new cowl panel, matching primer, body filler, sandpaper, and paint. Once prepared, remove any loose debris or old tape from the damaged area. Carefully disassemble any surrounding components that might interfere with the replacement process, such as mirrors or trim pieces. With the help of a helper, carefully lift the old cowl panel out of place, taking note of its positioning and how it attaches to the vehicle’s frame. After removing the panel, inspect the underlying surface for dents or damage—this is where your dent removal skills will come in handy. If there are any imperfections, address them using body filler and sandpaper until a smooth surface is achieved.
Cowl panel replacement is not just about aesthetics; it’s a crucial maintenance step for aluminum and steel vehicles. By understanding the importance of these panels and selecting the right materials, you can ensure your vehicle maintains its structural integrity and sleek design. Following a meticulous process, as outlined in this guide, will help achieve a precise fit and long-lasting results, making cowl panel replacement a game-changer for car care.