


Tesla LED daytime running lights (DRLs) can develop loose or faulty connections over time, causing malfunctions or intermittency. Owners should perform basic checks for loose connectors or damaged wiring. Persistent problems may require professional repair using advanced techniques like paintless dent repair. A visual inspection and multimeter testing help locate issues. Proper detailing maintains component integrity. This guide provides a step-by-step process for repairing DRLs, emphasizing safety and tool preparation. If issues persist, consult a professional mechanic.
Struggling with a flickering or non-functional Tesla LED daytime running light? This comprehensive guide is your solution. We break down common issues, from loose connections to faulty wiring, and provide a detailed step-by-step repair process to get your lights back in top form. Learn how to diagnose the problem and resolve it yourself, ensuring your Tesla shines bright on the road. Discover expert tips for a successful Tesla LED daytime running light repair.
- Understanding Tesla LED Daytime Running Light Issues
- Diagnosing Loose or Faulty Connections
- Step-by-Step Repair Guide for LED Daytime Running Lights
Understanding Tesla LED Daytime Running Light Issues

Tesla LED daytime running lights are a key safety feature, designed to enhance visibility and improve road safety during daylight hours. However, over time, these advanced lighting systems can develop issues, leading to loose or faulty connections. This can result in malfunctioned or intermittent lights, affecting the vehicle’s overall performance and appearance.
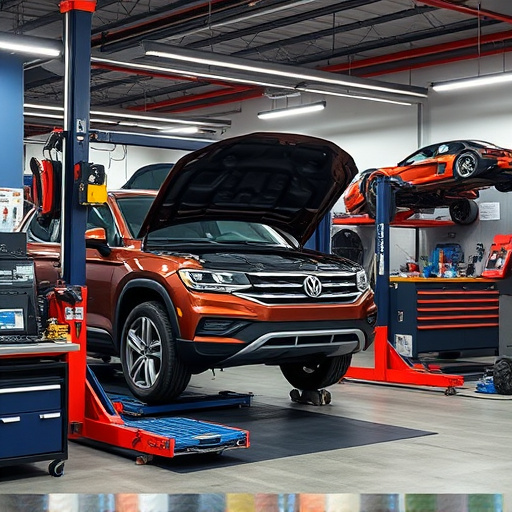
Identifying the problem early on is crucial for Tesla owners. A simple check for loose connectors or damaged wiring can often reveal the root cause. In some cases, a professional Tesla LED daytime running light repair might be necessary, especially if the issue persists after basic troubleshooting. Fortunately, with advancements in technology and skilled technicians, restoring these lights to their optimal state is achievable, ensuring both safety and aesthetics through methods like paintless dent repair for car body restoration.
Diagnosing Loose or Faulty Connections
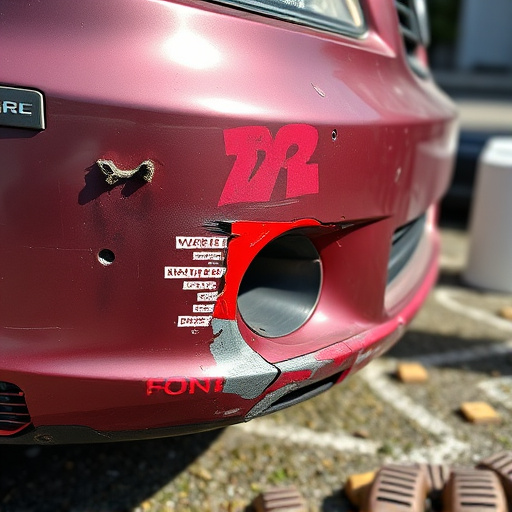
When diagnosing a Tesla LED daytime running light repair for loose or faulty connections, the first step is to visually inspect the lights and their mounting. Check for any signs of damage to the auto frame repair around the lights, as well as any visible debris that might have caused disruption. Use a flashlight to peer into the vehicle bodywork where the connections are located, looking for any visible loosening or corrosion on the wiring.
Additionally, utilizing a multimeter can aid in identifying faulty connections. Test each wire for continuity and voltage to pinpoint where the issue lies. Remember, proper auto detailing techniques can help maintain the integrity of these components over time, ensuring optimal performance and longevity of your Tesla’s daytime running lights.
Step-by-Step Repair Guide for LED Daytime Running Lights

Step-by-Step Repair Guide for Tesla LED Daytime Running Lights
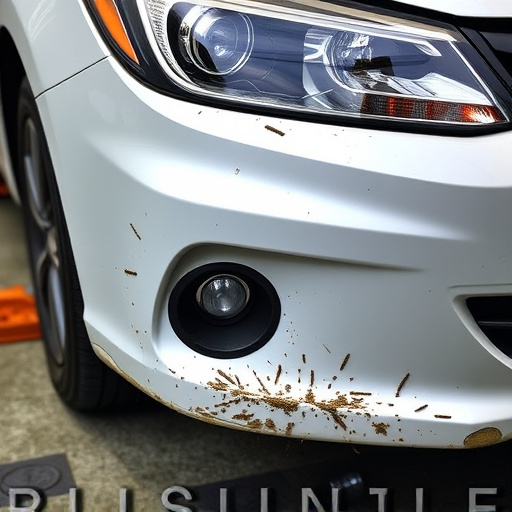
First, locate the LED daytime running lights (DRLs) on your Tesla vehicle. Typically, they’re positioned at the front and rear of the car. Before you begin any repair, ensure your vehicle is parked in a well-lit area to clearly see all components. Now, gather your tools: a Phillips head screwdriver, new DRL bulbs if needed, and electrical tape for securing connections.
Start by turning off your Tesla’s ignition. Then, carefully disconnect the negative battery cable to avoid any unexpected shorts. Next, locate the DRLs’ connectors or wiring harness. If you find loose connections, tight them using the screwdriver. For faulty wires, replace them with new ones. After ensuring all components are secure and properly connected, reattach the negative battery cable and test your LED DRLs for proper functionality. If issues persist, consult a professional automotive repair service for further diagnosis.
The repair of Tesla’s LED daytime running lights, often plagued by loose or faulty connections, is a manageable task with the right knowledge. By understanding common issues and following a structured guide, Tesla owners can efficiently resolve these problems and ensure their vehicle’s safety features function optimally. This DIY approach not only saves costs but also provides a satisfying sense of accomplishment. For any future maintenance, keeping a keen eye on these connections can prevent similar issues from arising, contributing to a smoother driving experience.