


The Tesla Ultrasonic Sensor, vital for collision avoidance, requires timely replacements due to potential damage. Replacing the cover involves DIY disassembly of the bumper, careful removal and reinstallation of the sensor, and secure reassembly. For a successful Tesla ultrasonic sensor cover replacement, prepare tools, create a safe workspace, follow detailed instructions precisely, and document each step for optimal functionality and driver safety.
Looking to replace your Tesla ultrasonic sensor cover? This comprehensive guide walks you through the process, from understanding the critical role of Tesla’s ultrasonic sensors to a detailed step-by-step disassembly of the bumper to install a new cover. Learn insider tips for a seamless installation and common troubleshooting tricks to ensure your vehicle’s safety features function optimally. Master the art of Tesla ultrasonic sensor cover replacement today!
- Understanding Tesla's Ultrasonic Sensor and Its Function
- Step-by-Step Guide: Replacing the Sensor Cover with Bumper Disassembly
- Tips for a Successful Installation and Common Troubleshooting
Understanding Tesla's Ultrasonic Sensor and Its Function

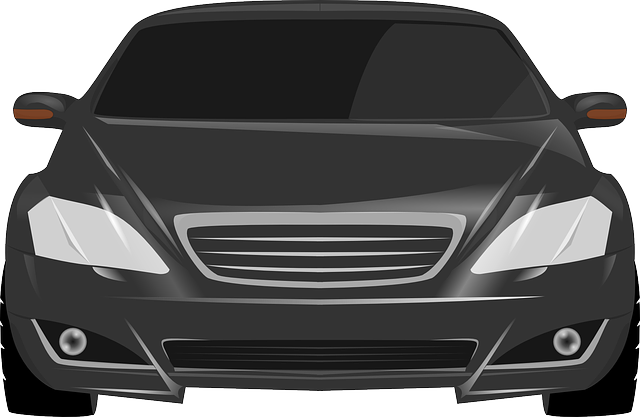
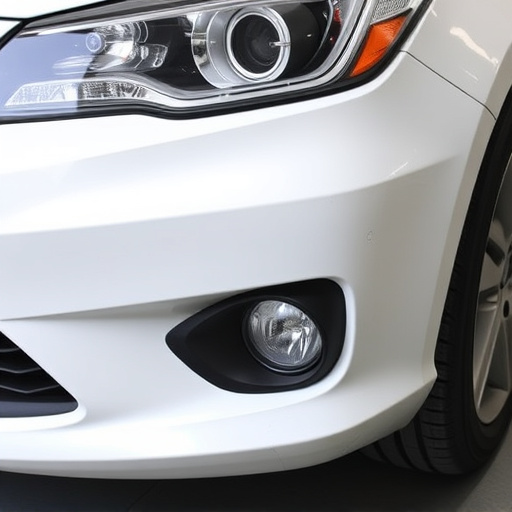
The Tesla Ultrasonic Sensor is a critical component of the vehicle’s collision avoidance system, playing a pivotal role in detecting obstacles and helping to prevent accidents. This advanced technology uses sound waves to create a 360-degree field around the car, allowing it to sense nearby objects, including pedestrians, cyclists, and other vehicles. By integrating this sensor into its innovative safety suite, Tesla enhances driver awareness and contributes to a safer driving experience.
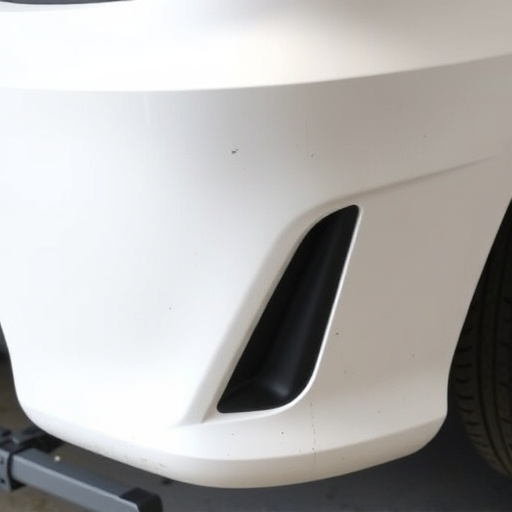
When considering a Tesla ultrasonic sensor cover replacement, understanding the sensor’s function is key. If damage occurs to the cover or the underlying sensor, it can impact the car’s overall performance in detecting and avoiding obstacles. Similar to processes involved in car paint repair and car body restoration, careful disassembly of the bumper may be required to access and replace the cover, ensuring optimal functionality and safety for the vehicle.
Step-by-Step Guide: Replacing the Sensor Cover with Bumper Disassembly

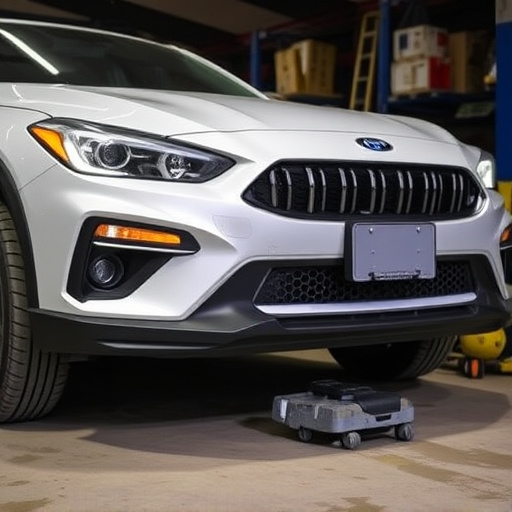
Replacing a Tesla ultrasonic sensor cover involves a precise process that requires some technical know-how and the right tools. Here’s a step-by-step guide for this Tesla ultrasonic sensor cover replacement task, focusing on disassembling your car’s bumper to gain access. First, prepare your workspace by gathering all necessary parts and tools, including the new sensor cover, a suitable set of screwdrivers (both flathead and Phillips), pliers, and safety goggles to protect against any debris. Next, raise your vehicle using a jack and secure it with jack stands for safety. Then, carefully remove the front bumper, taking note of how it’s attached, as this will aid in reassembly.
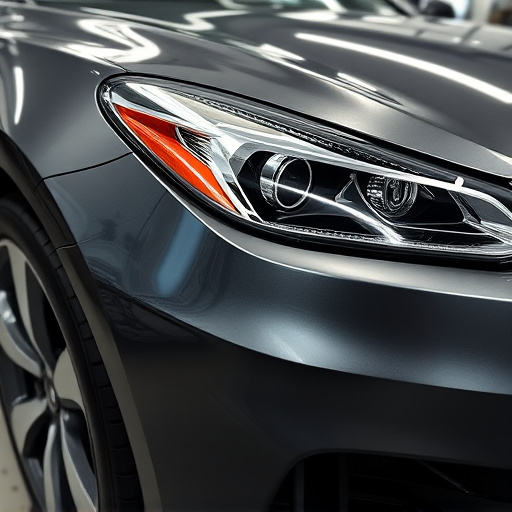
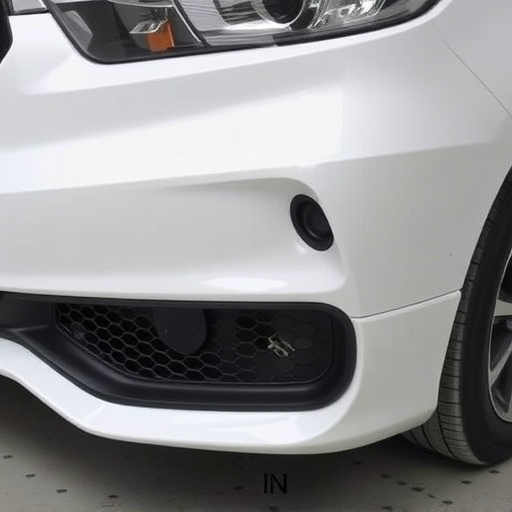
With the bumper off, locate and identify the ultrasonic sensor, usually positioned on the front end of the vehicle. Remove any surrounding covers or trim to expose the sensor completely. Next, disconnect the sensor from its wiring harness, ensuring you remember the wire routing for proper reattachment later. Finally, pop out the old sensor cover by carefully using tools to pry it away from the frame, taking care not to damage any adjacent components. Replace it with the new cover, aligning it precisely and securing it in place with the appropriate screws. Once complete, reassemble your car’s bumper, ensuring a tight fit, and lower your vehicle safely.
Tips for a Successful Installation and Common Troubleshooting

For a successful Tesla ultrasonic sensor cover replacement, follow these essential tips: start by gathering all necessary tools and parts, ensuring compatibility with your vehicle model. Create a clean, well-lit workspace to facilitate precise disassembly and reassembly of the bumper, which is crucial for a seamless fit. Before removing any components, take detailed notes or reference photos to aid in the reinstallation process. This meticulous approach significantly reduces the risk of damage during the Tesla ultrasonic sensor cover replacement process.
Common troubleshooting issues may arise during this DIY project. If you encounter difficulties aligning the new cover, double-check your measurements and ensure proper fitting before proceeding. Some users also report challenges with sensor functionality after installation. This problem often stems from incorrect reattachment or loose connections, so carefully follow the instructions for both steps to resolve these issues. Considering that a Mercedes Benz repair or auto collision repair expert could assist if needed, rest assured that even without prior experience in auto body restoration, a successful Tesla ultrasonic sensor cover replacement is achievable with patience and attention to detail.
Replacing your Tesla ultrasonic sensor cover is an accessible task that can significantly enhance your vehicle’s safety features. By carefully following the step-by-step guide and troubleshooting tips outlined in this article, you’ll be able to successfully install a new cover, ensuring optimal performance of Tesla’s advanced driver-assistance systems (ADAS). Remember, proper disassembly and installation are key to maintaining the integrity of your car’s sensors, ultimately contributing to safer driving experiences. For those looking to tackle this DIY project, this guide serves as a valuable resource for achieving a seamless Tesla ultrasonic sensor cover replacement.