
Before attempting any Mercedes pearl effect repair, inspect the damaged area for cracks, chips, or peeling. Assess damage severity: minor scratches may need a touch-up kit, while deeper issues require professional auto body work. Gather tools and materials including sandpaper, primer, paint, clear coat, spray gun (for painting), and a buffer to ensure successful restoration of your Mercedes' sophisticated pearl effect finish.
“Mercedes Pearl Effect Repair: A Comprehensive Guide for Restoring Your Car’s Glamour. This step-by-step tutorial takes you through the entire process, from identifying damaged areas on your Mercedes’ pearl effect finish to applying the perfect paint and finishing touches. Learn how to assess, prepare, and maintain this exquisite feature, ensuring your vehicle retains its captivating, luxurious look. Discover the secrets to successful Mercedes pearl effect repair.”
- Assessing the Damage and Gathering Materials
- – Inspecting the pearl effect finish
- – Identifying damaged areas
Assessing the Damage and Gathering Materials
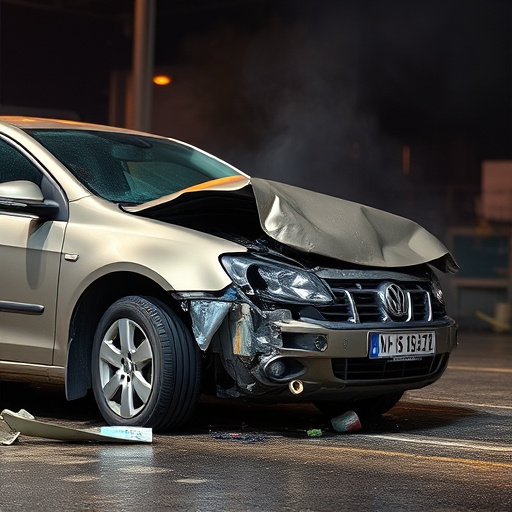
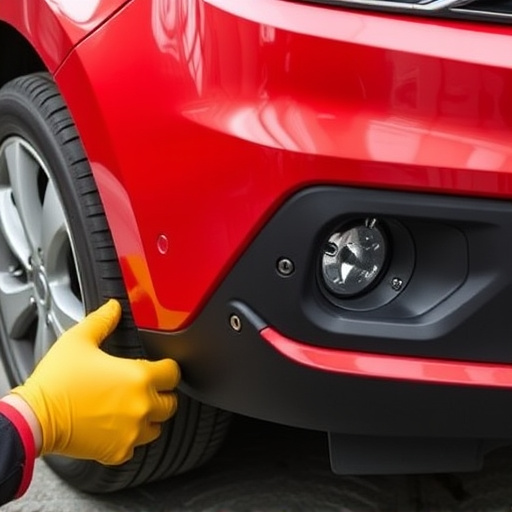
Before diving into the Mercedes pearl effect repair process, it’s crucial to assess the damage and gather all necessary materials. Start by examining the affected area closely, looking for cracks, chips, or any signs of peeling in the pearl effect coating. The pearl effect is a sophisticated finish that requires precision, so identifying the extent of the damage is key. For minor scratches or swirls, you might only need a touch-up kit; but for more severe car damage repair, such as deep scratches or delaminated coatings, professional auto body work could be required.
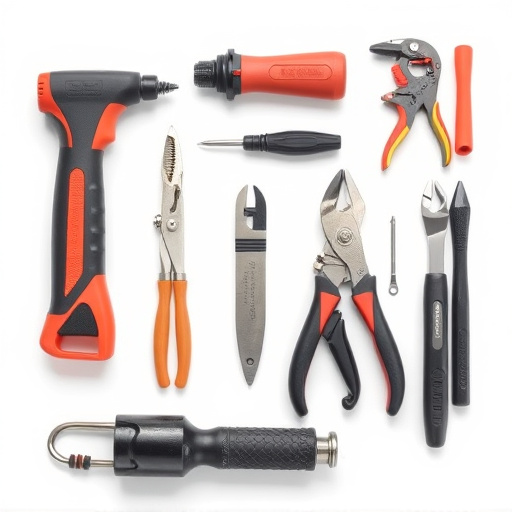
Gather your tools and materials accordingly. Depending on the extent of the vehicle bodywork repairs needed, this may include items like sandpaper, primer, paint, clear coat, a spray gun (if painting), and a buffer for polishing. Remember, preparation is vital for achieving a flawless Mercedes pearl effect repair.
– Inspecting the pearl effect finish

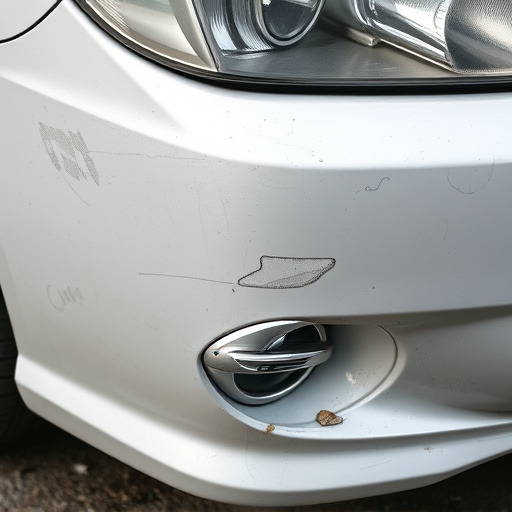
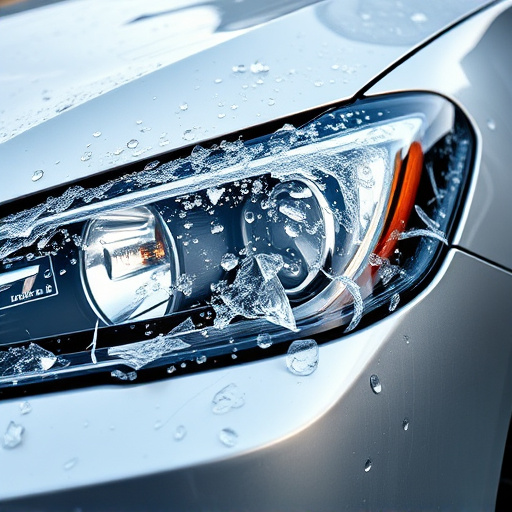
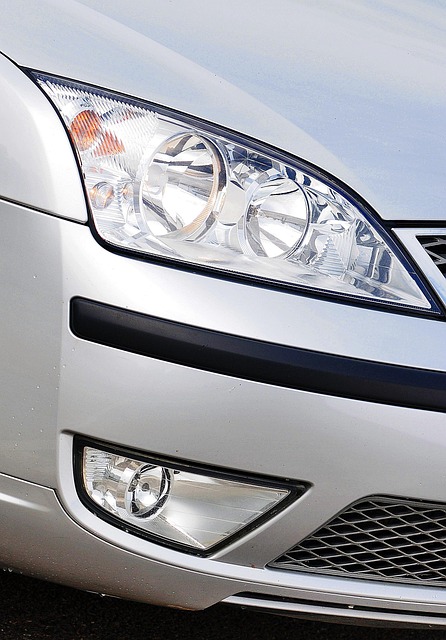
When assessing your Mercedes pearl effect finish for repair, close inspection is crucial. Start by examining the entire surface for any visible damage, such as scratches, chips, or discolouration. Pearl effect coatings are known for their unique depth and shine, so take note of any loss in this aesthetic quality. Look closely at the edges and corners, as these areas can be particularly vulnerable to damage.
During your inspection, consider the overall condition of the surrounding paintwork and trim. A collision center or auto repair shop with experience in Mercedes pearl effect repair will understand that the fix isn’t just about touching up the affected area—it’s about matching the original finish seamlessly. This involves careful auto body work to ensure a perfect blend that complements the rest of your vehicle’s exquisite design.
– Identifying damaged areas
When it comes to Mercedes pearl effect repair, identifying the damaged areas is the first crucial step. This process involves meticulously examining the vehicle’s exterior, paying close attention to any chips, cracks, or scratches on the paintwork, especially where the pearl effect coating is concerned. The pearl effect, known for its unique shimmering and iridescent finish, requires special care during the repair process due to its delicate nature.
Automotive repair specialists use specialized tools and expertise to pinpoint these damaged areas. In a collision center or collision repair shop, technicians often employ ultraviolet lighting to highlight imperfections, making it easier to see and assess the extent of the damage. This meticulous inspection ensures that only the affected sections are treated, preserving the integrity and aesthetic appeal of the Mercedes’ pearl effect finish.
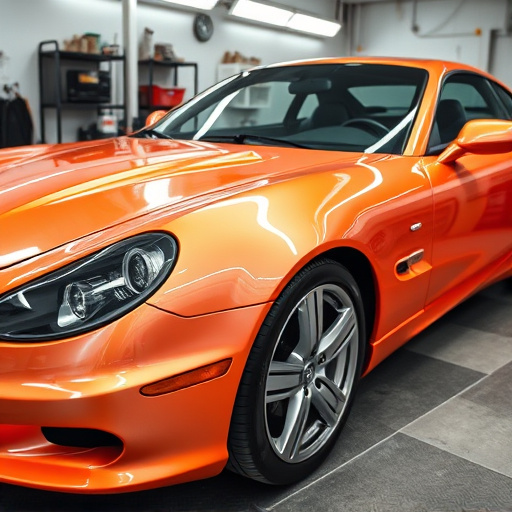
Mercedes pearl effect repair is a meticulous process that requires careful assessment and the right materials. By following these steps, you can effectively restore the exquisite pearl finish of your Mercedes, ensuring it shines like new. Remember, precise inspection and accurate material selection are key to achieving a flawless result.